This is the second half of the Kubernetes with Minikube and Helm presentation, the first half explains all of the steps we went through to get to this point, and is available here:
In this section we cover the following:
- Helm and Tiller – what they are, when & why you’d maybe use them
- Helm and Tiller – prep, install and Helm Charts
- Deploying Jenkins via Helm Charts
- and WordPress w/MariaDB too
- Wrap up
The below are mostly my technical notes from this session, with some added blurb/explanation.
Helm and Tiller – what they are, when & why you’d maybe use them
From the Helm site:
“Helm helps you manage Kubernetes applications — Helm Charts help you define, install, and upgrade even the most complex Kubernetes application. Charts are easy to create, version, share, and publish — so start using Helm and stop the copy-and-paste.”
https://helm.sh/
Helm is basically a package manager for Kubernetes applications. You can choose from a large list of Stable (or not so!) ready made packages and use the Helm Charts to quickly and easily deploy them to your own Kubernetes Cluster.
This makes light work of some very complex deployment tasks, and it’s also possible to extend these ready-made charts to suit your needs, and to write your own Charts from scratch, or pass your own values to override default ones, or… many other interesting options!
For this session we are looking at installing Helm, reviewing some example Helm Charts and deploying a few “vanilla” ones to the cluster we created in the first half of the session. We also touch upon the life-cycle of Helm Charts – it’s similar to dockers – and point out some of the ways this could be extended and customised to suit your needs – more on this at a later date hopefully.
Helm and Tiller – prep, install and Helm Charts
First, installing Helm – it’s as easy as this, run on your laptop/host that’s running the Minikube k8s we setup earlier:
Get & chmod the get_helm script, then run it:
curl https://raw.githubusercontent.com/kubernetes/helm/master/scripts/get > get_helm.sh
chmod 700 get_helm.sh
./get_helm.sh
Tiller is the client part of Helm and is deployed inside your k8s cluster. It’s set to be removed with the release of Helm 3, but the basic functionality wont really change. More details here https://helm.sh/blog/helm-3-preview-pt1/
Next we do the Tiller prep & install – add RBAC for tiller, deploy via helm and take a look at the running pods:
kubectl create serviceaccount -n kube-system tiller

kubectl create clusterrolebinding tiller-cluster-rule --clusterrole=cluster-admin --serviceaccount=kube-system:tiller
helm init --service-account tiller
kubectl --namespace kube-system get pods
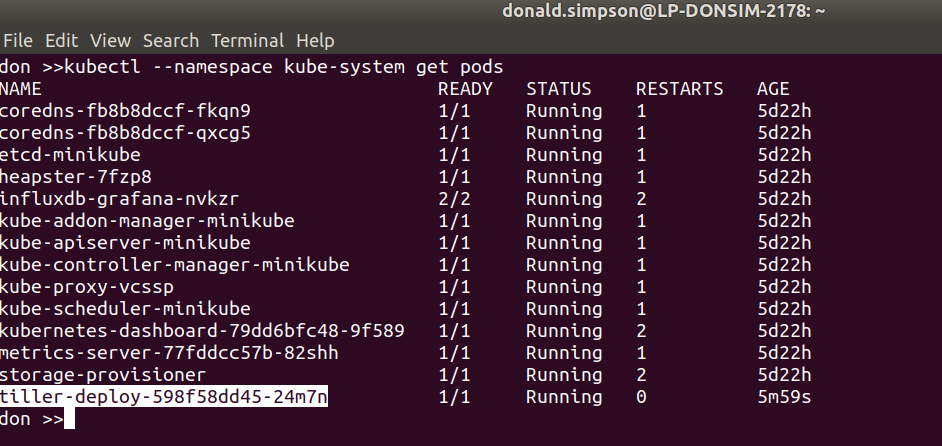
Helm Charts – look at the list of available stable Charts, then deploy a couple. The github repo is here
https://github.com/helm/charts
Update the local helm repo info:
helm repo update
then, for example, install Redis from its Helm Chart to the k8s cluster as easily as this:
helm install stable/redis

or helm install stable/mysql and check the console output that explains how to access the newly deployed app.
keep an eye on the pods to see what’s going on: watch kubectl get pods -o wide

Deploying Jenkins via Helm Charts
helm ls

helm delete <things you don't want any more to free up resources>
helm install --set serviceType=NodePort --name jenki stable/jenkins

again, watch kubectl get pods -o wide
now get the URL for the Jenkins service from Minikube:
minikube service --url=true jenki-jenkins
Hit that URL in your browser, and grab the password in UI from Pods > Jenki and log in to Jenkins with the user “admin”:

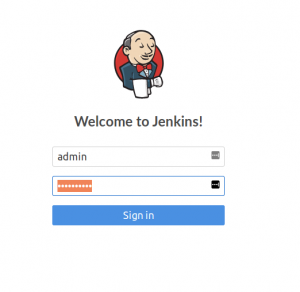
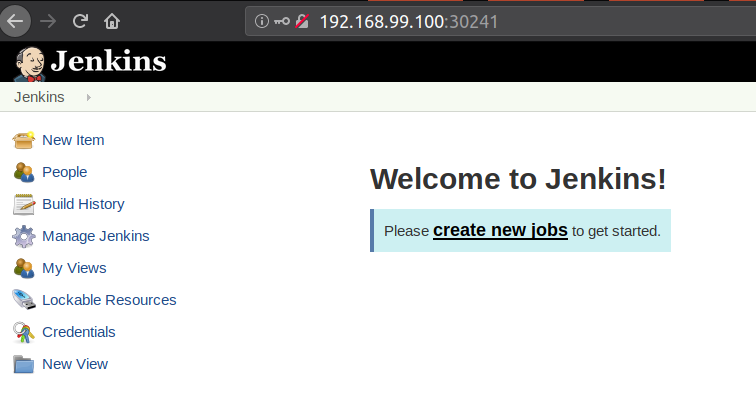
That’s a Jenkins instance deployed via Helm and Tiller and a Helm Chart to our Kubernetes Cluster running inside Minikube via a VirtualBox VM… all done in a few minutes. And it’s all customisable, repeatable, highly scaleable and awesome.
and WordPress w/MariaDB too
This was the “bonus demo” if my laptop wasn’t on fire – and thanks to some rapid cleaning up it managed fine – showing how quickly we could deploy a functional WordPress with MariaDB backend to our k8s cluster using the Helm Chart.
To prepare for this I did a helm ls to see all the things I had running. then helm delete --purge jenki, gave it a while to recover then had to do
kubectl delete pods <jenkinpod>
before starting the WordPress Chart deployment with
helm install --set serviceType=NodePort --name wp-k8s stable/wordpress

watch kubectl get pods -o wide for a while – note the chart is configured with the mariadb pod as a pre requisite of the wordpress instance:

Once it’s started we requested the service URL from Minikube again, making ingress nice and easy:
minikube service --url=true wp-k8s-wordpress

Hit that in the browser, using https and accepting the cert warning…
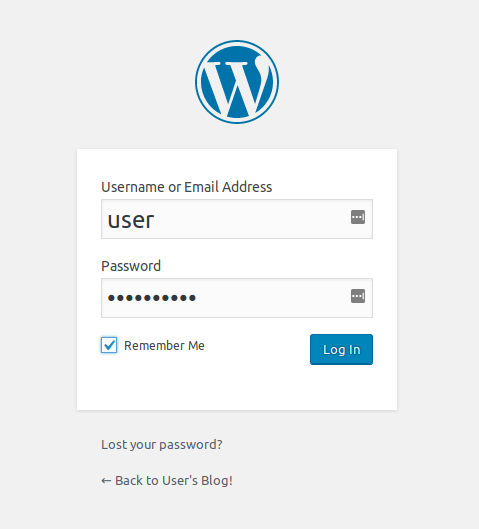
then logged in as `user` and qureied for the password in the k8s secret…
echo Password: $(kubectl get secret wp-k8s-wordpress -o
jsonpath="{.data.wordpress-password}" | base64 --decode)
and logged in to WordPress:
—
Wrap up
That’s it – we covered a lot in this session, and plan to use this as a platform to explore Helm in more detail later, writing our own Helm Charts and providing our own customisations to them.
minikube delete; rm -rf ~/.minikube
Cleans up everything we’d done:
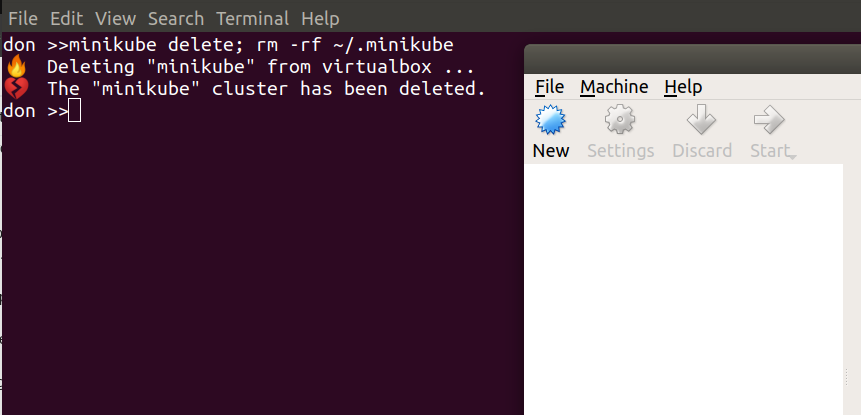
Leaving just the local tools to remove if you want to – see the first half for a reminder.
Cheers,
Don
Update: this follow-on post runs through setting up Jenkins with Helm then creating Jenkins Pipelines that dynamically provision dockerised Jenkins Agents:
Discover more from Don's Blog
Subscribe to get the latest posts sent to your email.


Snap! I did a helm chart to run previous co’s microservice stack & zk on minikube. Also easy to use docker enterprise. Played with different virtualisation platforms as well.