HTTPS Certs for WordPress Multisite with Let’s Encrypt

Intro

This post looks at creating and maintaining HTTPS/SSL/TLS Certificates for multiple WordPress sites running on the same host.

Some background…

This website is one of several different domains/sites/blogs hosted on my single Google Cloud server, with one public IP address shared for all websites. I’m using WordPress Multisite to do this, based on a very well put together Appliance provided by Bitnami.

WordPress Multisite allows me to cheaply, easily and efficiently serve multiple sites from the one host and IP address, sharing the same host resources (CPU, Mem, Disk) which is great but makes seting up HTTPS/SSL Certificates a little different to the norm – the same cert has to validate multiple sites in multiple domains.

I’d banged my head against this for a while and looked at many different tools and tech (some of which are mentioned below) to try and sort this out previously, but finally settled on the following process which works very well for my situation.

There is some good info on why you may want SSL/TLS certificate for your website(s), background info and some popular providers reviewed: https://makeawebsitehub.com/free-ssl-tls-certificate/

“WordPress is the world’s most popular blogging and content management platform. With WordPress Multisite, conserve resources by managing multiple blogs and websites from the same server and interface.”

CERT PROVIDER

Let’s Encrypt is a free, automated, and open Certificate Authority created by the Linux Foundation in collaboration with the Internet Security Research Group. There are many other certificate providers available, but I’m using this one.

LEGO – the Let’s Encrypt Go Client

Here’s the high level plan:

  • Install the Lego client – see Step 1 here
  • Generate a Let’s Encrypt certificate for your domain
  • Configure the Web server to use the Let’s Encrypt certificate – see Apache or Nginx options on Bitnami site
  • Add a cron job to run every <90 days

I used this excellent Bitnami article to work through the process, it explains the steps in greater detail:

https://docs.bitnami.com/aws/how-to/generate-install-lets-encrypt-ssl/

Stop services

sudo /opt/bitnami/ctlscript.sh stop

Get/renew certificates

Once lego is set up, you can request multiple certs like this – just make sure to change the --domains="whatever" entries and add as many as you need. Remember all of your sub domains (www. etc) too.

sudo lego --tls --email="my@email.com"--domains="donaldsimpson.co.uk" --domains="www.donaldsimpson.co.uk" --domains="www.someothersite.com" --domains="someothersite.com" --path="/etc/lego" run

Noe you’ve got the certs, move them in to place and chmod them etc:

sudo mv /opt/bitnami/apache2/conf/server.crt /opt/bitnami/apache2/conf/server.crt.old
sudo mv /opt/bitnami/apache2/conf/server.key /opt/bitnami/apache2/conf/server.key.old
sudo mv /opt/bitnami/apache2/conf/server.csr /opt/bitnami/apache2/conf/server.csr.old
sudo ln -sf /opt/bitnami/letsencrypt/certificates/DOMAIN.key /opt/bitnami/apache2/conf/server.key
sudo ln -sf /opt/bitnami/letsencrypt/certificates/DOMAIN.crt /opt/bitnami/apache2/conf/server.crt
sudo chown root:root /opt/bitnami/apache2/conf/server*
sudo chmod 600 /opt/bitnami/apache2/conf/server*

Restart services

sudo /opt/bitnami/ctlscript.sh start

PLUGIN – JSM’s Force SSL / HTTPS

By this point I was happy that the nice new HTTPS certs were finally working reliably for all of my sites, but was aware that Google and external links would still try to get in through HTTP URLs.

After trying a few WordPress plugins that sounded like they should correct this neatly for me, I settled on JSM’s Force SSL/HTTPS plugin. As the name suggested, it quickly and easily redirects all incoming HTTP requests to HTTPS. It was simple to install and setup and works very well with WordPress Multisite too – thanks very much JSM!

CRONJOB

Now that the process works, the certificates need updated every 90 days which would be a bit of a pain to remember and do, so adding a simple script to a cron job saves some hassle.

OTHER OPTIONS and things I found interesting…

Many other clients are available, there’s a large list here:
https://letsencrypt.org/docs/client-options/

One of the more popular is Certbot: https://certbot.eff.org/

Tech links

SNI – Server Name Indication:
https://www.digicert.com/ssl-support/apache-multiple-ssl-certificates-using-sni.htm

SAN – Subject Alternative Name:
https://www.digicert.com/subject-alternative-name.htm

Kubernetes – with Minikube and Helm – part 2

This is the second half of the Kubernetes with Minikube and Helm presentation, the first half explains all of the steps we went through to get to this point, and is available here:

In this section we cover the following:

  • Helm and Tiller – what they are, when & why you’d maybe use them
  • Helm and Tiller – prep, install and Helm Charts
  • Deploying Jenkins via Helm Charts
  • and WordPress w/MariaDB too
  • Wrap up

The below are mostly my technical notes from this session, with some added blurb/explanation.

Helm and Tiller – what they are, when & why you’d maybe use them

From the Helm site:

“Helm helps you manage Kubernetes applications — Helm Charts help you define, install, and upgrade even the most complex Kubernetes application. Charts are easy to create, version, share, and publish — so start using Helm and stop the copy-and-paste.”

https://helm.sh/

Helm is basically a package manager for Kubernetes applications. You can choose from a large list of Stable (or not so!) ready made packages and use the Helm Charts to quickly and easily deploy them to your own Kubernetes Cluster.

This makes light work of some very complex deployment tasks, and it’s also possible to extend these ready-made charts to suit your needs, and to write your own Charts from scratch, or pass your own values to override default ones, or… many other interesting options!

For this session we are looking at installing Helm, reviewing some example Helm Charts and deploying a few “vanilla” ones to the cluster we created in the first half of the session. We also touch upon the life-cycle of Helm Charts – it’s similar to dockers – and point out some of the ways this could be extended and customised to suit your needs – more on this at a later date hopefully.

Helm and Tiller – prep, install and Helm Charts

First, installing Helm – it’s as easy as this, run on your laptop/host that’s running the Minikube k8s we setup earlier:

Get & chmod the get_helm script, then run it:

curl https://raw.githubusercontent.com/kubernetes/helm/master/scripts/get > get_helm.sh

chmod 700 get_helm.sh

./get_helm.sh

Tiller is the client part of Helm and is deployed inside your k8s cluster. It’s set to be removed with the release of Helm 3, but the basic functionality wont really change. More details here https://helm.sh/blog/helm-3-preview-pt1/

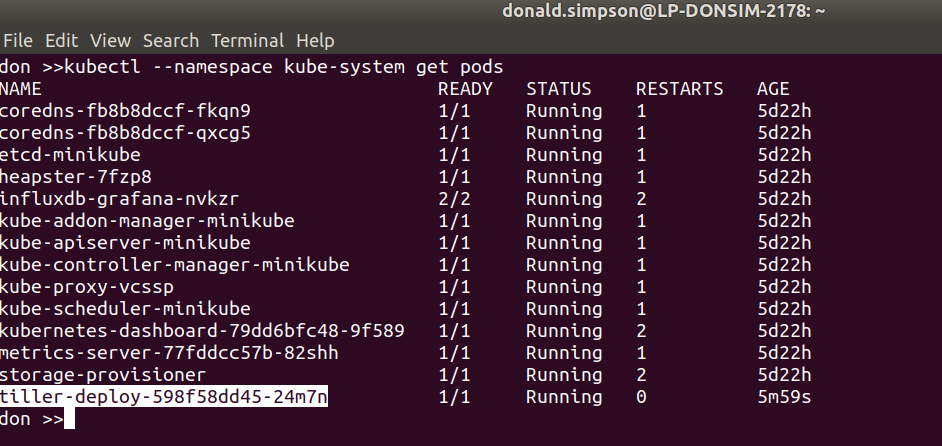
Next we do the Tiller prep & install – add RBAC for tiller, deploy via helm and take a look at the running pods:

kubectl create serviceaccount -n kube-system tiller

kubectl create clusterrolebinding tiller-cluster-rule --clusterrole=cluster-admin --serviceaccount=kube-system:tiller

helm init --service-account tiller

kubectl --namespace kube-system get pods

Helm Charts – look at the list of available stable Charts, then deploy a couple. The github repo is here

https://github.com/helm/charts

Update the local helm repo info:

helm repo update

then, for example, install Redis from its Helm Chart to the k8s cluster as easily as this:

helm install stable/redis

or helm install stable/mysql and check the console output that explains how to access the newly deployed app.

keep an eye on the pods to see what’s going on: watch kubectl get pods -o wide

Deploying Jenkins via Helm Charts

helm ls

helm delete <things you don't want any more to free up resources>

helm install --set serviceType=NodePort --name jenki stable/jenkins

again, watch kubectl get pods -o wide

now get the URL for the Jenkins service from Minikube:

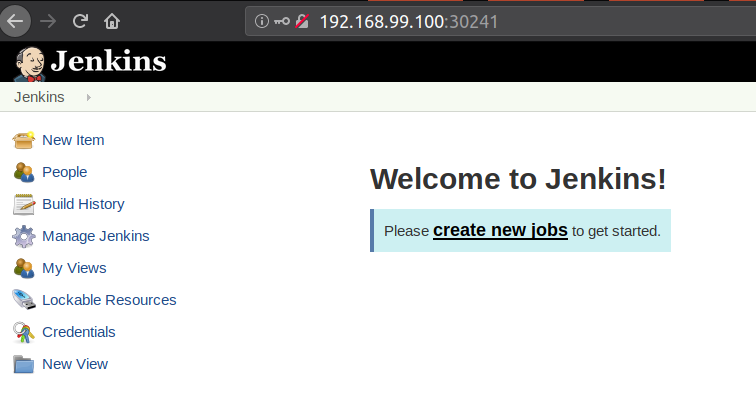
minikube service --url=true jenki-jenkins

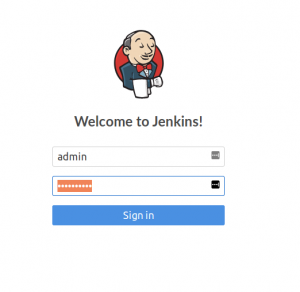
Hit that URL in your browser, and grab the password in UI from Pods > Jenki and log in to Jenkins with the user “admin”:

That’s a Jenkins instance deployed via Helm and Tiller and a Helm Chart to our Kubernetes Cluster running inside Minikube via a VirtualBox VM… all done in a few minutes. And it’s all customisable, repeatable, highly scaleable and awesome.

and WordPress w/MariaDB too

This was the “bonus demo” if my laptop wasn’t on fire – and thanks to some rapid cleaning up it managed fine – showing how quickly we could deploy a functional WordPress with MariaDB backend to our k8s cluster using the Helm Chart.

To prepare for this I did a helm ls to see all the things I had running. then helm delete --purge jenki, gave it a while to recover then had to do

kubectl delete pods <jenkinpod>

before starting the WordPress Chart deployment with

helm install --set serviceType=NodePort --name wp-k8s stable/wordpress

watch kubectl get pods -o wide for a while – note the chart is configured with the mariadb pod as a pre requisite of the wordpress instance:

Once it’s started we requested the service URL from Minikube again, making ingress nice and easy:

minikube service --url=true wp-k8s-wordpress

Hit that in the browser, using https and accepting the cert warning…

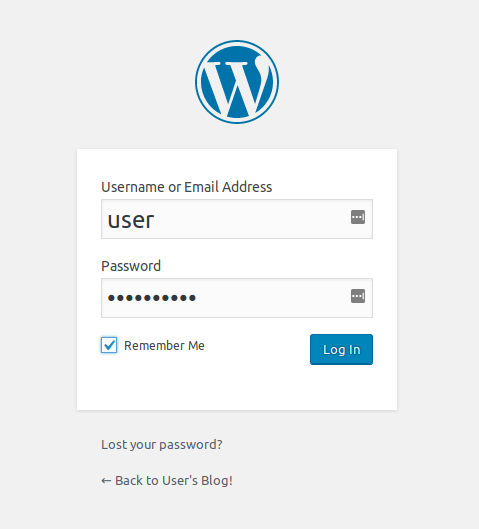
then logged in as `user` and qureied for the password in the k8s secret…

echo Password: $(kubectl get secret wp-k8s-wordpress -o
jsonpath="{.data.wordpress-password}" | base64 --decode)

and logged in to WordPress:

Wrap up

That’s it – we covered a lot in this session, and plan to use this as a platform to explore Helm in more detail later, writing our own Helm Charts and providing our own customisations to them.

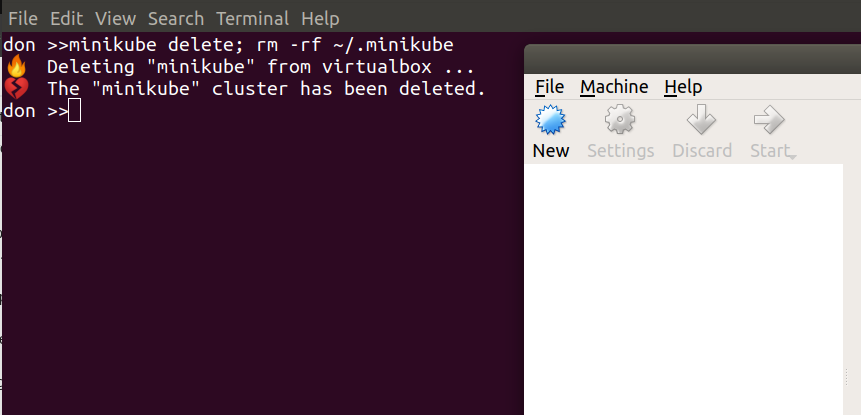
minikube delete; rm -rf ~/.minikube

Cleans up everything we’d done:

Leaving just the local tools to remove if you want to – see the first half for a reminder.

Cheers,

Don

Update: this follow-on post runs through setting up Jenkins with Helm then creating Jenkins Pipelines that dynamically provision dockerised Jenkins Agents:

Pin It on Pinterest

%d bloggers like this: