
Intro:
This is the first of two posts on Kubernetes and Helm Charts, focusing on setting up a local development environment for Kubernetes using Minikube, then exploring Helm for package management and quickly and easily deploying several applications to the cluster – NGINX, Jenkins, WordPress with a MariaDB backend, MySQL and Redis.
The content is taken from the practical/demo session I wrote and published in Github here:
https://github.com/AutomatedIT/presentations/blob/master/minikube_demo.md
for this Meetup session we ran in Edinburgh in June 2019:
“Kubernetes – getting started with Minikube, Helm and Tiller” https://www.meetup.com/Automated-IT-Solutions/events/261623765/
<ramble>
One of the key objectives and challenges here was getting a useful local Kubernetes environment up and running as quickly and easily as possible for as wide an audience as we could- there’s so much to the Kubernetes ecosystem that it’s very easy to get side-tracked, and we could have (happily) spent a long time discussing the myriad of alternative possible solutions.
We plan to go “deeper” on all of this in future sessions and have an in-depth Helm session in the works, but for this session we were focused on creating a practical starting point.
</ramble>
Don
What is covered here:
- Minikube – what it is (& isn’t) & why you’d use it (or not)
- Kubernetes and Minikube components and concepts
- setup for Mac and Linux
- creating a first Kubernetes cluster in Minikube
- minikube addons – what they are and how they can help you
- minikube docker env – using DOCKER_HOST with minikube VM
- Kubernetes dashboard with Heapster and Metrics Server – made easy by Minikube
- kubectl – some examples and alternatives
- example app – “hello (Kubernetes) world” minikube style with NGINX, scaling your world
and the second post covers:
- Helm and Tiller – what they are, when & why you’d maybe use them
- Helm and Tiller – prep, install and Helm Charts
- Deploying Jenkins via Helm Charts
- and WordPress w/MariaDB too
- wrap up
Minikube – what it is (& isn’t) & why you’d use it (or not)
What it is, why you’d use it etc.
Local development of k8s – runs a single node Kubernetes cluster in a Virtual Machine on your laptop/PC.
All about making things easy for local development, it is not a production solution, or even close to it.
There are many other ways to run k8s, they all have their pros and cons and use cases. The slides from the Meetup covered this in more detail and include links for further info – they are available here:
Kubernetes and Minikube components and concepts
The (above) slides also cover this section:
Kubernetes components and concepts
what it solves
how Minikube works
Setup for Mac and Linux
There are three things you need to set up for this, they are:
VirtualBox: https://www.virtualbox.org/wiki/Downloads
Minikube: https://kubernetes.io/docs/tasks/tools/install-minikube/
kubectl: https://kubernetes.io/docs/tasks/tools/install-kubectl/
Using Ubuntu for example:
curl -Lo minikube https://storage.googleapis.com/minikube/releases/v1.1.0/minikube-linux-amd64 && chmod +x minikube && sudo cp minikube /usr/local/bin/ && rm minikube
curl -LO https://storage.googleapis.com/kubernetes-release/release/v1.14.0/bin/linux/amd64/kubectl
`chmod +x ./kubectl
`sudo mv ./kubectl /usr/local/bin/kubectl`
Cleanup/prep – if required, remove any previous cluster & settings
`minikube delete; rm -rf ~/.minikube`
Creating a first Kubernetes cluster in Minikube
Here we create a first Kubernetes cluster with Minikube, then take a look around in & outside of the VM.
With the above initial setup done, it’s as simple as running this in a shell:
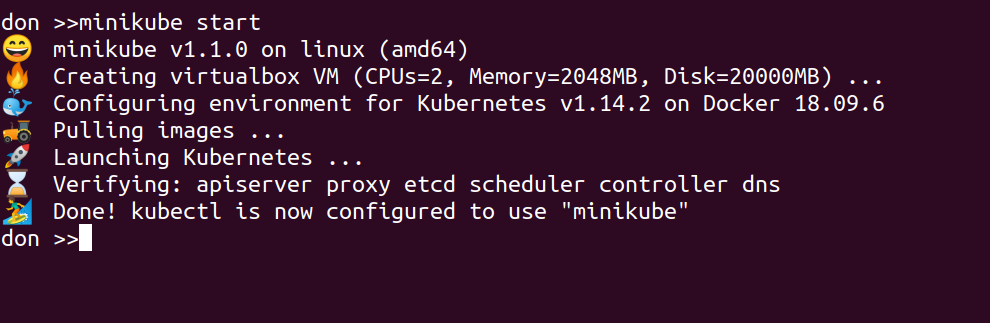
minikube start
Note you could optionally give this Cluster a name, if you are likely to have more than one for different branches of development for example. This is also where you could specify the VM provider if you want to use something other than VirtualBox – there are more details here:
https://kubernetes.io/docs/setup/learning-environment/minikube/#starting-a-cluster
This should produce output like the following, and it may well take a few minutes as the VM is downloaded and started, then a stack of Docker images are started up inside that….
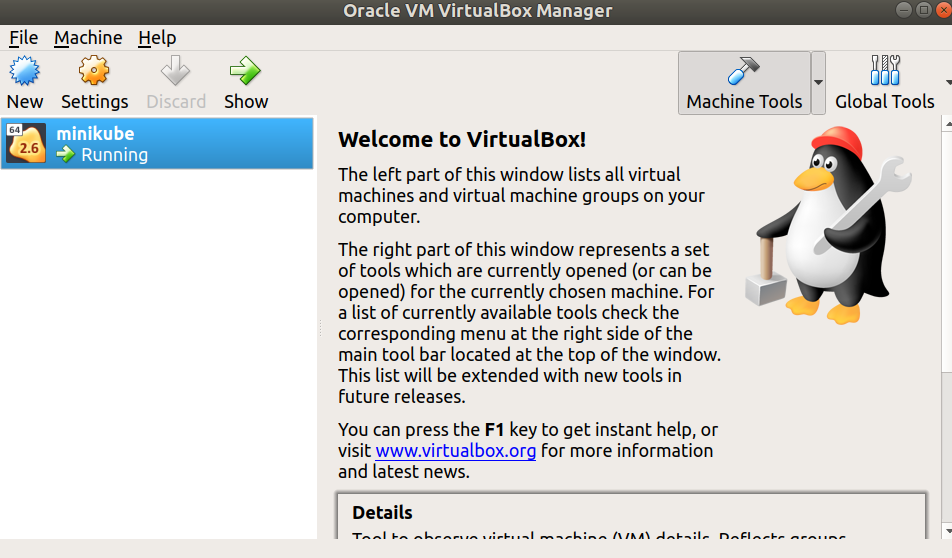
At this point you should be able to see the minikube VM running in the VirtualBox GUI:
Now it’s running, we can connect from our local shell directly to the one inside the running VM by simply issuing:
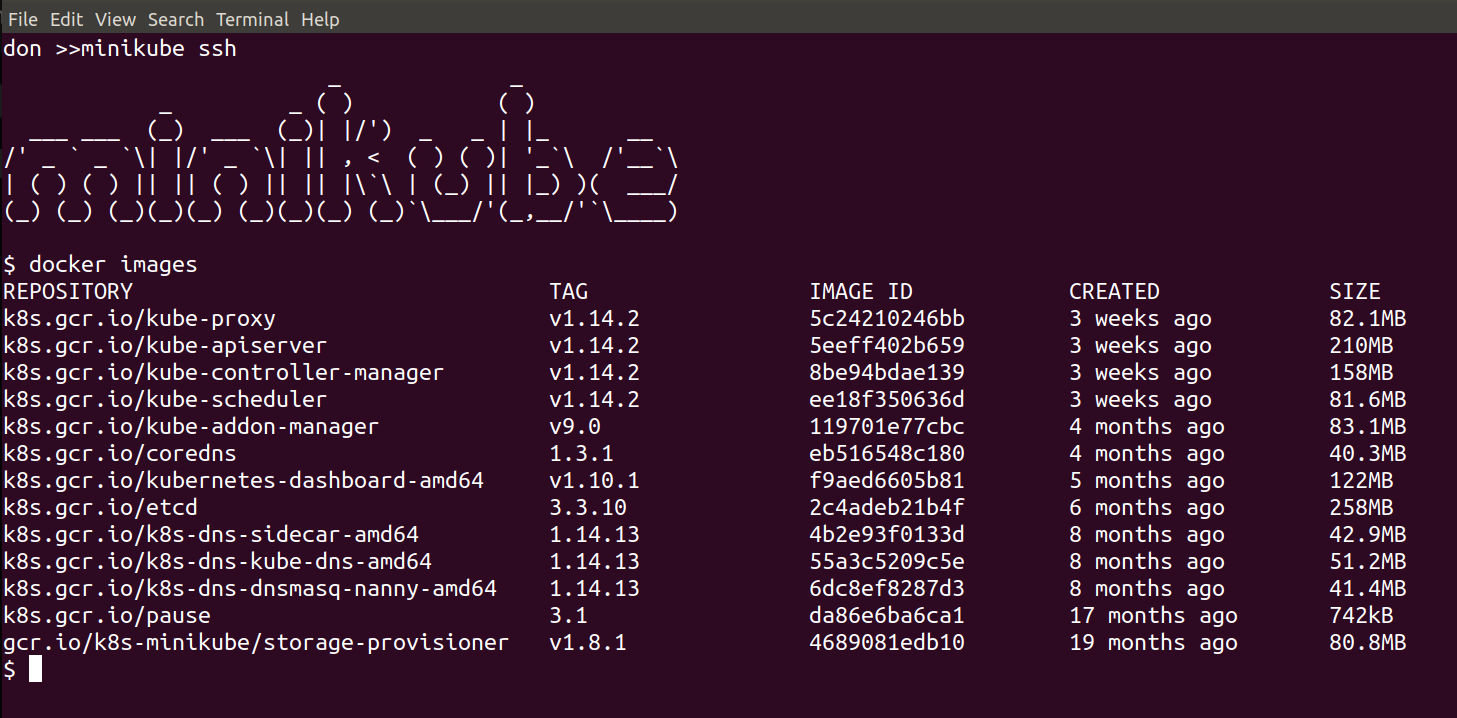
minikube ssh
This will put you inside the VM where the Kubernetes Cluster is being run, and we can see and interact with the running components, for example:
docker images
should show all of the downloaded images:
and you could do this to see the running containers:
docker ps
Quitting out of the VM puts us back on the local host, where we can use kubectl to query the status of the Minikube cluster – the initial setup has told kubectl about the Minikube-managed Kubernetes Cluster, meaning there’s no other setup required here:
kubectl cluster-info
kubectl get nodes

kubectl describe nodes
minikube addons – what they are and how they can help you
Show some of the ways minkube makes things easier for local dev
First, take a moment to look around these two local folders:
ls -al ~/.minikube; ls -al ~/.kube
These are where Minikube keeps its settings and the VM Image, and where kubectl settings are persisted – and updated by Minikube.
With Minikube you’ve often got the option to either use kubectl directly, or to use some Minikube built-in features to make your life easier.
Addons are one of these features, allowing you to very easily add – or remove – functionality from the cluster like this:
minikube addons list
minikube addons enable heapster
minikube addons enable metrics-server
With those three lines we’ve taken a look at the available addons and their current status, and selected to enable both heapster and the metrics server. This was done to give us cpu and mem stats in the Kubernetes Dashboard, which we will set up in a moment. The output should look something like this:
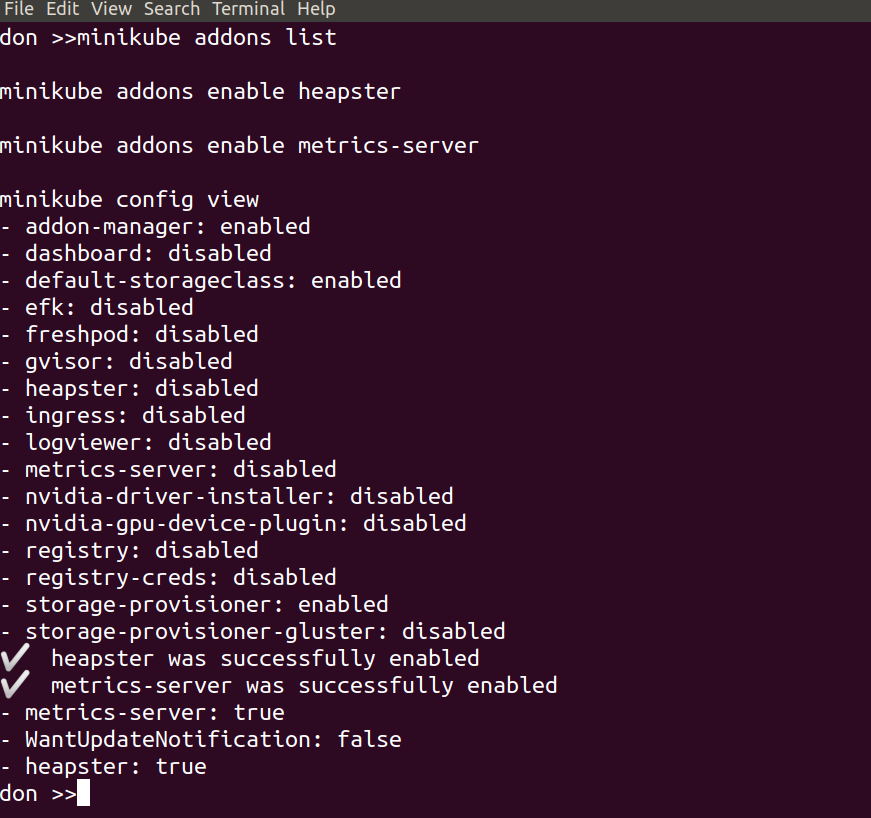
minikube config view
shows the current state of the config – i.e. what changes have been made, so we can keep a track of them easily.
kubectl --namespace kube-system get pods
now we can enable the dashboard:
minikube addons enable dashboard
and check again to see the current state
minikube addons list
we’ll connect to the Dashboard and take a look around in a moment, but first…
minikube docker env – using the DOCKER_HOST in you minikube VM – how & why
Minikube docker-env – setup local docker client to use minikube docker host
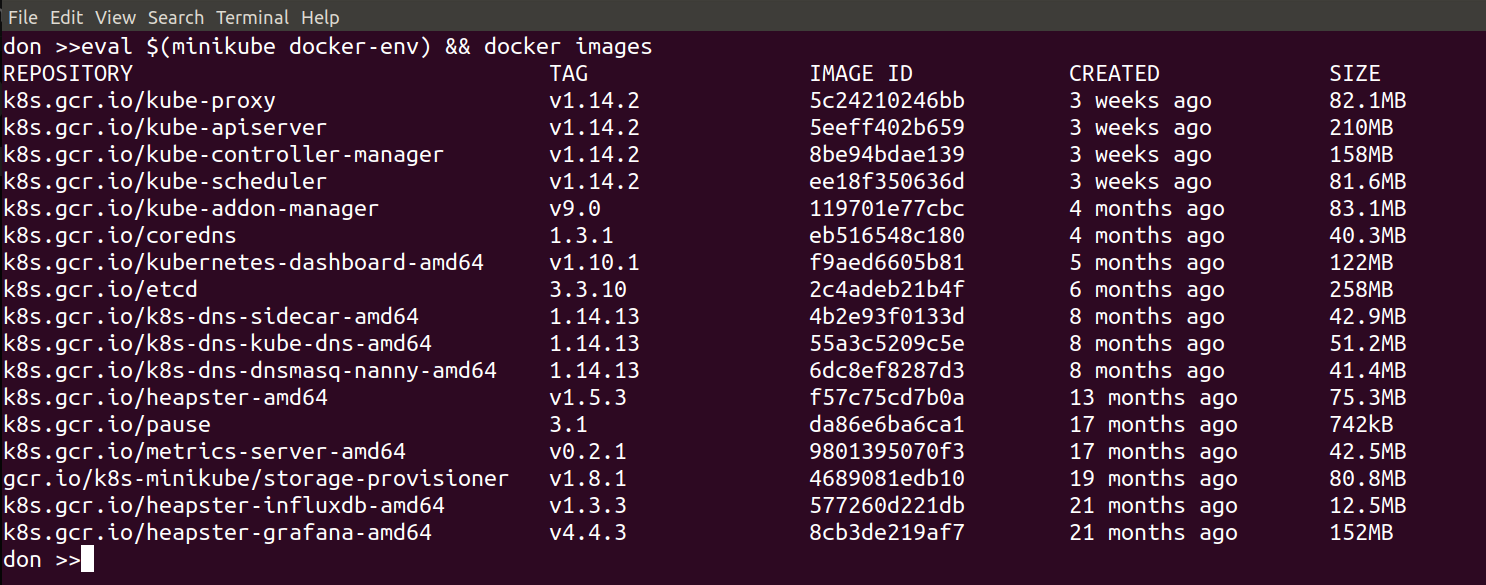
We’re going to look at connecting our local docker client to the docker host inside the Minikube VM. This is made easy by:
minikube docker-env
if you run that command on its own it wiull show you what settings it will export and you can set them by doing:
eval ${minikube docker-env}
From then on, in that shell, your local docker commands will use the docker host inside Minikube.
This is very useful for debugging and local development – when you change and deploy anything to your Kubernetes Cluster, you can easily tail the logs or check for errors or issues. You can also do all of this via the dashboard or kubectl too if you prefer, but it’s another handy and powerful feature from Minikube.
The following image shows the result of running this command:
eval $(minikube docker-env) && docker ps | grep -i metrics
so we can now use our local docker client to run docker commands like…
docker ps
docker ps | grep -i metrics
docker logs -f <some container id>
etc.
Kubernetes dashboard with Heapster and Metrics Server – made easy by Minikube
Minikube k8s dashboard – here we will start up the k8s dashboard and take look around.
We’ve delayed starting the dashboard up until after we enabled the metrics-server & heapster components we deployed earlier. By doing it in this order, the dashboard will automatically detect and use these components, giving us cpu & mem stats and a nicer looking dash, with no additional config required.
Starting the dashboard simply involved running
minikube dashboard
and waiting for a minute…
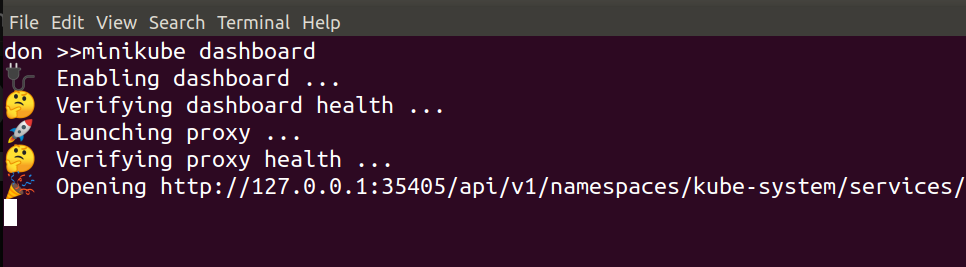
That should fire up your browser automatically, then you can take a look around at things like Default namespace > Nodes
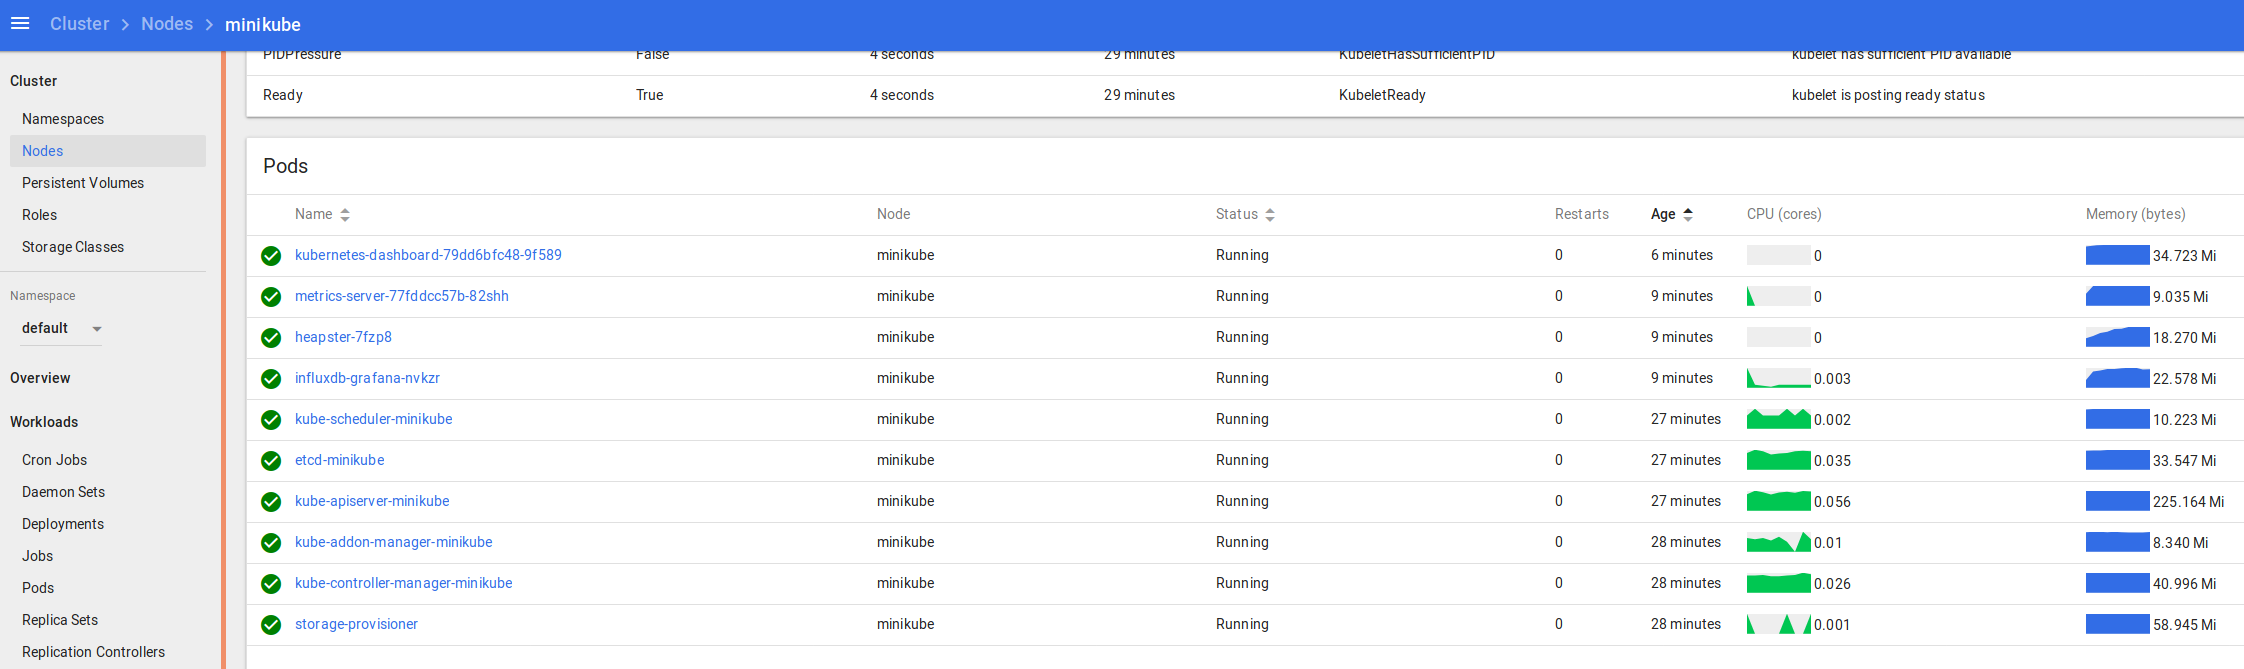
and in the namespace kube-system > Deployments
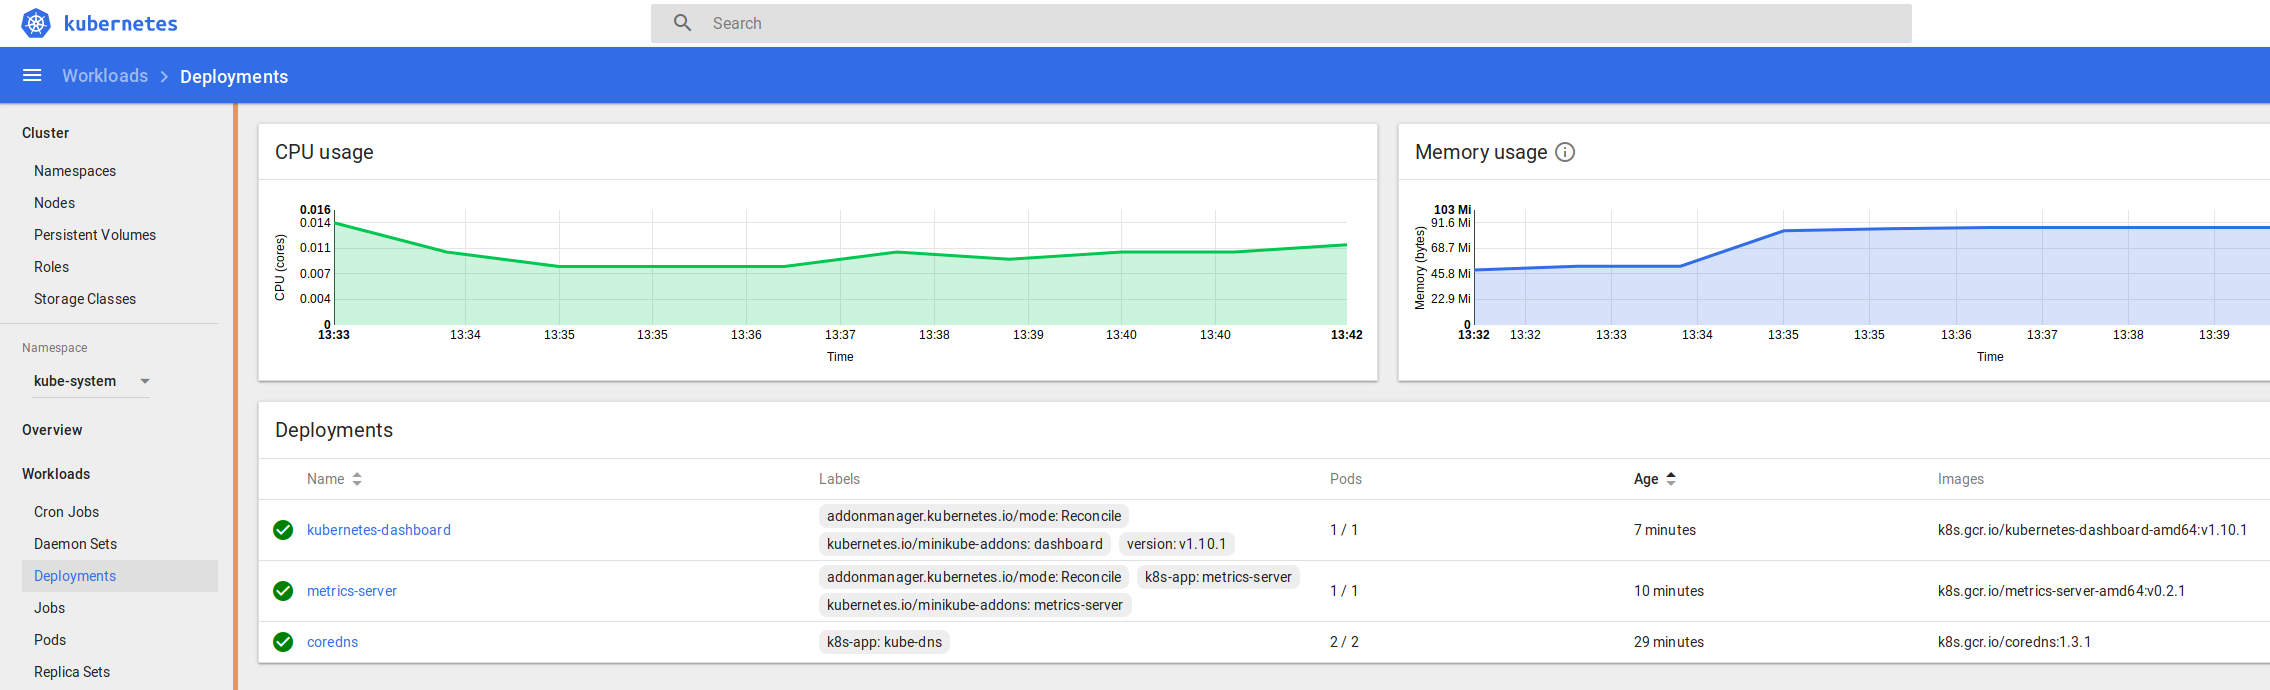
and kube-system > Pods
You can see the logs and statuses of everything running in your k8s cluster – from the core components we covered at the start, to the dashboard, metrics and heapster we enabled recently, and the application we’re going to deploy and scale up soon.
kubectl – some examples and alternatives
# kubectl command line – look at kubectl and keep an eye on things
kubectl get deployment -n kube-system
kubectl get pods -o wide -n kube-system
kubectl get services
kubectl
example app – “hello (Kubernetes) world” minikube style with NGINX, scaling your world
Now we’ll deploy the most basic application we can – a “Hello World” style NGINX docker image.
It’s as simple as this, where nginx is the name of the docker image you want to deploy, hello-nginx is the label you want to give it, and port 80 is where you want it to listen:
kubectl run hello-nginx --image=nginx --port=80
that shouldn’t take long, and you can watch the progress like this:
kubectl get pods -o wide
We can then expose the deployment using NodePort:
kubectl expose deployment hello-nginx --type=NodePort
then we can ask Minikube to provide the URL for Ingress:
minikube service --url=true hello-nginx
and hitting that URL in your browser should show the obvious:
“Welcome to nginx!
If you see this page, the nginx web server is successfully installed and working. Further configuration is required.”
you can keep an eye on the Service with
kubectl get svc
while we scale to x3 replicas:
kubectl scale --replicas=3 deployment/hello-nginx
and take a look at what happens with
kubectl get deployment
kubectl get pods -o wide
or check in the Dashboard to see something like this:

and monitor what’s going on in our “hello world” NGINX app with kubectl then scale it down to 0 or 1 or whatever you like…
kubectl get deployment
kubectl get pods -o wide
kubectl scale --replicas=0 deployment/hello-nginx
Next post – Helm & Tiller onwards…
Discover more from Don's Blog
Subscribe to get the latest posts sent to your email.
Awesome Blog Don..can you give any inputs on metrics monitoring on this wordpress site?