Intro
This is a follow on to the previous writeup on Kubernetes with Minikube and shows how to quickly and easily get a Kubernetes cluster up and running using VirtualBox and Minikube.
The setup is very similar for all platforms, but this post is specifically focused on Mac, as I’m planning on using this as the basis for a more complex post on Jenkins & Kubernetes Pipelines (and that post is now posted, here!).
Installing required components
There are three main components required:
VirtualBox is a free and open source hypervisor. It is a light weight app that allows you to run Virtual Machines on most platforms (Mac, Windows, Linux). We will use it here to run the Minikube Virtual Machine.
Kubectl is a command line tool for controlling Kubernetes clusters, we install this on the host (Mac) and use it to control and interact with the Kubernetes cluster we will be running inside the Minikube VM.
Minikube is a tool that runs a single-node Kubernetes cluster in a virtual machine on your personal computer. We’re using this to provision our k8s cluster and will also take advantage of some of the developer friendly addons it offers.
Downloads and Instructions
Here are links to the required files and detailed instructions on setting each of these components up – I went for the ‘brew install‘ options but there are many alternatives in these links. The whole process is very simple and took about 10 minutes.
VirtualBox: https://www.virtualbox.org/wiki/Downloads
simply download the Mac VirtualBox .dmg image file and install it
kubectl: https://kubernetes.io/docs/tasks/tools/install-kubectl/
brew install kubectl
Minikube: https://kubernetes.io/docs/tasks/tools/install-minikube/brew install minikube
Starting up Kubernetes via Minikube in VirtualBox on Mac
From the Mac terminal (iTerm2 or whatever you use) running minikube start should kick off the download of the minikube VirtualMachine image.
If you would prefer to use another hypervisor (VMWare, kvm etc) you may need to specify the driver from this list:
https://kubernetes.io/docs/setup/learning-environment/minikube/#specifying-the-vm-driver
most popular hypervisors are well supported by Minikube.
Here’s what that looks like on my Mac – this may take a few minutes as it’s downloading a VM (if not already available locally), starting it up and configuring a Kubernetes Cluster inside it:
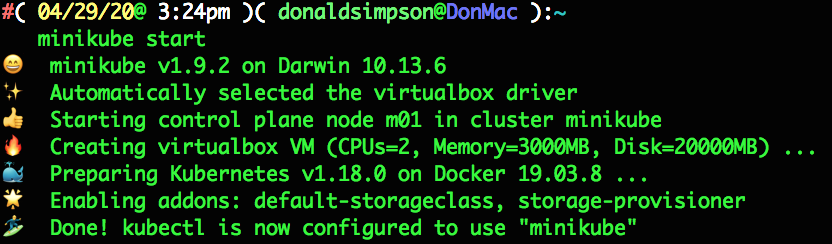
there’s quite a lot going on and not very much to see; you don’t even need to look at VirtualBox as it’s running ‘headless’, but if you open it up you can see the new running VM and its settings:
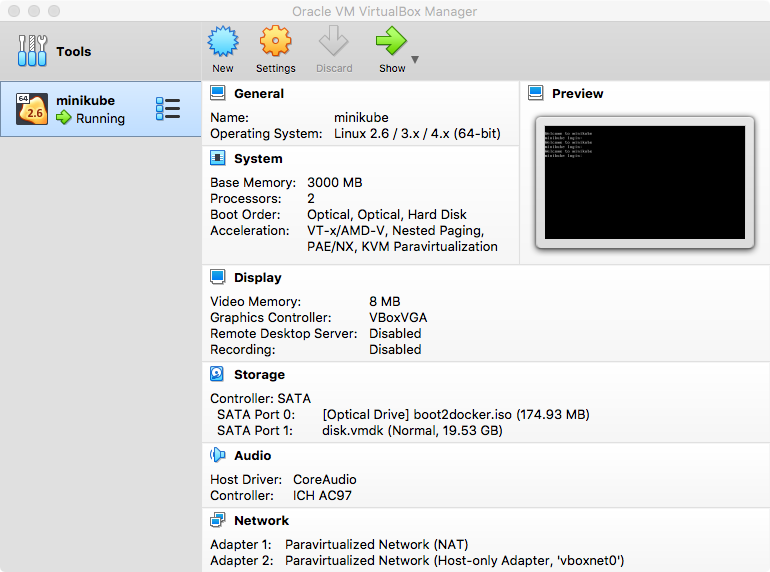
these values are all set to sensible defaults, but you may want to tweak things like memory or cpu allocations – running
minikube config -h
should help you see what to do, for example
minikube start --memory 1024
to change the allocated memory.
If you then take a look at the config file in ~/.minikube/config/config.js you will see how your preferences – resource limits, addons etc – are persisted and managed there.
Looking back at VirtualBox, if you click on “Show” or the running VM you can open that up to see the console for the Minikube VM:
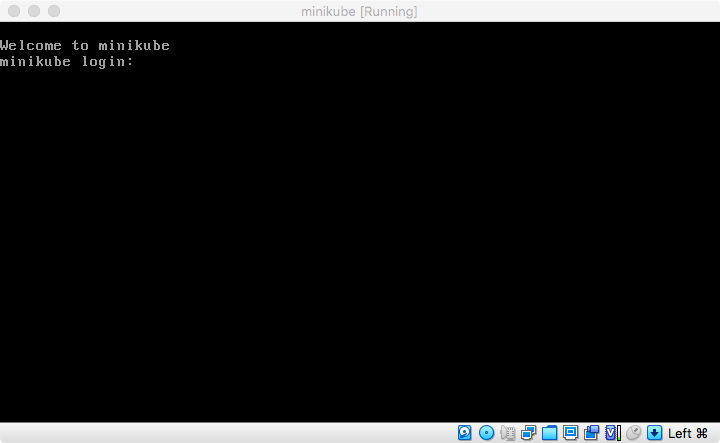
to stop the vm simply do a minikube stop, or just type minikube to see a list of args and options to manage the lifecycle, e.g. minikube delete, status, pause, ssh and so on.
Minikube Addons
One of the handy features Minikube provides are its selection of easy to use addons. As explained in the official docs here you can see the list and current status of each addon by typing minikube addons list
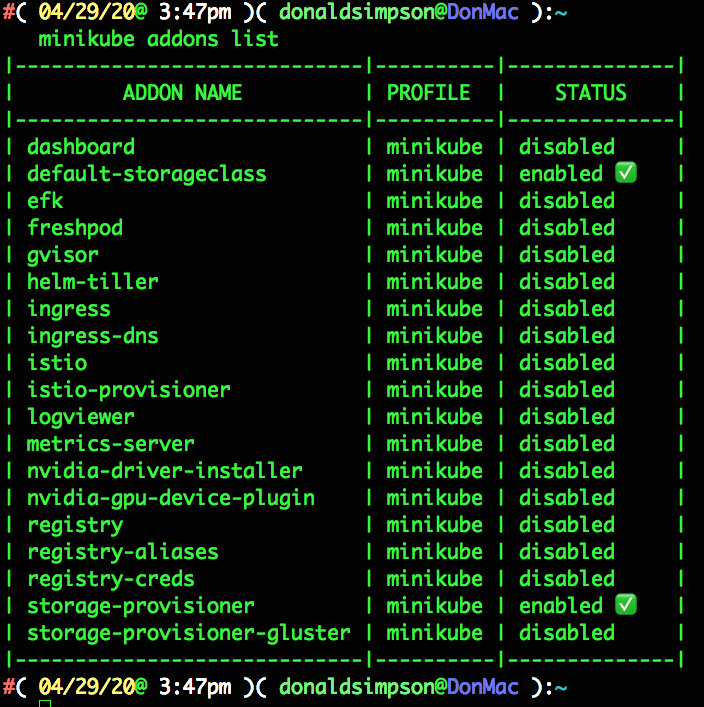
the storage-provisioner and default-storeageclass addons were automatically enabled on startup, but I usually like to add the metrics server and dashboard too, like so:
minikube addons enable metrics-server
minikube addons enable dashboard
I often use helm & tiller, efk, istio and the registry too – this feature save me a lot of time and messing about!
Accessing the Kubernetes Dashboard – all done!
Once that’s completed you can run minikube dashboard to open up the Kubernetes dashboard on your host.
Minikube makes this all very easy; we didn’t have to forward ports, configure firewalls, consider ingress and egress, create RBAC roles, manage accounts/passwords/keys or set up DNS, or any of the many things you would normally want or have to consider to get to this point.
These features make Minikube a great choice for development work, where you don’t want to care about things like this as you would in a “for real” environment.
Your browser should open up the Kubernetes Dashboard, and you can click around and see the status of the many components that comprise your new Kubernetes cluster:


And then…
Next up I’ll be building on this setup by deploying a Jenkins instance inside the Kubernetes Cluster, then configuring that to use Kubernetes to build, manage and deploy applications on the same Kubernetes Cluster.
This is now covered in the next post, here: