
Intro
Here are some pics and updates on my recent attempts at milling my own wood. This had been on my wood-related TODO list for a long time. The aim was to free up some room in my woodpile by creating planks that I can then try and make things out of – and to have some fun doing so.
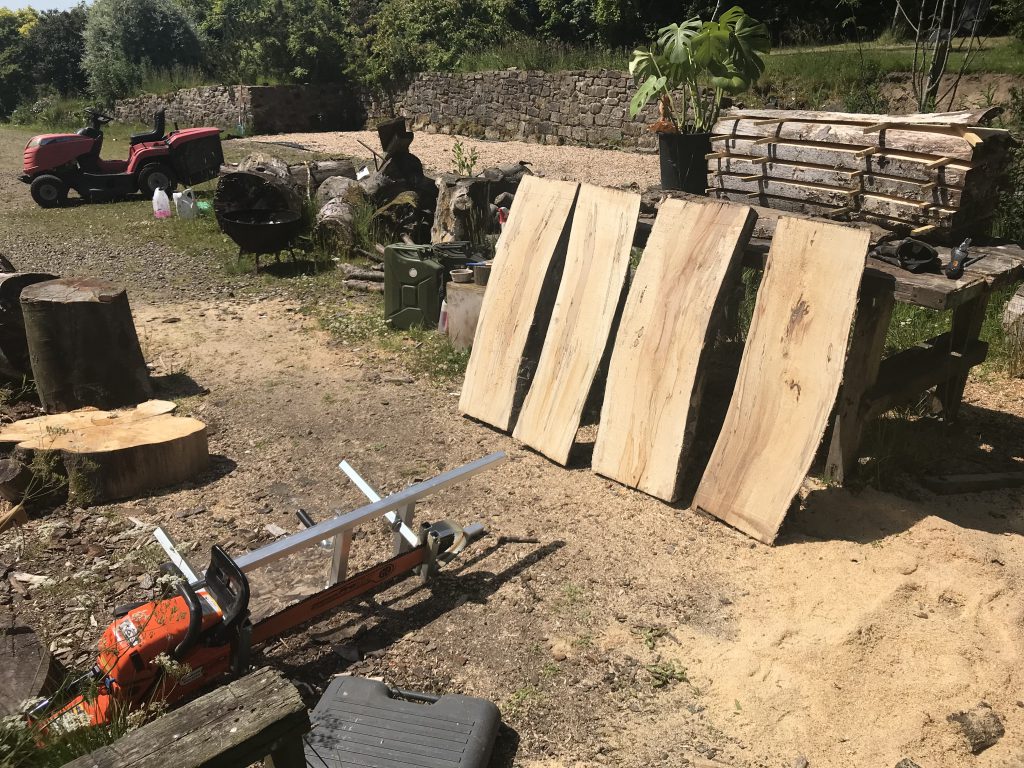
All of the wood is local beech, I’m using up old trunks first but plan to do some green milling later, including milling another fallen tree with a nice straight trunk “in situ” then bringing the planks home to dry.
Tools & Setup
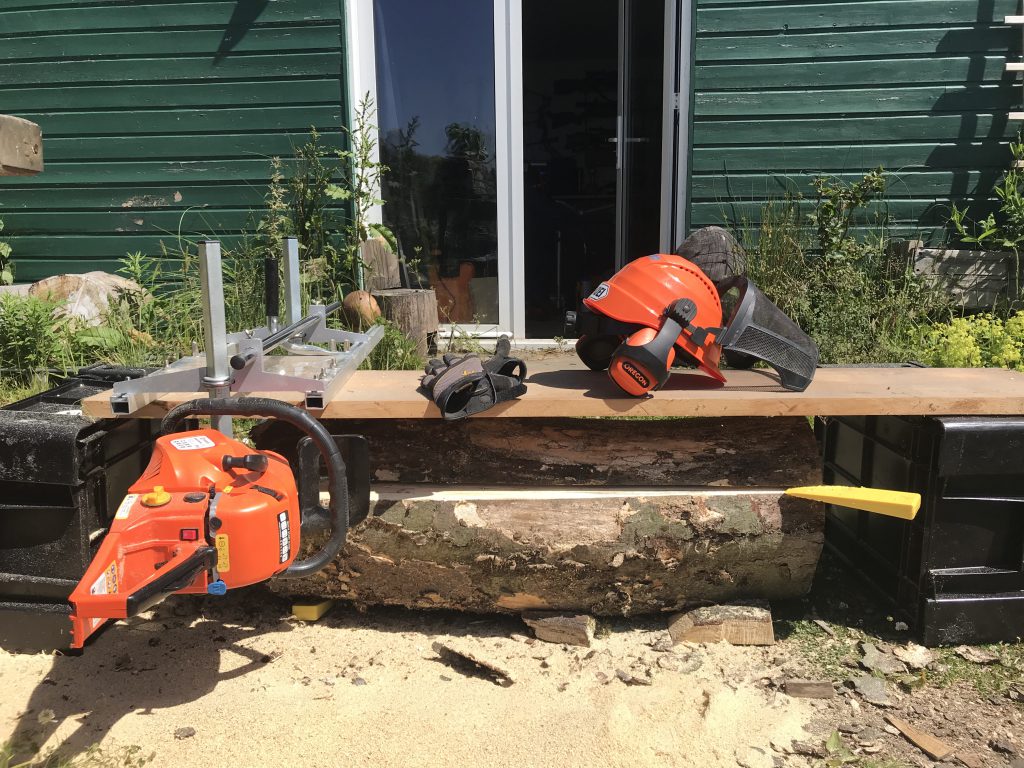
Chainsaw: you need a powerful chainsaw for milling, especially if you want to run a long enough bar to mill wider trunks, which I hope to do later. I really really wanted a large Husqvarna or Stihl but the cost for something of the right spec for this job was waaaay over my budget.
Searching for >60cc chainsaws I found this one by Parker:
https://www.amazon.co.uk/62CC-20-PETROL-CHAINSAW-CHAINS/dp/B00M9BBTT4
£80-odd quid for a 62cc Chinese chainsaw with 2 year guarantee and some extras bits ‘n pieces!?! Sounds far too good to be true, but further reading led me to reviews of similar cheap gear being used, mostly with good results, and folk referring to it as Chinese Milling, or “Chilling” 🙂
Bar & Chain: the 20″ bar that came with the Parker was ok but too small and the chains were cross-cut. I ordered a 28″ bar and Archer ripping chain from these guys – very happy with the parts and the service:
https://www.ebay.co.uk/str/chainsawbarsltd
Mill: there are some very cheap Chinese mill, bar & chain sets on eBay, but I went for this Eco Mill one which gets lots of good reviews:
https://www.frjonesandson.co.uk/products/eco-mill-36-chainsaw-mill/
Pics of the end result – cheapo Chinese saw, 28″ bar, ripping chain and EcoMill together:


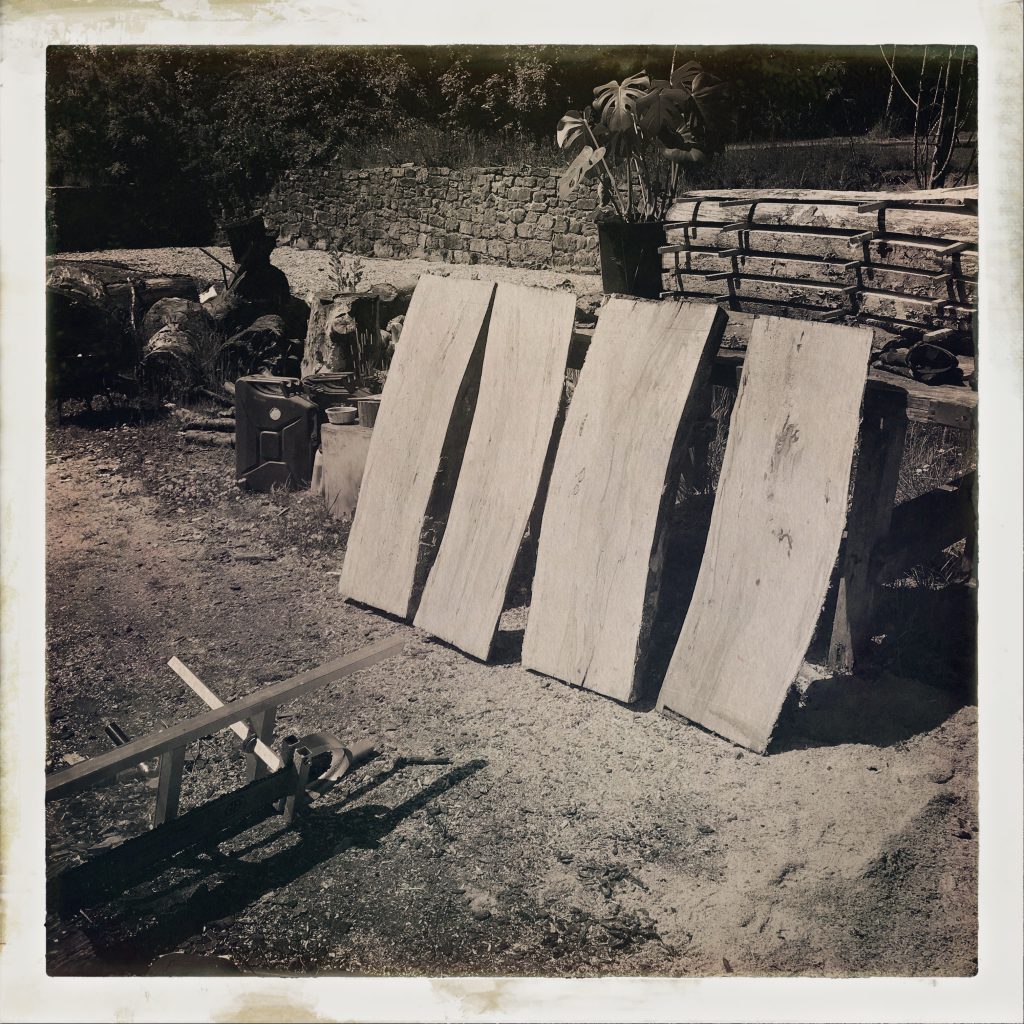
First attempt
The first cut is not only the deepest, but the most important and most difficult too – I tried the old approach of screwing a straight plank to the top of the log, then running the saw/mill over this to give me a flat initial cut.
It went ok, but I think the log rolled a little towards the end – it was only small so easy done. This means that all subsequent cuts follow the same slight curve – the planks are still ok, but a lesson learned. These planks are narrow enough to run through my planer/thicknesser later anyway.
The waste/kerf from the ripping chain is noticeably smaller (narrower) and much finer than with a cross-cut chain. The saw runs surprisingly well and starts really easily. It makes a fair bit of noise but for the money it’s superb. I didn’t try to rush or force the cut, pretty much let the chain pull itself through, and I am very happy with the results.
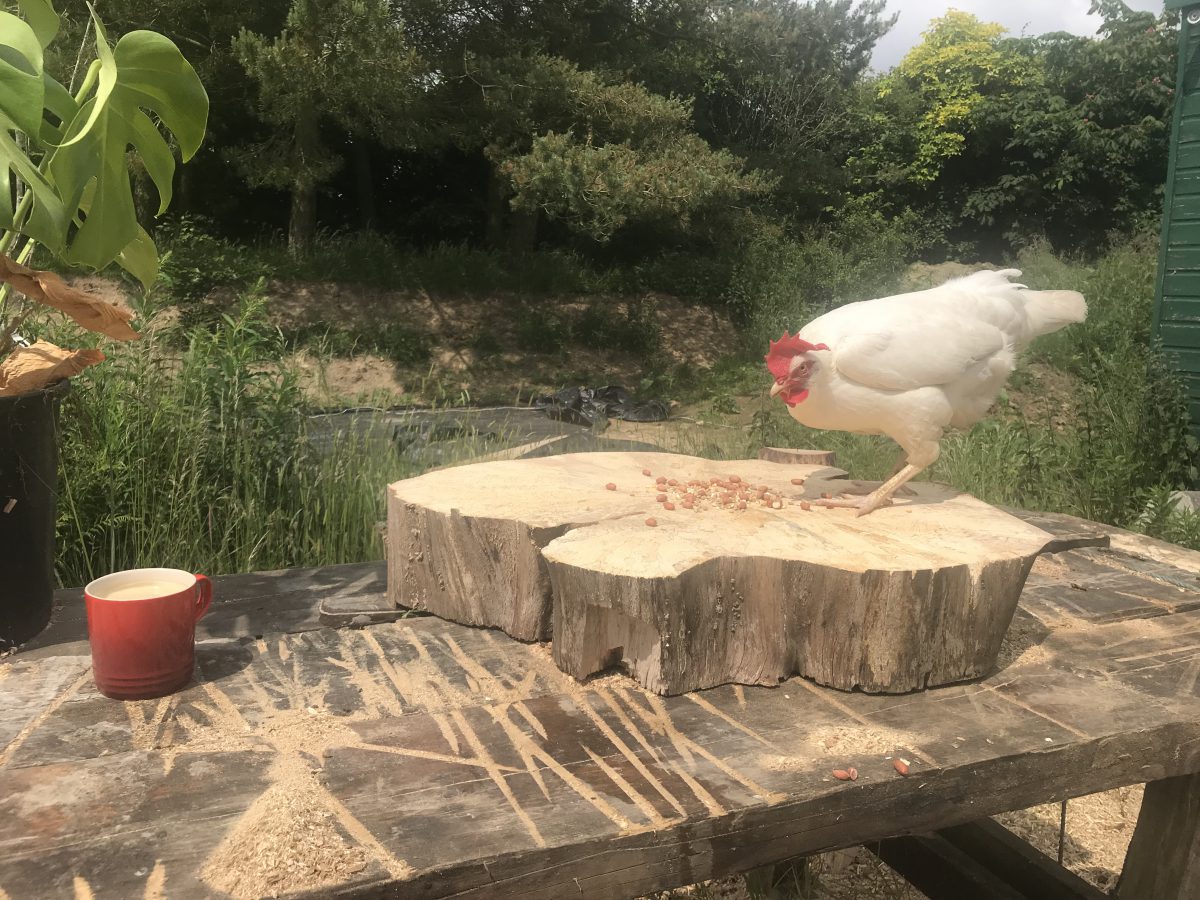
Pics of the first small-scale test – the chicken was grudgingly impressed.


“Not too bad… for a first attempt.” 


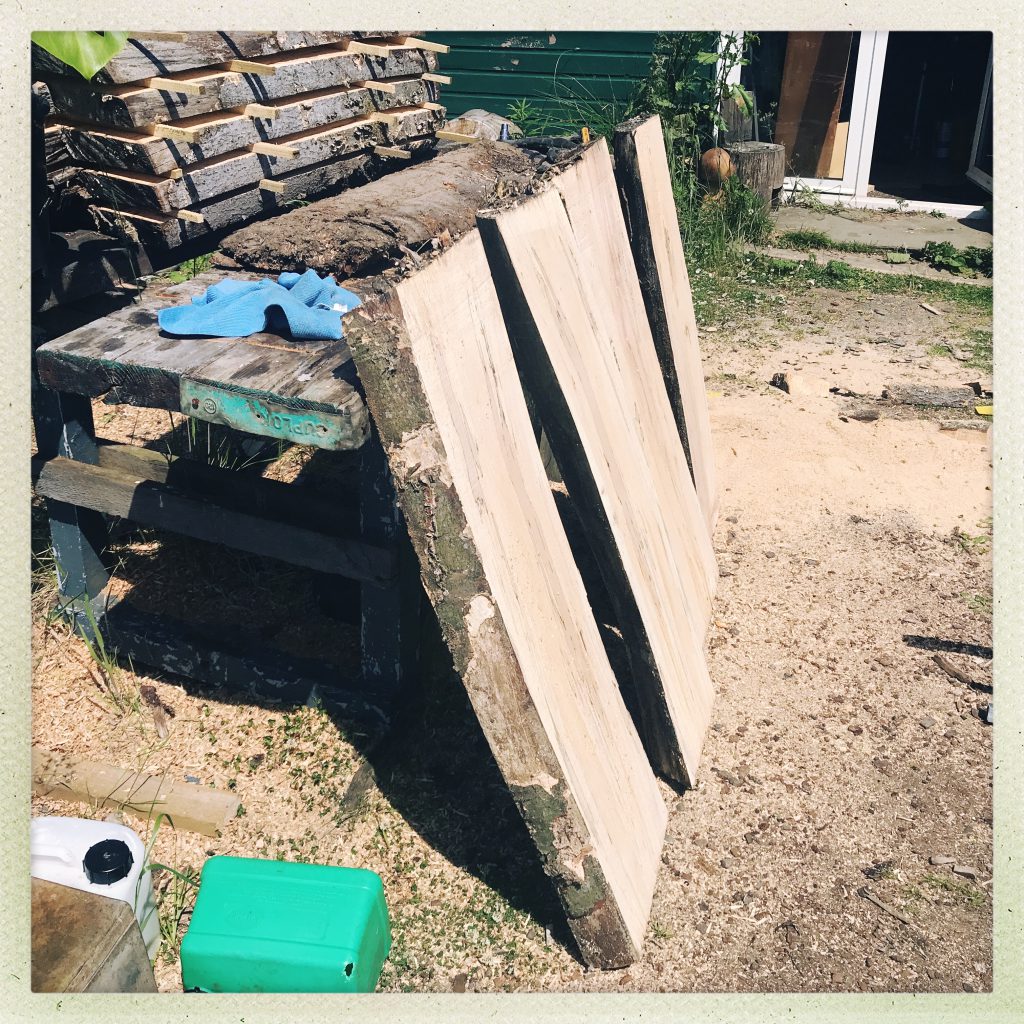
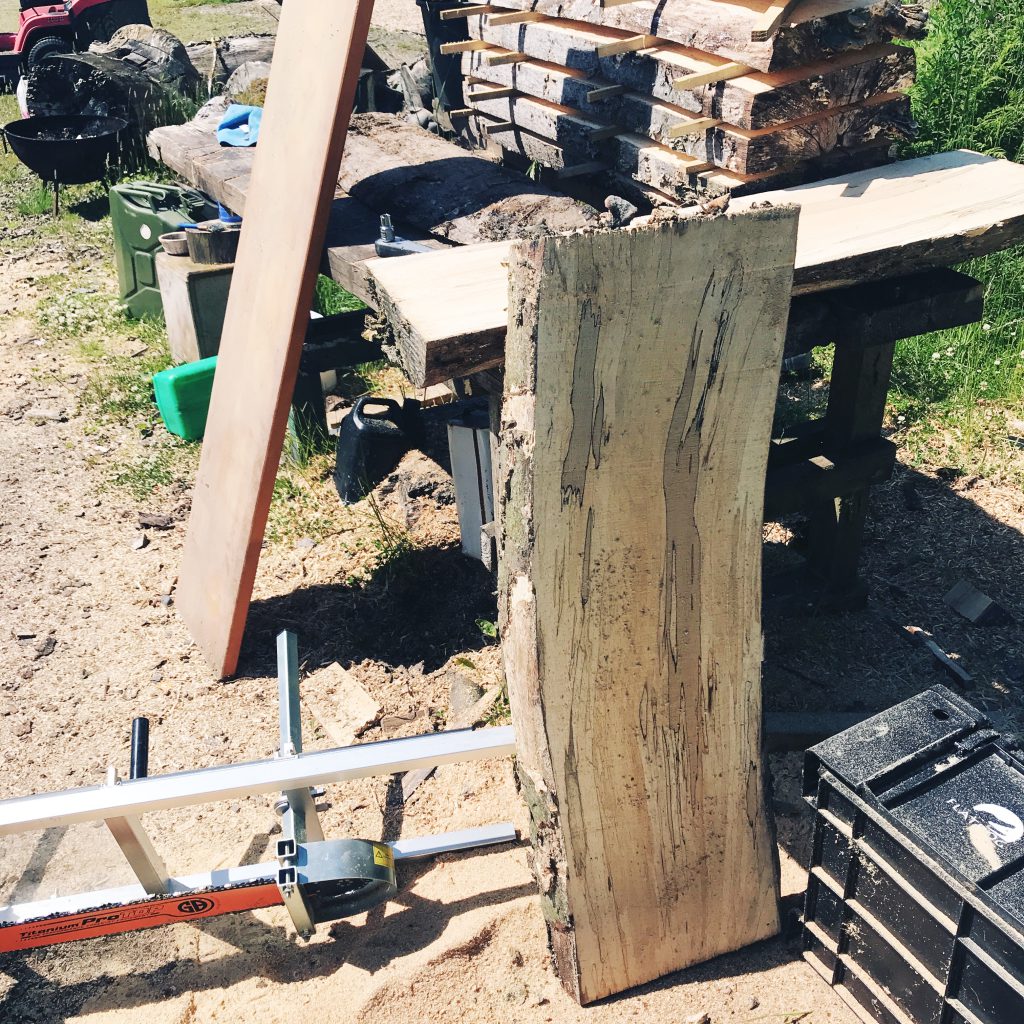
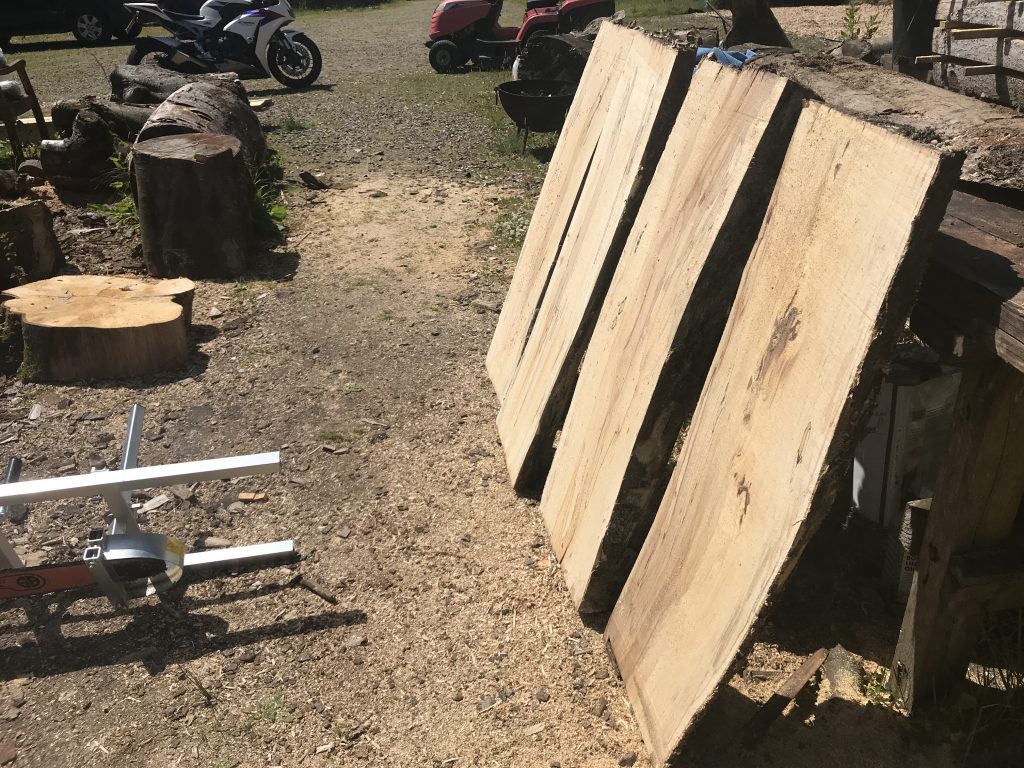
Second attempt
This time I tried using a bigger plank sitting on a crate at either end for the first cut, with the log sitting unattached underneath but secured with a load of wedges to stop it rolling/moving. This took longer to set up but worked much better.
First cut setup 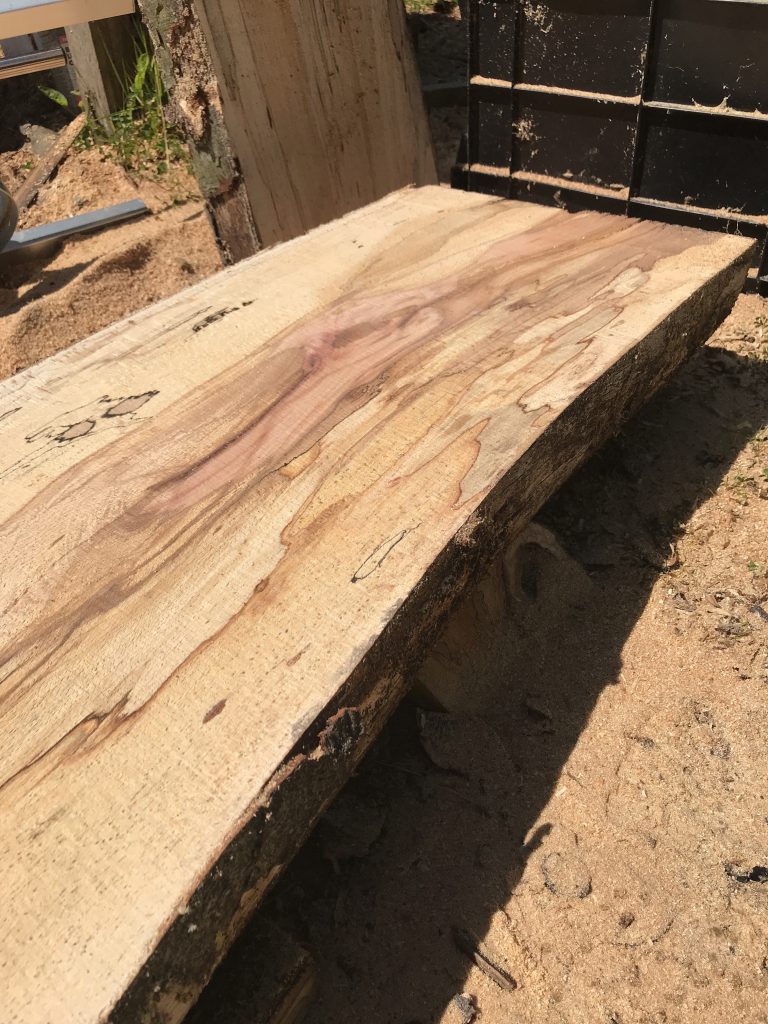
Just cut… 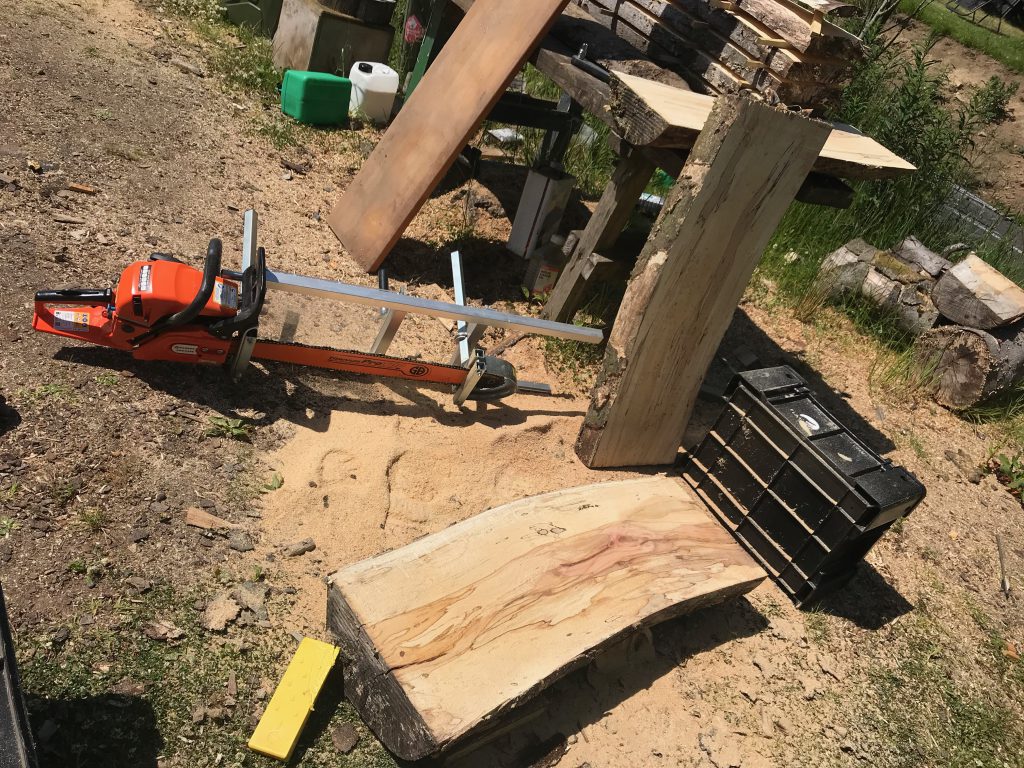

Flattening Sled/Jig
Here are pics of a similar-ish setup I use to flatten large slabs. It’s a “jig” made from a couple of clamped planks (from my daughters old bed), with a “sled” made from a couple of 30mm angle iron sections joined together with Gorilla Tape & wooden blocks to keep it the right width and stop it coming off the rails. All of this keeps the router level while I run it from side to side, moving the sled up and down the jig to flatten the wood.
The router bit is a “1/2-Inch Shank 2-Inch Cutting Diameter Double Flute Carbide Tipped Cleaning Bottom Router Bit Cutter“… so there you go. It’s now done quite a lot of work and still cuts quickly and easily.


This setup is very versatile – I used it to create these too:
Random pics
Other stuff….


Hipstamatic pic 
“Squirrel!” 

Ula the Newfoundland
TODO: make something useful from those planks….
Discover more from Don's Blog
Subscribe to get the latest posts sent to your email.