


DevOps, CI/CD, Kubernetes, Docker, Jenkins, Woodcraft, and my CV/Resume

Quick note on adding an entry like –insecure-registry 172.30.0.0/16 to docker running on Ubuntu.
While trying to get oc cluster up working on an Ubuntu VM I was getting the following error message and (helpfully) a suggested solution:
don@ubuntu:~# oc cluster up doncluster
Starting OpenShift using registry.access.redhat.com/openshift3/ose:v3.7.23 ...
-- Checking OpenShift client ... OK
-- Checking Docker client ... OK
-- Checking Docker version ... OK
-- Checking for existing OpenShift container ... OK
-- Checking for registry.access.redhat.com/openshift3/ose:v3.7.23 image ... OK
-- Checking Docker daemon configuration ... FAIL
   Error: did not detect an --insecure-registry argument on the Docker daemon
   Solution:
     Ensure that the Docker daemon is running with the following argument:
         --insecure-registry 172.30.0.0/16
I normally work on RedHat boxes, and this is usually easily solved by going to /etc/sysconfig/docker and adding the desired registry to the line:
INSECURE_REGISTRY=
On more recent RedHat docker installs this is now done in the externalised config file /etc/containers/registries.conf.
On my Ubuntu VM neither of these exist, and running locate with grep plus a quick google brings back loads of other file locations and suggestions, none of which worked for me (/etc/default/docker, exporting DOCKER_OPTS etc etc).
So, I checked systemctl status docker and got the following:
don@ubuntu:~# systemctl status docker
● docker.service - Docker Application Container Engine
 Loaded: loaded (/lib/systemd/system/docker.service; enabled; vendor preset: enabled)
 Active: active (running) since Wed 2018-01-24 11:29:25 GMT; 25min ago
 Docs: https://docs.docker.com
 Main PID: 4648 (dockerd)
 Tasks: 19 (limit: 19660)
 Memory: 26.8M
 CPU: 1.324s
 CGroup: /system.slice/docker.service
 ├─4648 /usr/bin/dockerd -H fd:// --insecure-registry 172.30.0.0/16
 └─4667 docker-containerd -l unix:///var/run/docker/libcontainerd/docker-containerd.sock --shim docker-containerd-shim --metrics-interval=0 --start-timeout 2m --state-di (...snip)
which prompted me to look at the file
/lib/systemd/system/docker.service
Adding the settings I wanted to the end of the ExecStart line like so:
ExecStart=/usr/bin/dockerd -H fd:// --insecure-registry 172.30.0.0/16
followed by a
systemctl daemon-reload
systemctl restart docker
did the trick, finally.
I am now hitting this issue, which looks like a systemd + docker mismatch… and am thinking CentOS may be a better place to test this!
don@ubuntu:~# oc cluster up doncluster
Starting OpenShift using registry.access.redhat.com/openshift3/ose:v3.7.23 ...
-- Checking OpenShift client ... OK
-- Checking Docker client ... OK
-- Checking Docker version ... OK
-- Checking for existing OpenShift container ... OK
-- Checking for registry.access.redhat.com/openshift3/ose:v3.7.23 image ... OK
-- Checking Docker daemon configuration ... OK
-- Checking for available ports ... FAIL
   Error: Cannot get TCP port information from Kubernetes host
   Caused By:
     Error: cannot start container cec56a101a46aa25adb6806f7c84df218e5d79c392fa0c38207f92510eb46538
     Caused By:
       Error: Error response from daemon: {"message":"oci runtime error: rootfs_linux.go:53: mounting \"/sys/fs/cgroup\" to rootfs \"/var/lib/docker/aufs/mnt/aeedaa83596edc9cb2b2cd835000277f9a5355f709694f8ec70d88787395cbd0\" caused \"no subsystem for mount\""}
argh.
These are my notes from running through the Terraform getting started guide here:
https://www.terraform.io/intro/getting-started/install.html
to set up terraform (on a Mac) and provision a basic test instance in AWS.
This is very easy, simply download terraform for your platform (a single binary), extract it somewhere sensible and add that location to your PATH variable.
I set this up in my .profile, along the lines of:
export TFORM=/Users/donaldsimpson/TFORM
export PATH=$M2:$TFORM:$PATH
quick check that all looks ok:
As per the guide, the next steps are to get a note of your AWS access_key and secret_key from this AWS page, then create and edit a local “example.tf” file for your project, like this:
provider "aws" {
  access_key = "ACCESS_KEY_HERE"
  secret_key = "SECRET_KEY_HERE"
  region     = "us-east-1"
}

resource "aws_instance" "example" {
  ami           = "ami-2757f631"
  instance_type = "t2.micro"
}
I hit this issue: https://github.com/hashicorp/terraform/issues/4367 as my AWS account is pretty old, and had to change the values for
ami = "ami-2757f631"
instance_type = "t2.micro"
to be:
ami           = "ami-408c7f28"

instance_type = "t1.micro"
You should now be able to run terraform init and see something positive…
Running “terraform plan” provides a dry run/sanity check of what would be done

terraform apply: run the plan, and actually create the resources listed above:
Once that has completed, you can check your AWS console and see the newly created instance:

“terraform show” can confirm the same details in a less pointy-clickety way:
This was all pretty simple, quick and straightforward.
The next steps are to manage the hosts in an Infrastructure as Code manner, adding in changes and deletions/reprovisioning, and to do something useful with them.
I’d also like to try using Terraform with Digital Ocean and VMWare providers.


Some pics of wooden things I’ve made recently…
Little pot with scorched edges:

Small oak bowl:

Deep Ash (I think? maybe Beech?) bowl with cool grain and spalting:


My first attempt at Pyrography, on a little Celtic vase sort of thing:

Some pics of my first attempts at turning “natural edge” wooden bowls
These were made from a very nice chunk of Rowan wood I was kindly given a while back


This post is the first in a series of 3 introducing the combined power of Jenkins, Docker, and the Jenkins DSL.
They should hopefully provide enough information to get to grips with both Docker and Jenkins – what they both do and how to use them – by showing some practical examples of them working together.
The first step, if you haven’t already, is to download and install Docker on your platform – the Docker website covers this in good detail for most platforms…
Once that’s done, you can try it out with the customary “Hello World” example…

I’m running Docker on an Ubuntu VM, but the commands and the results are the same regardless of platform – that’s one of the main Docker concepts.
You can then check which processes (docker containers) are running using the “docker ps” command – in my example you can see that there’s one Jenkins image running. If you run “docker ps -a” you will see all containers (including stopped ones, of which I have a few on this host):
 and you can check your Docker version with:
root@ubuntud:~# docker --version
Docker version 1.13.0, build 49bf474
Now that the basic setup is done, we can move on to something a little more interesting – downloading and running a “Dockerised” Jenkins container.
I’m going to use my own Dockerised Jenkins Image, and there will be more detail on that in the next post – you’re welcome to try it out too, just run this command in your terminal:
docker run -d -p 8080:8080 donaldsimpson/dockerjenkins
if you don’t happen to have my docker image cached locally (like I do) then docker will automatically download it for you from Docker Hub then run it:
 That command did a quite few important things, here’s a quick explanation of them all:
docker run -d
tells docker that we want to run the container in the background so that we can carry on and do other things while it runs. The alternative is -it, for an interactive/foreground session.
docker run -d -p 8080:8080
The -p 8080:8080 tells docker to map port 8080 on the local host to port 8080 in the running container. This means that when we visit localhost:8080 the request will be passed through to the container.
docker run -d -p 8080:8080 donaldsimpson/dockerjenkins
and finally, we have the namespace and name of the Docker image we want to run – my “donaldsimpson/dockerjenkins” one – more on this later!
You can now visit port 8080 on your Docker host and see that Jenkins is up and running….
That’s Jenkins up and running and being happily served from the Docker container that was just pulled from Docker Hub – how easy was that?!
And the best thing is, it’s entirely and reliably repeatable, it’s guaranteed to work the same on all platforms that can run Docker, and you can quickly and easily update, delete, replace, change or share it with others! Ok, that’s more than one thing, but the point is that there’s a lot to like here 🙂
That’s it for this post – in the next one we will look in to the various elements that came together to make this work – the code and configuration files in my Git repo, the automated build process on Docker Hub that builds and updates the Docker Image, and how the two are related.
I wrote a while back about my troubles with Carrier Grade Nat (CGNAT), and described a solution that involved tunneling out of CGNAT using a combination of SSH and an AWS server – the full article is here.
That worked ok, but it was pretty fragile and not ideal – connections could be dropped, sessions expired, hosts rebooted etc etc. Passing data through my EC2 host is also not ideal.
My “new and improved” solution to this is to use a local tool like ngrok to create the tunnel for me. This is proving to be far simpler to manage, more reliable, and ngrok also provides a load of handy additional features too.
Here’s a very quick run through of getting it up and running on my Ubuntu VM, which sits behind CGNAT and hosts a webserver I’d like to be able to access from the outside occasionally. This is the front end to my ZoneMinder CCTV interface, but it could be anything you want to host and on any port.
First off, don’t use the default Ubuntu install, that will give you version 1.x which is out of date and didn’t work for me at all – it’s better, quicker and easier to get the latest binary for your platform directly from the ngrok website, extract that on your host and run it directly or add it to you PATH.
wget http://<YourDownloadURL>/ngrok-stable-linux-amd64.zip

unzip ngrok-stable-linux-amd64.zip
once that’s downloaded and extracted, you can (optionally) add your auth token, which you get when you register on the ngrok site. This is optional, but you get some worthwhile features from doing so.
./ngrok authtoken <YourAuthTokenFromTheNgrokWebsite>
Then you simply run ngrok like so:
./ngrok http 80
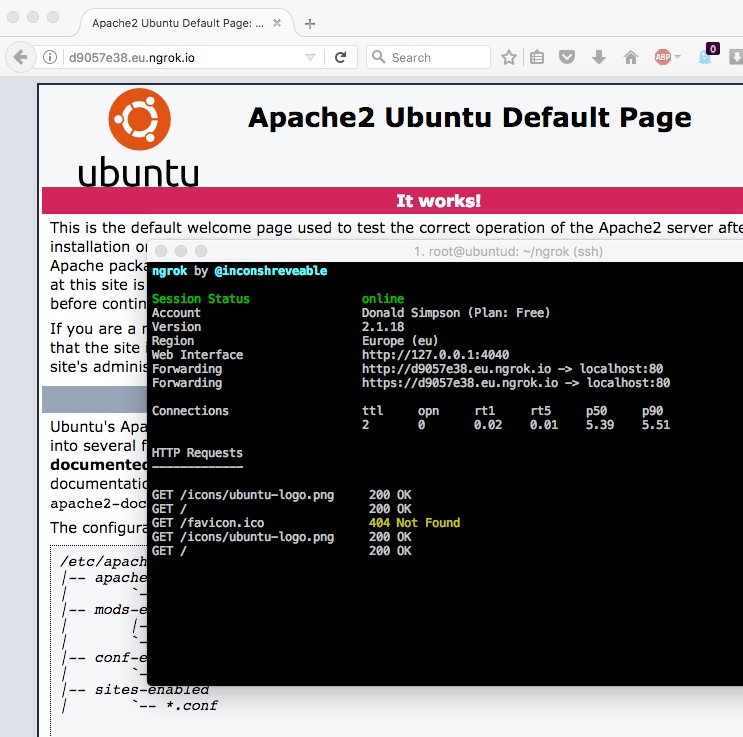
which should give you a console something like this:
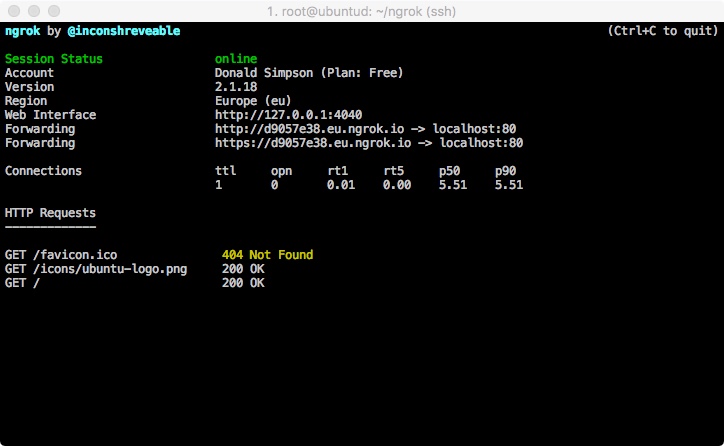 from here you can get the Forwarding URL (http://<uniqueid>.eu.ngrok.io in this example) and your local port 80 should be available on that from anywhere on the internet.
Note I’m using this command:
screen ./ngrok http -region eu 80
to start up ngrok using screen, so I can CTRL+A+D out of that and resume it when I want using screen -r,
Here’s a pic of the console running, showing requests, and Apache being served by the ngrok URL:
That’s it – quick and easy, more stable, and far less faffing too.
There are tons of other options worth exploring, like specifying basic HTTP auth, saving your config to a local file, running other ports etc, all of them are explained in the documentation.
There’s a handy review of ngrok and several very similar tools here: http://john-sheehan.com/blog/a-survey-of-the-localhost-proxying-landscape
And some good tips & tricks with ngrok here:
https://developer.atlassian.com/blog/2015/05/secure-localhost-tunnels-with-ngrok/
as noted in the comments on that page: you obviously need to be safe and sensible when opening up ports to the internet…
Cheers,
Don
PS: Update to add the script I use to update the ngrok URL when it changes.
I have this in a local Jenkins job that runs every 30 mins or so, and it has been happily doing the job for a couple of years now – it’s far from perfect and it’s a lot to set up if you’re not used to these tools, but I’m adding it here just in case it helps anyone else….
#!/bin/bash

# Backup of the Jenkins job/script I put together to automatically update my home ngrok tunnel.
# When the tunnel dies, this script will (via Jenkins) create a new one and update a PHP redirect file on my
# AWS Host that allows me to connect to my CGNET'd home server via my AWS website using a dynamic ngrok end point
# Uses:
# - Jenkins
# - bash
# - ngrok
# - jq
# - grep and awk
# - PHP
# - Apache
# - AWS


# check if ngrok is running/not
pidof  ngrok >/dev/null
if [[ $? -ne 0 ]] ; then
		# A (re)start and update is required
    echo "Starting ngrok on $(date)"
    # Start up a new instance of ngrok
    BUILD_ID=dontKillMe nohup /root/ngrok/ngrok http -region eu 80 &
		# Give it a moment before testing it...
		echo "Sleeping for 15 seconds..."
    sleep 15
    # Get the updated publish_url value from the ngrok api
		export NGROKURL=`curl -s http://127.0.0.1:4040/api/tunnels | jq '.' | grep public_url | grep https | awk -F\" '{print $4}'`
    echo "NGROKURL is $NGROKURL"
    # add that to a one-line PHP redirect page
		echo "<?php header('Location: $NGROKURL/zm'); exit;?>" > ZoneMinder.php
    # upload that to my AWS host
    echo "scp'ing zm.php to AWS host..."
		scp -i /MY_AWS_KEY_FILE.pem ZoneMinder.php MY_AWS_USER@MY_AWS_HOST.amazonaws.com:/MY_HTDOCS_DIR/ZoneMinder.php
		echo "Transfer complete."
    # Send an update message via email
		echo "New ngrok url is $NGROKURL/zm" | mailx -s "ngrok zm url updated" MY_EMAIL@gmail.com
else
		# Nothing needed, carry on
		echo "ngrok is currently running, nothing to do"
fiAfter switching to a 4G broadband provider, who shall (pretty much) remain nameless, I discovered they were using Carrier-Grade NAT (aka CGNAT) on me.
There are more details on that here and here but in short, the ISP is ‘saving’ IPv4 addresses by sharing them out amongst several users and NAT’ing their connections – in much the same way as you do at home, when you port forward multiple devices using one external IP address: my home network is just one ‘device’ in a pool of their users, who are all sharing the same external IP address.
The impact of this for me is that I can no longer NAT my internal network services, as I have been given a shared pubic-facing IPv4 address. This approach may be practical for a bunch of mobile phone users wanting to check Twitter and Facebook, but it sucks big time for gamers or anyone else wanting to connect things from their home network to the internet. So, rather than having “Everything Everywhere” through my very expensive new 4G connection – with 12 months contract – it turns out I get “not much to anywhere“.
Point being; I would like to be able to check my internal servers and websites when I’m away – especially my ZoneMinder CCTV setup – but my home broadband no longer has its own internet address. So an alternative solution had to be found…
I basically use 2 servers, the one at home (unhelpfully now stuck behind my ISPs CGNAT) and one in the Amazon Cloud (my public facing AWS web server with DNS), and create a reverse SSH Tunnel between them. Plus a couple of essential tweaks you wont find out about if you don’t read any further 🙂
This is initiated on the internal/home server, and connects outwards to the AWS host on the internet, like so.
ssh -N -R 8888:localhost:80 -i /home/don/DonKey.pem awsuser@ec2-xx-xx-xx-xx.compute-x.amazonaws.com
Here is an explanation of each part of this command:
-N (from the SSH man page) “Do not execute a remote command. This is useful for just forwarding ports.”
-R (from the SSH man page) “Specifies that connections to the given TCP port or Unix socket on the remote (server) host are to be forwarded to the given host and port, or Unix socket, on the local side.”
8888:localhost:80 – means, create the reverse tunnel from localhost port 80 (my ZoneMinder web app) to port 8888 on the destination host. This doesn’t look right to me, but it’s what’s needed for a reverse tunnel
the -i and everything after it is just me connecting to my AWS host as my user with an identity file. YMMV, whatever you nornally do should be fine.
When you run this command you should not see any issues or warnings. You need to leave it running using whatever method you like – personally I like screen for this kind of thing, and will also be setting up Jenkins jobs later (below).
With that SSH command still running on your local server you should now be able to connect to the web app from your remote AWS Web Server, by reading from port 8888 with curl or wget.
This is a worthwhile check to perform at this point, before moving on to the next 2 steps – for example:
don@MyAWSHost:~$ wget -q -O- localhost:8888/zm | grep -i ZoneMinder
      <h1>ZoneMinder Login</h1>
don@MyAWSHost:~$
This shows that port 8888 on my AWS server is currently connected to the ZoneMinder application that’s running on port 80 of my home web server. A good sign.
Progress is being made, but in order to be able to hit that port with a browser and have things work as I’d like, I still need to configure AWS to allow incomming connections to the newly chosen port 8888.
This is done through the Amazon EC2 Management Console using the left hand menu item “Network & Security” then “Security Groups”:
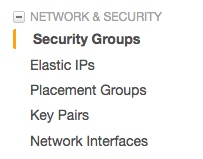 This should load your current Security Groups, which you can click on to Edit. You may have a few to check.
Now select Add and configure a new Inbound rule something like so:
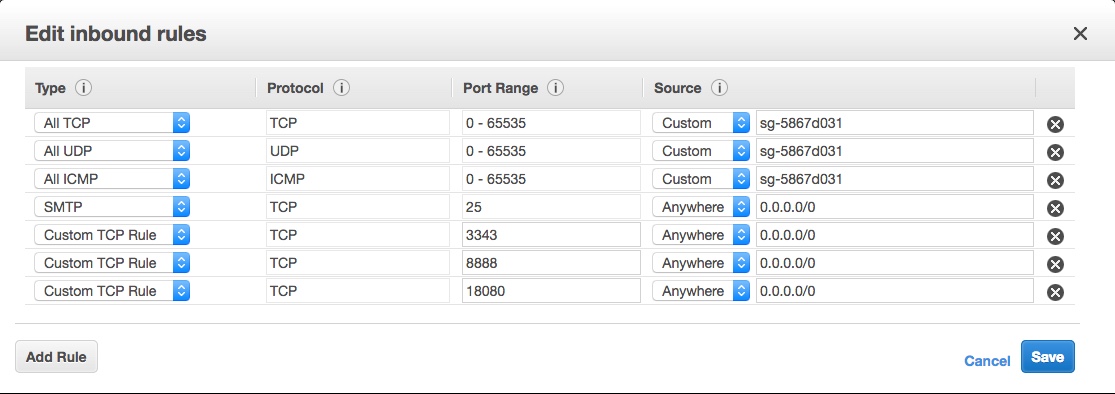 It’s the “Custom TCP Rule” second from the bottom, with port 8888 and “Anywhere” and “0.0.0.0/0” as the source in my picture. Don’t go for the HTTP option – unless you’re sure that’s what you want 🙂
At this point I thought I was done… but it didn’t work and I couldn’t immediately see why, as the wget check was all good.
Some head scratching and checking of firewalls later, I realised it was most likely to be permissions on the port I was tunneling – it’s not very likely to be exposed and world readable by default, is it? Doh.
After a quick google I found a site that explained the changes I needed to make to my sshd_config file, so:
vim /etc/ssh/sshd_config
and add a new line that says:
GatewayPorts yes
to that file, checking that there’s no existing reference to GatewayPorts – edit this file carefully and at your own risk.
As I understand it – which may best be described as ‘loosely’ – the reason this worked when I tested with wget earlier is because I was connecting to the loopback interface; this change to sshd binds the port to all interfaces. See the detailed answer on this post for further detail, including ways to limit this to specific users.
Once that’s done, restart sshd with
service ssh restart
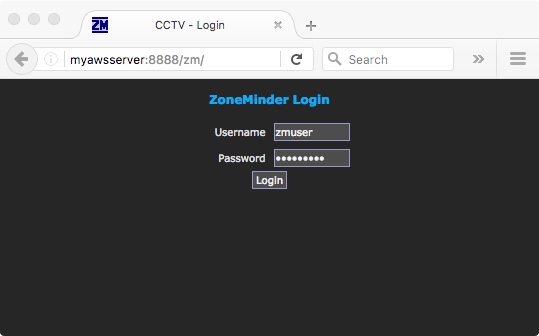
and you should now be able to connect by pointing a web browser at port 8888 (or whatever you set) of your AWS web server and see your app responding from the other end:
The final step for me is to wrap this (the ssh tunnel creation part) up in a Jenkins job running on my home server.
This is useful for a number of reasons, such as avoiding and resetting defunct/stale connections and enabling scheduling – i.e. I can have the port forwarded when I want it, and have it shutdown during the hours I don’t.
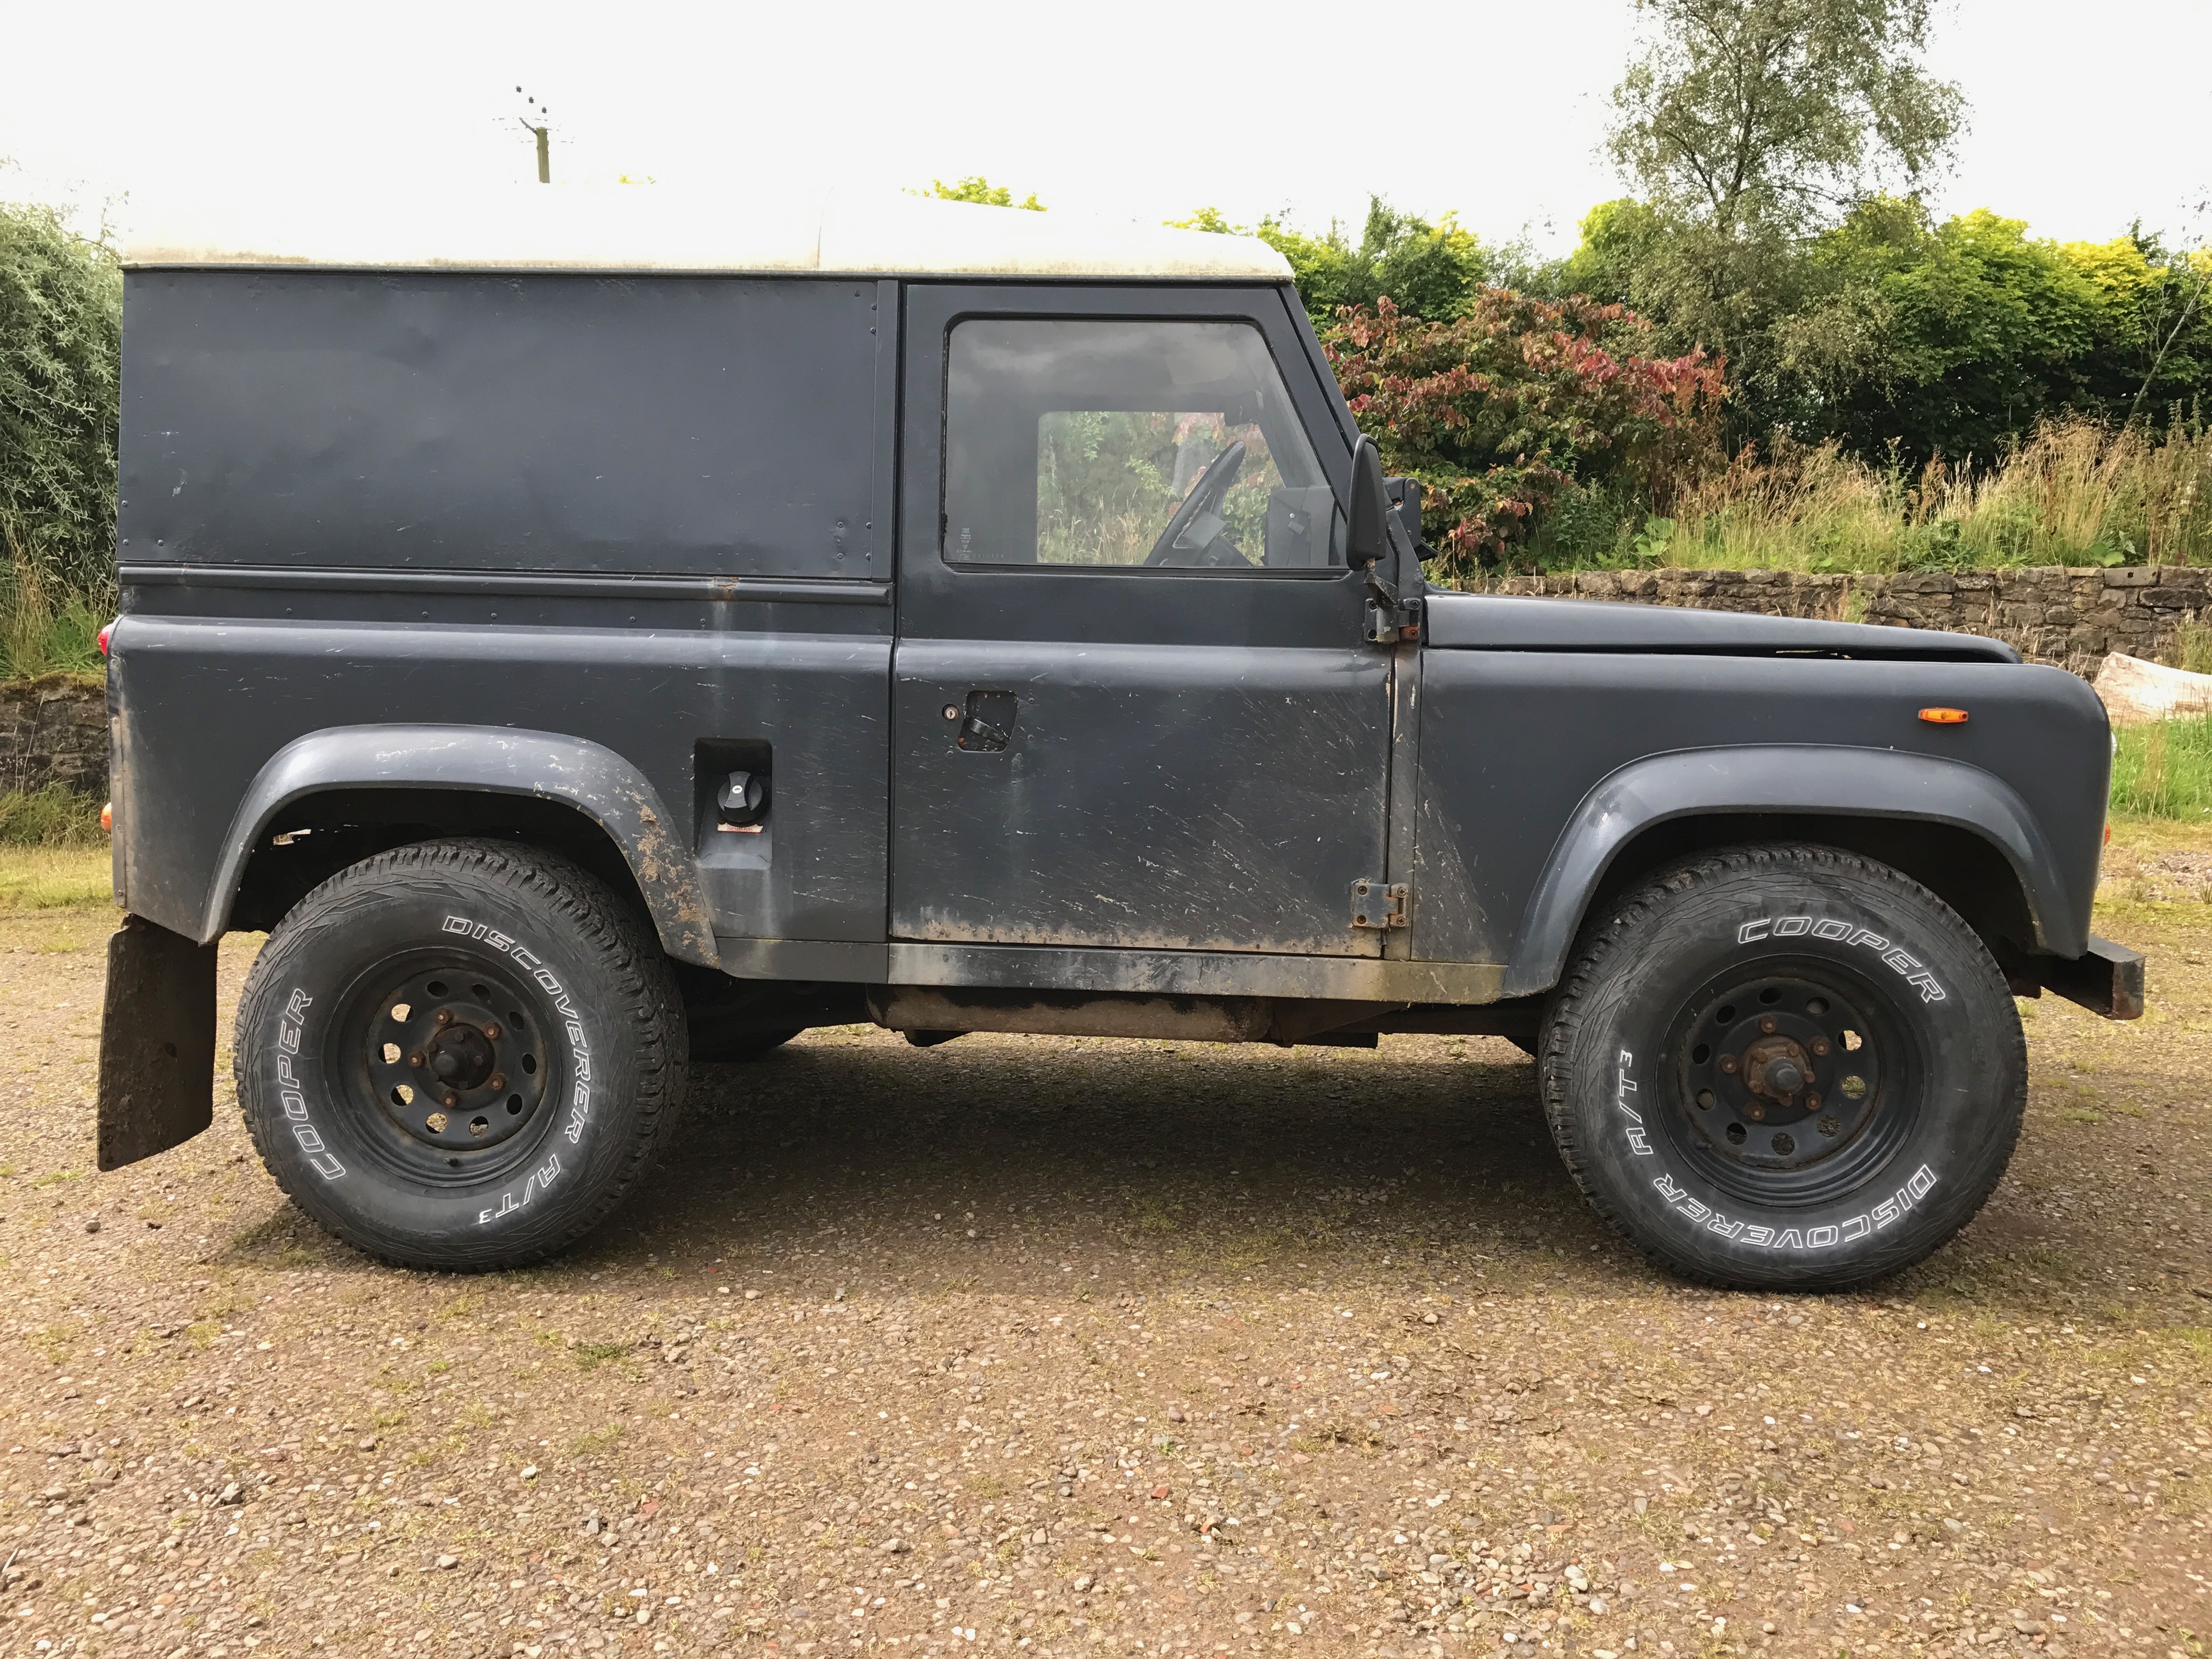
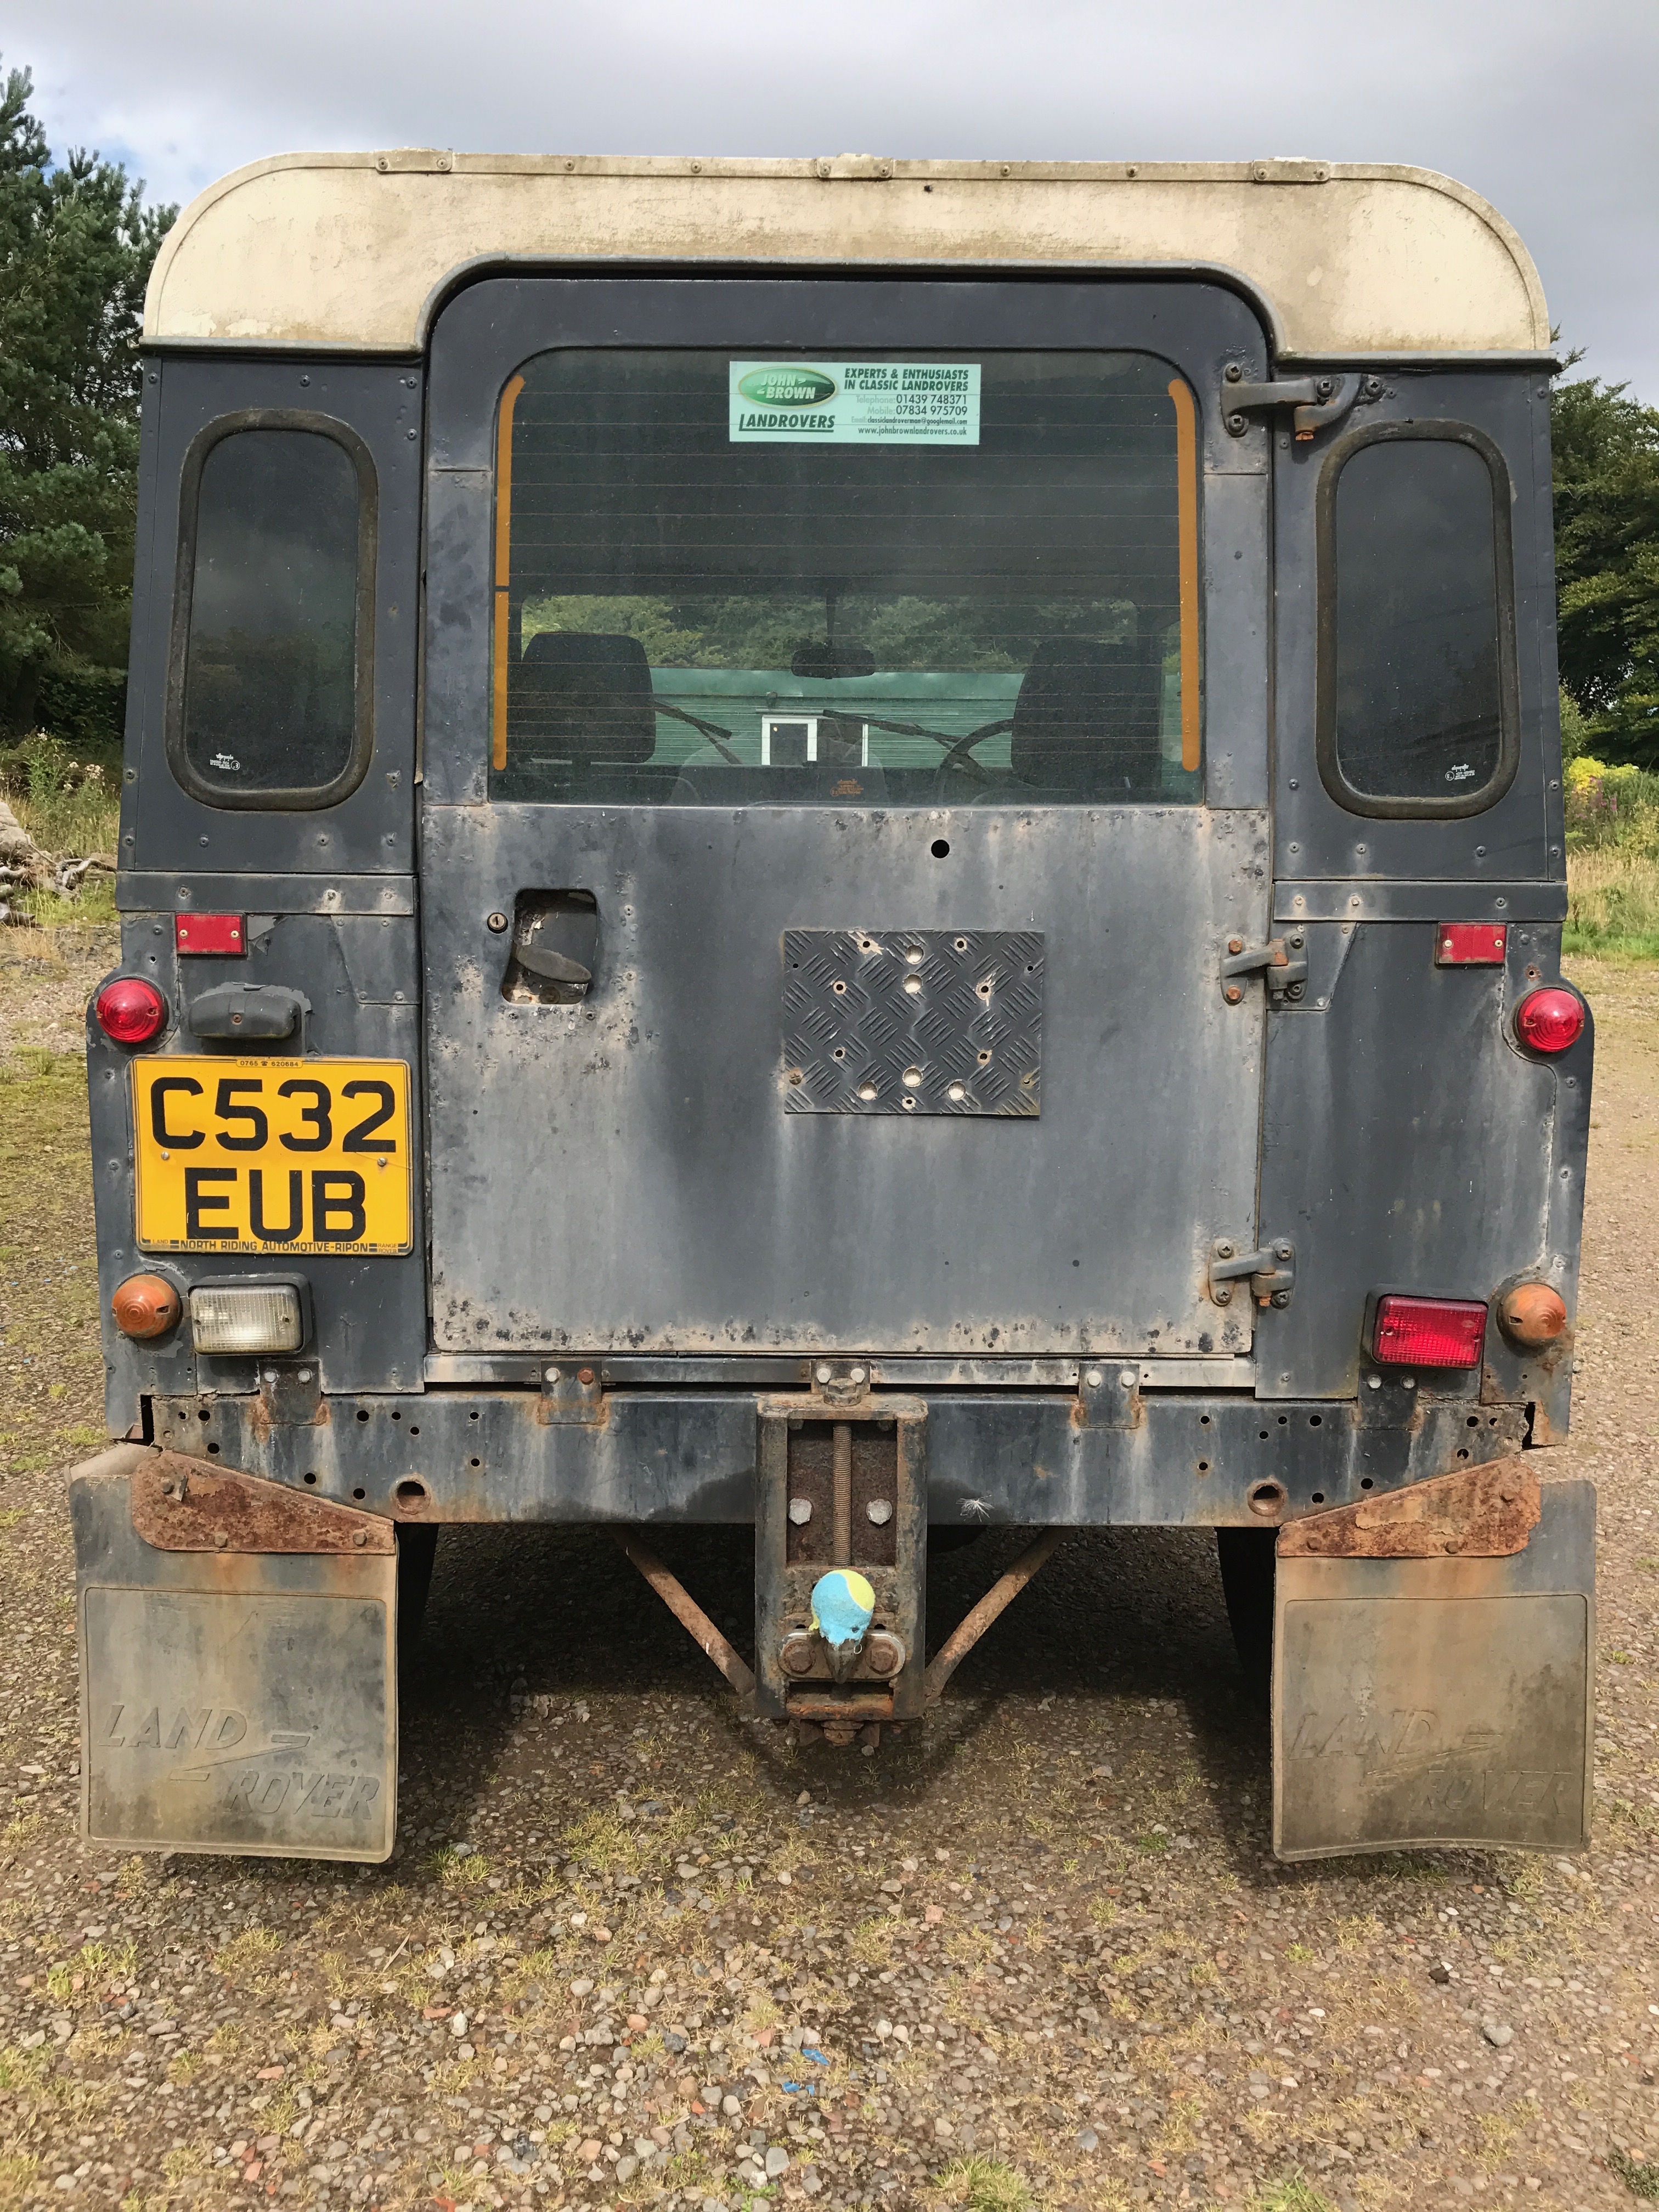
The people of eBay kindly provided me with a Sun 900 38u rack cabinet for much, much cheapness. They also chucked in a wopping v890, a couple of Storedge 3300’s and something 2u-sized and servery that I’ve not yet managed to identify or attempt to power on.
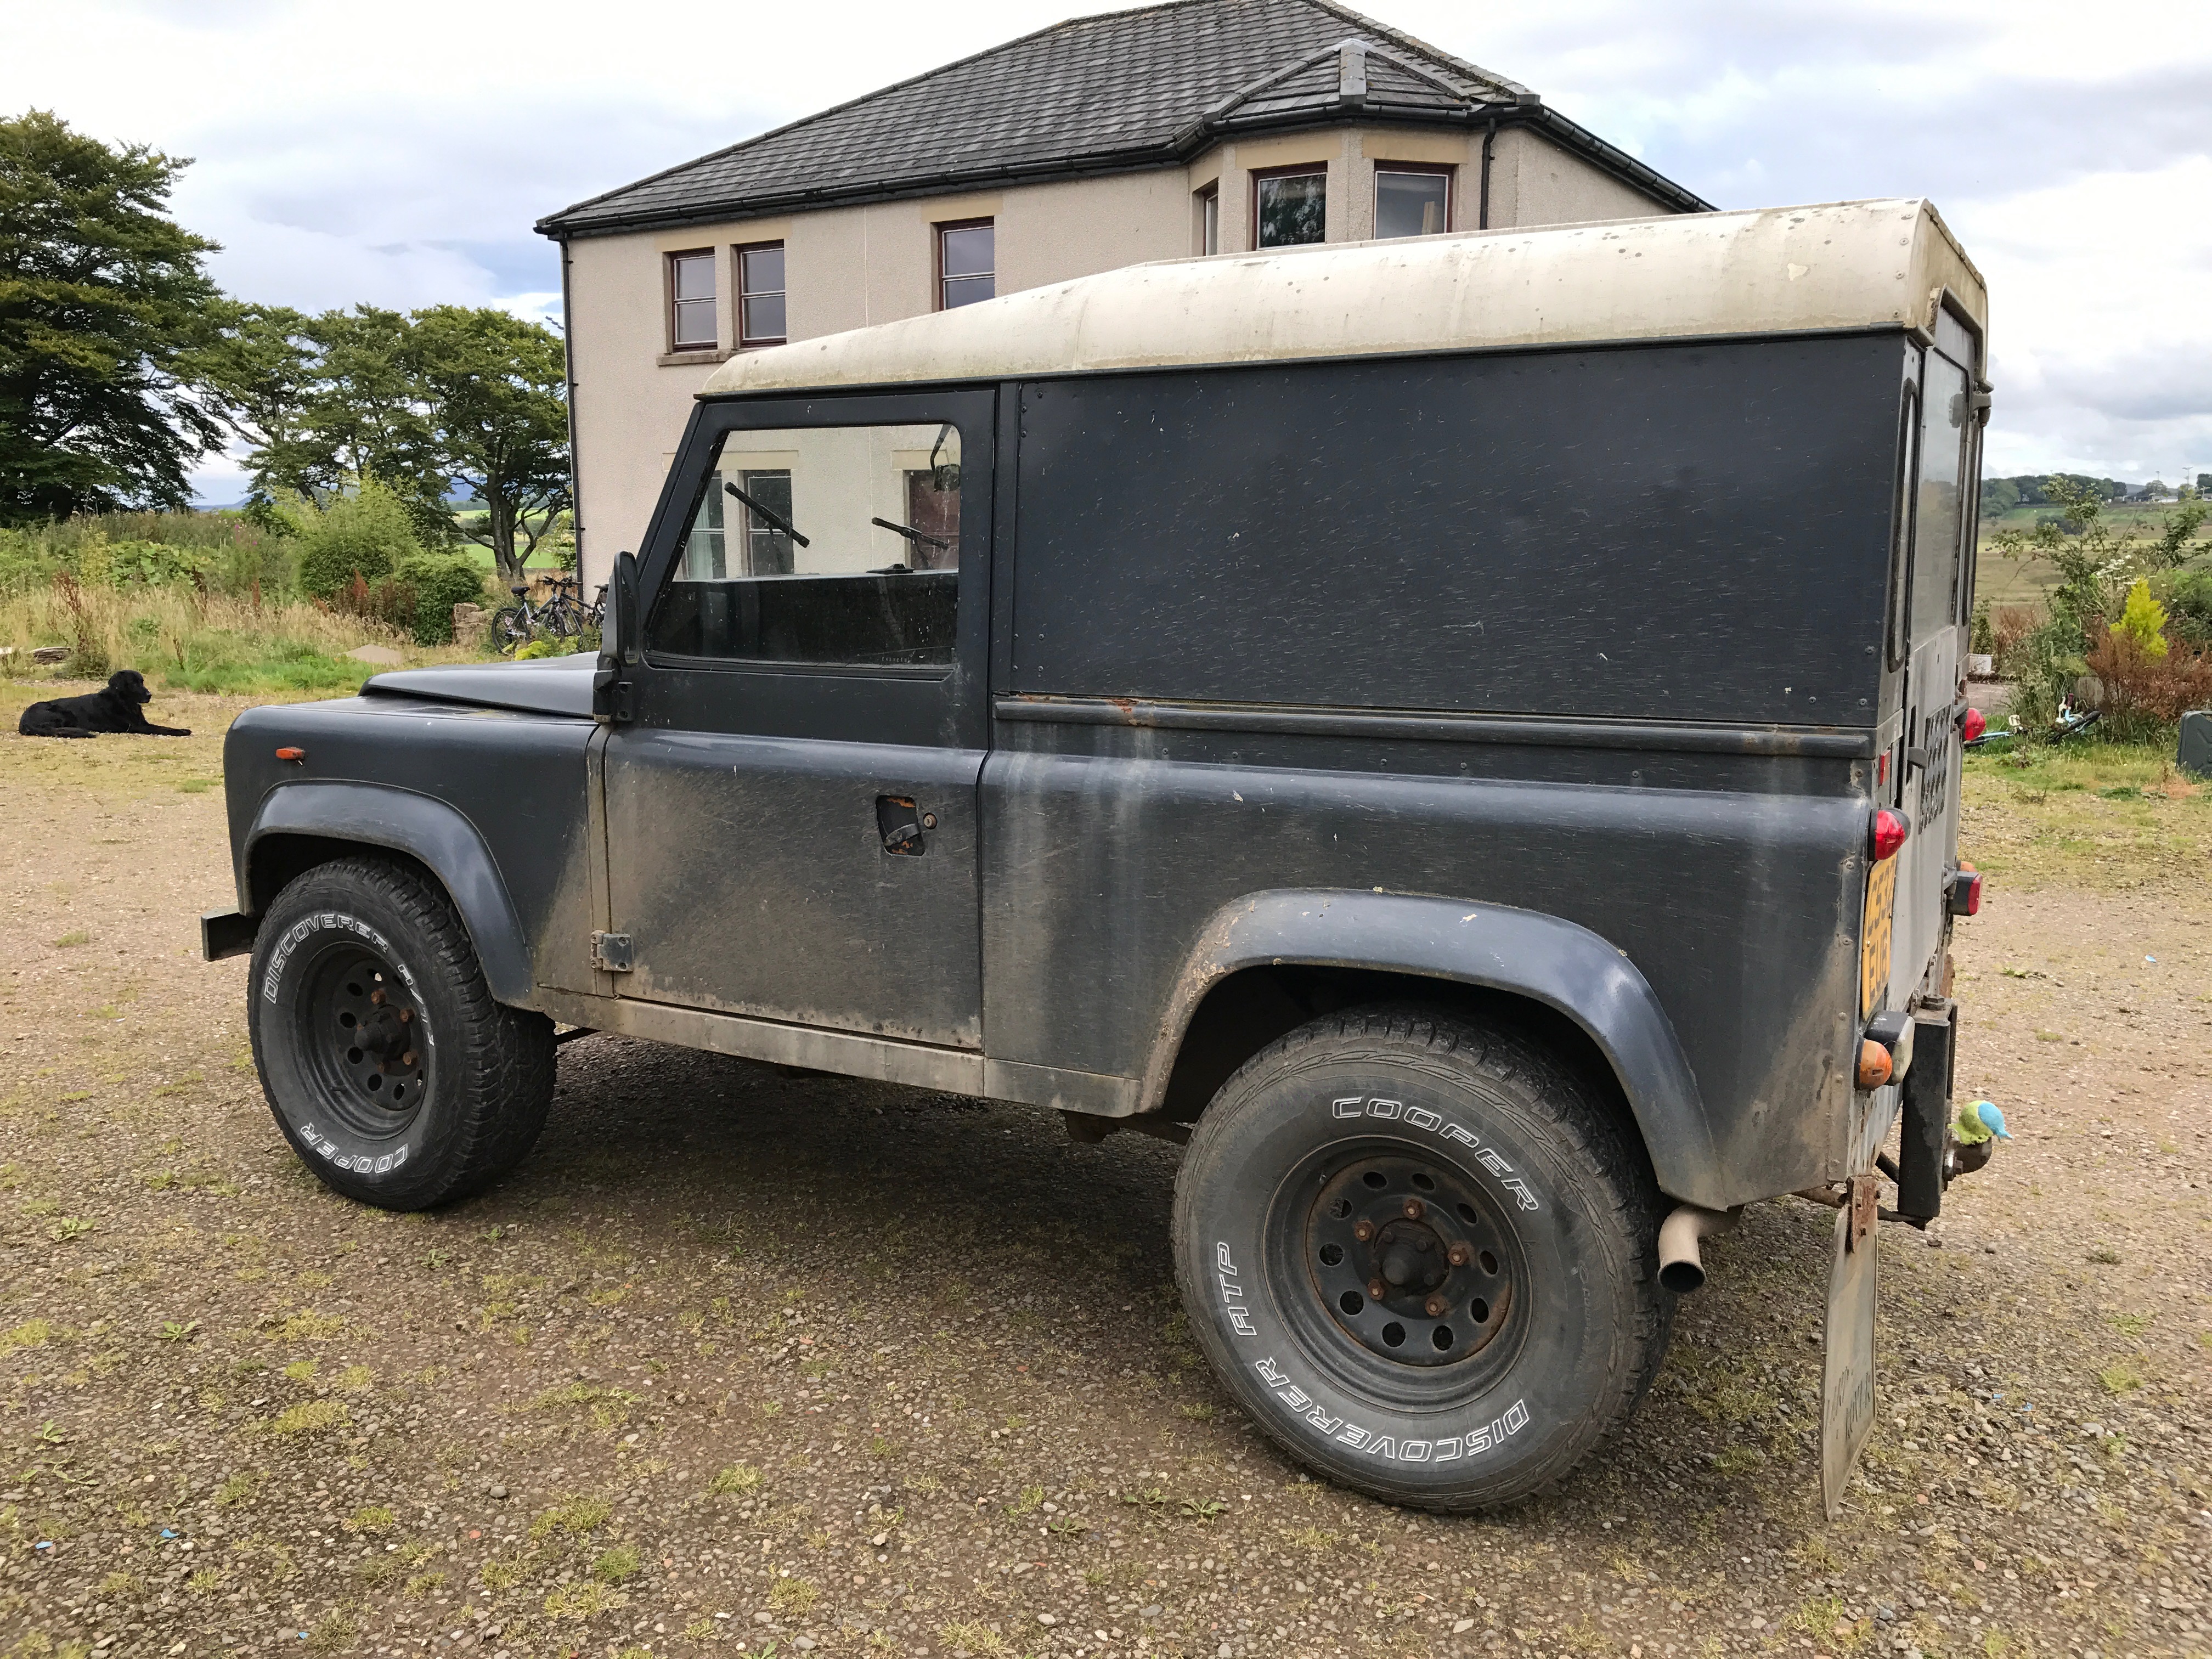
Seeing a Sun cabinet being towed across the countryside by a mad man in a Landrover Defender is not a regular occurence, so I thought I’d share pics of the process…
It was delivered on a pallet, which was collapsing under the incredible weight of all the steel inside the cabinet; it must weigh about the same as a small car:
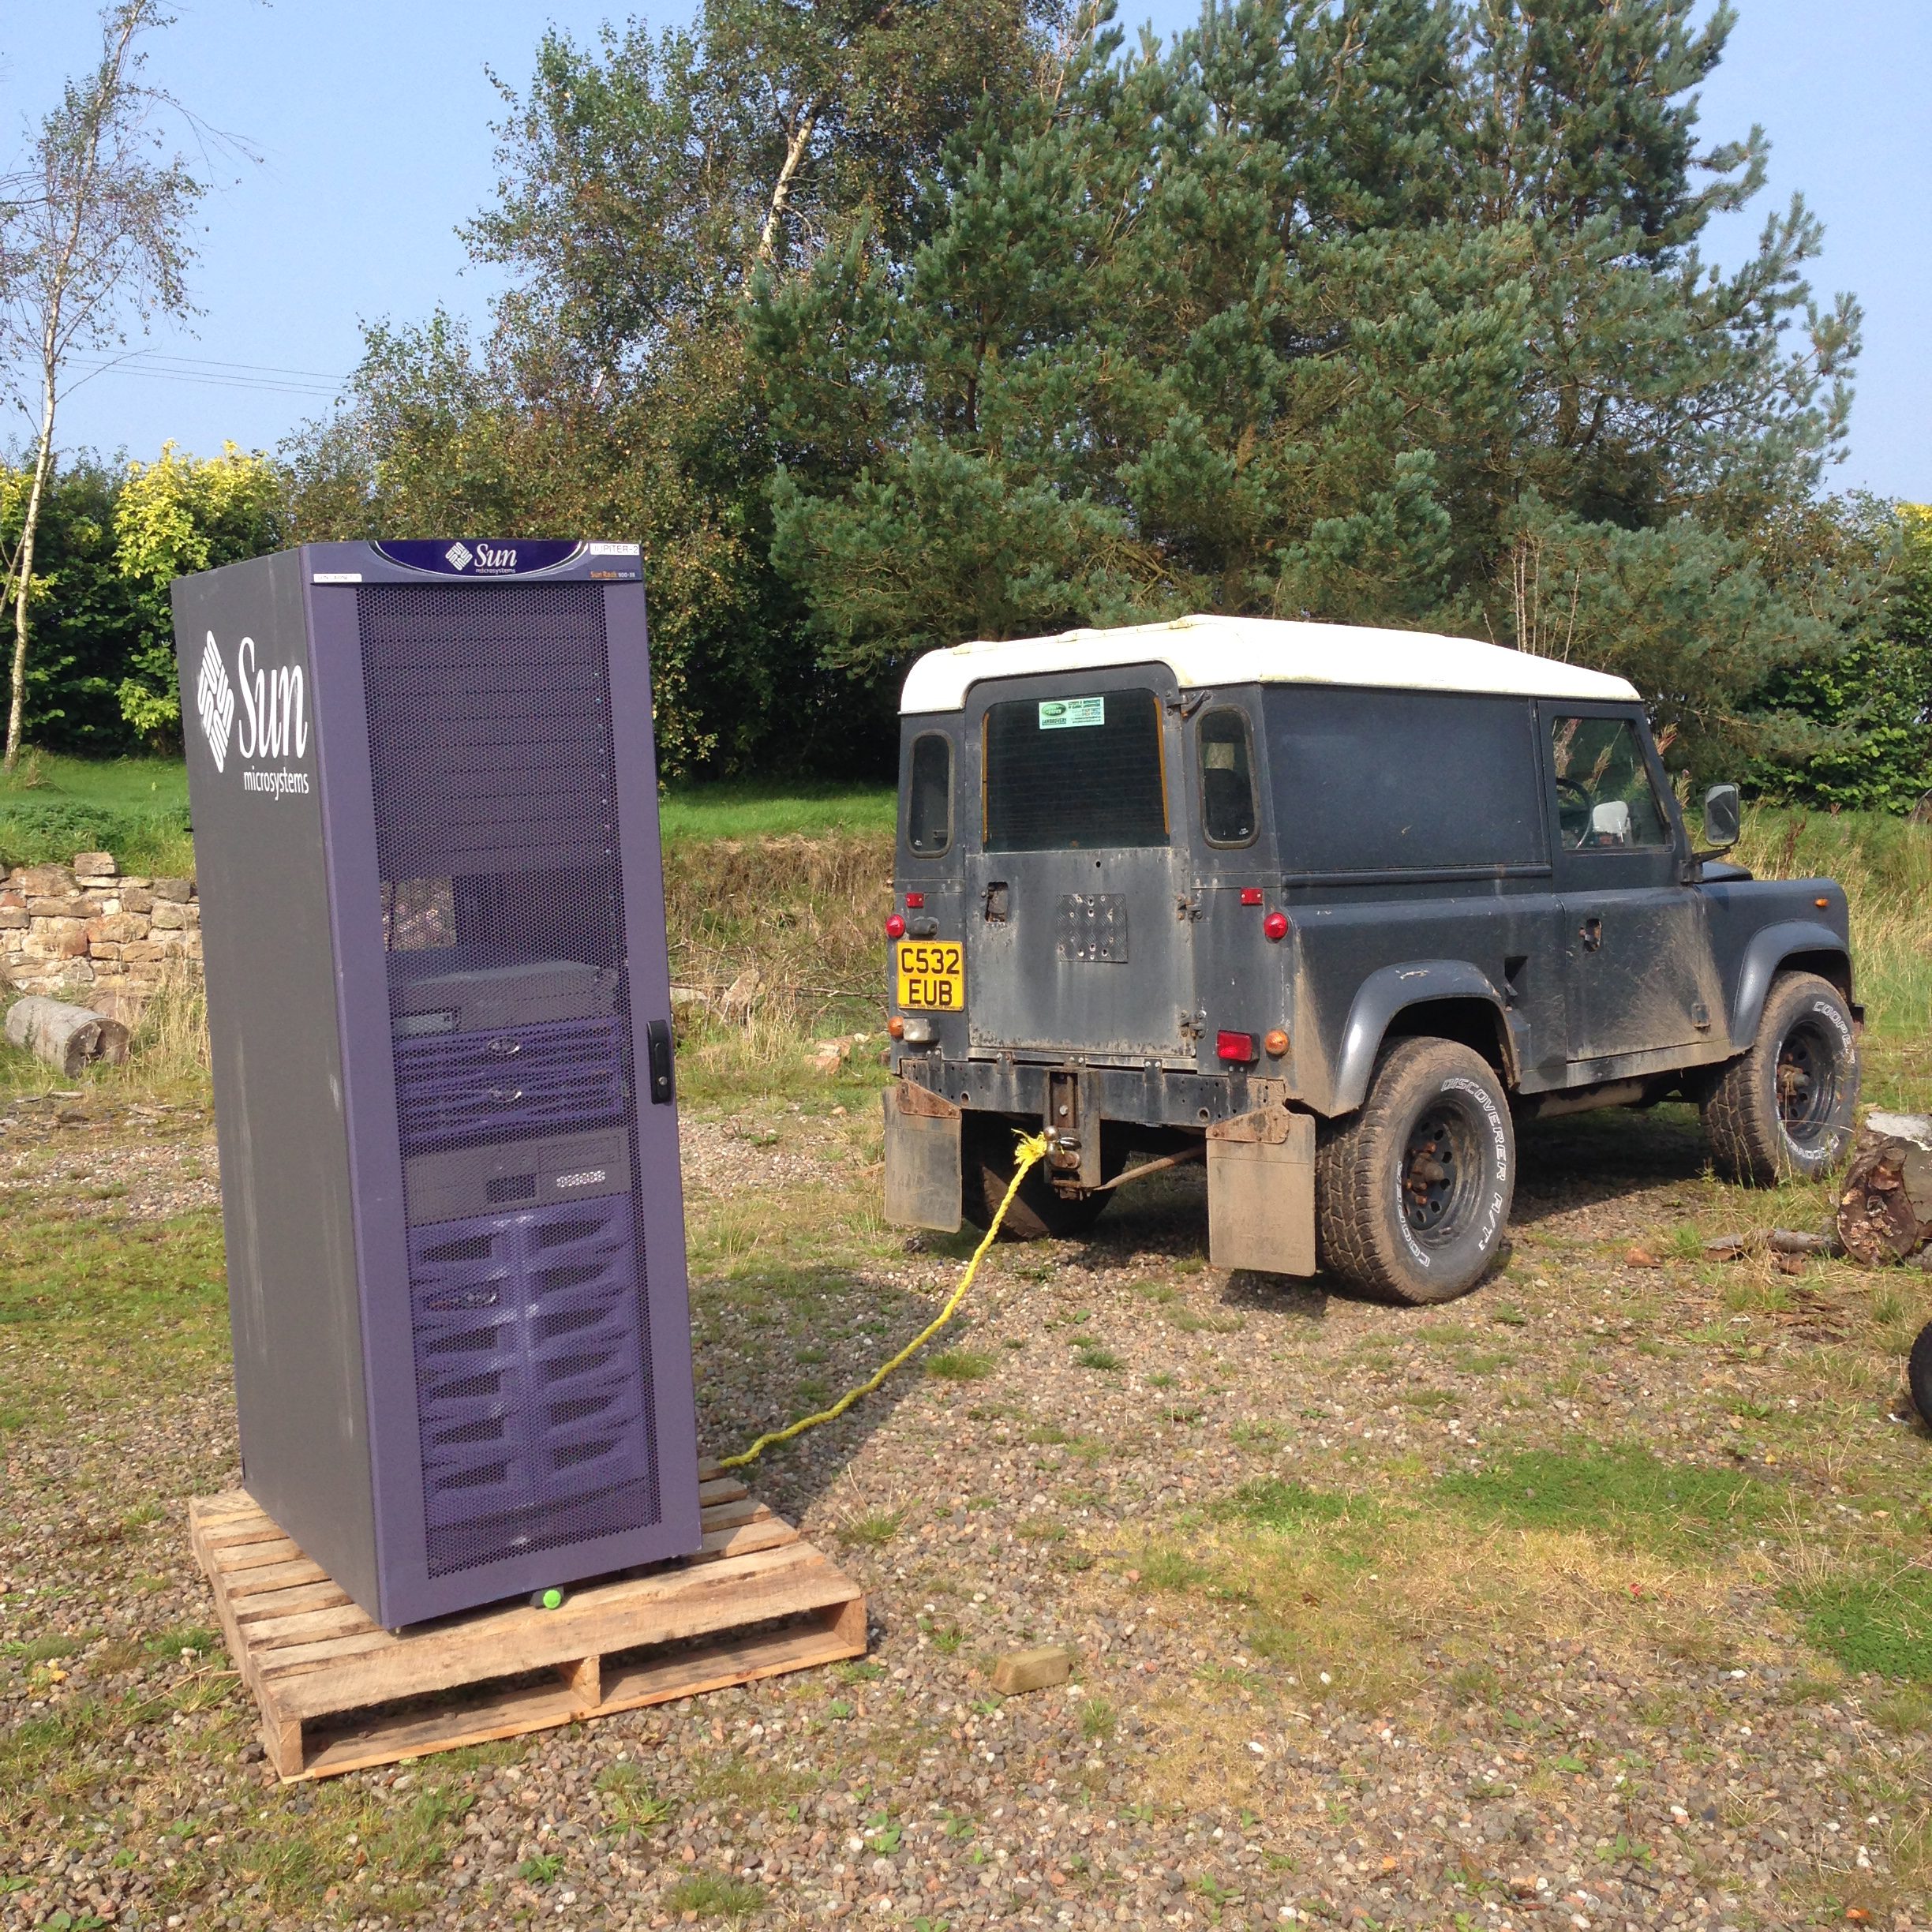
The Landy won the tug of war, but only just…

I had to partially dismantle the thing:
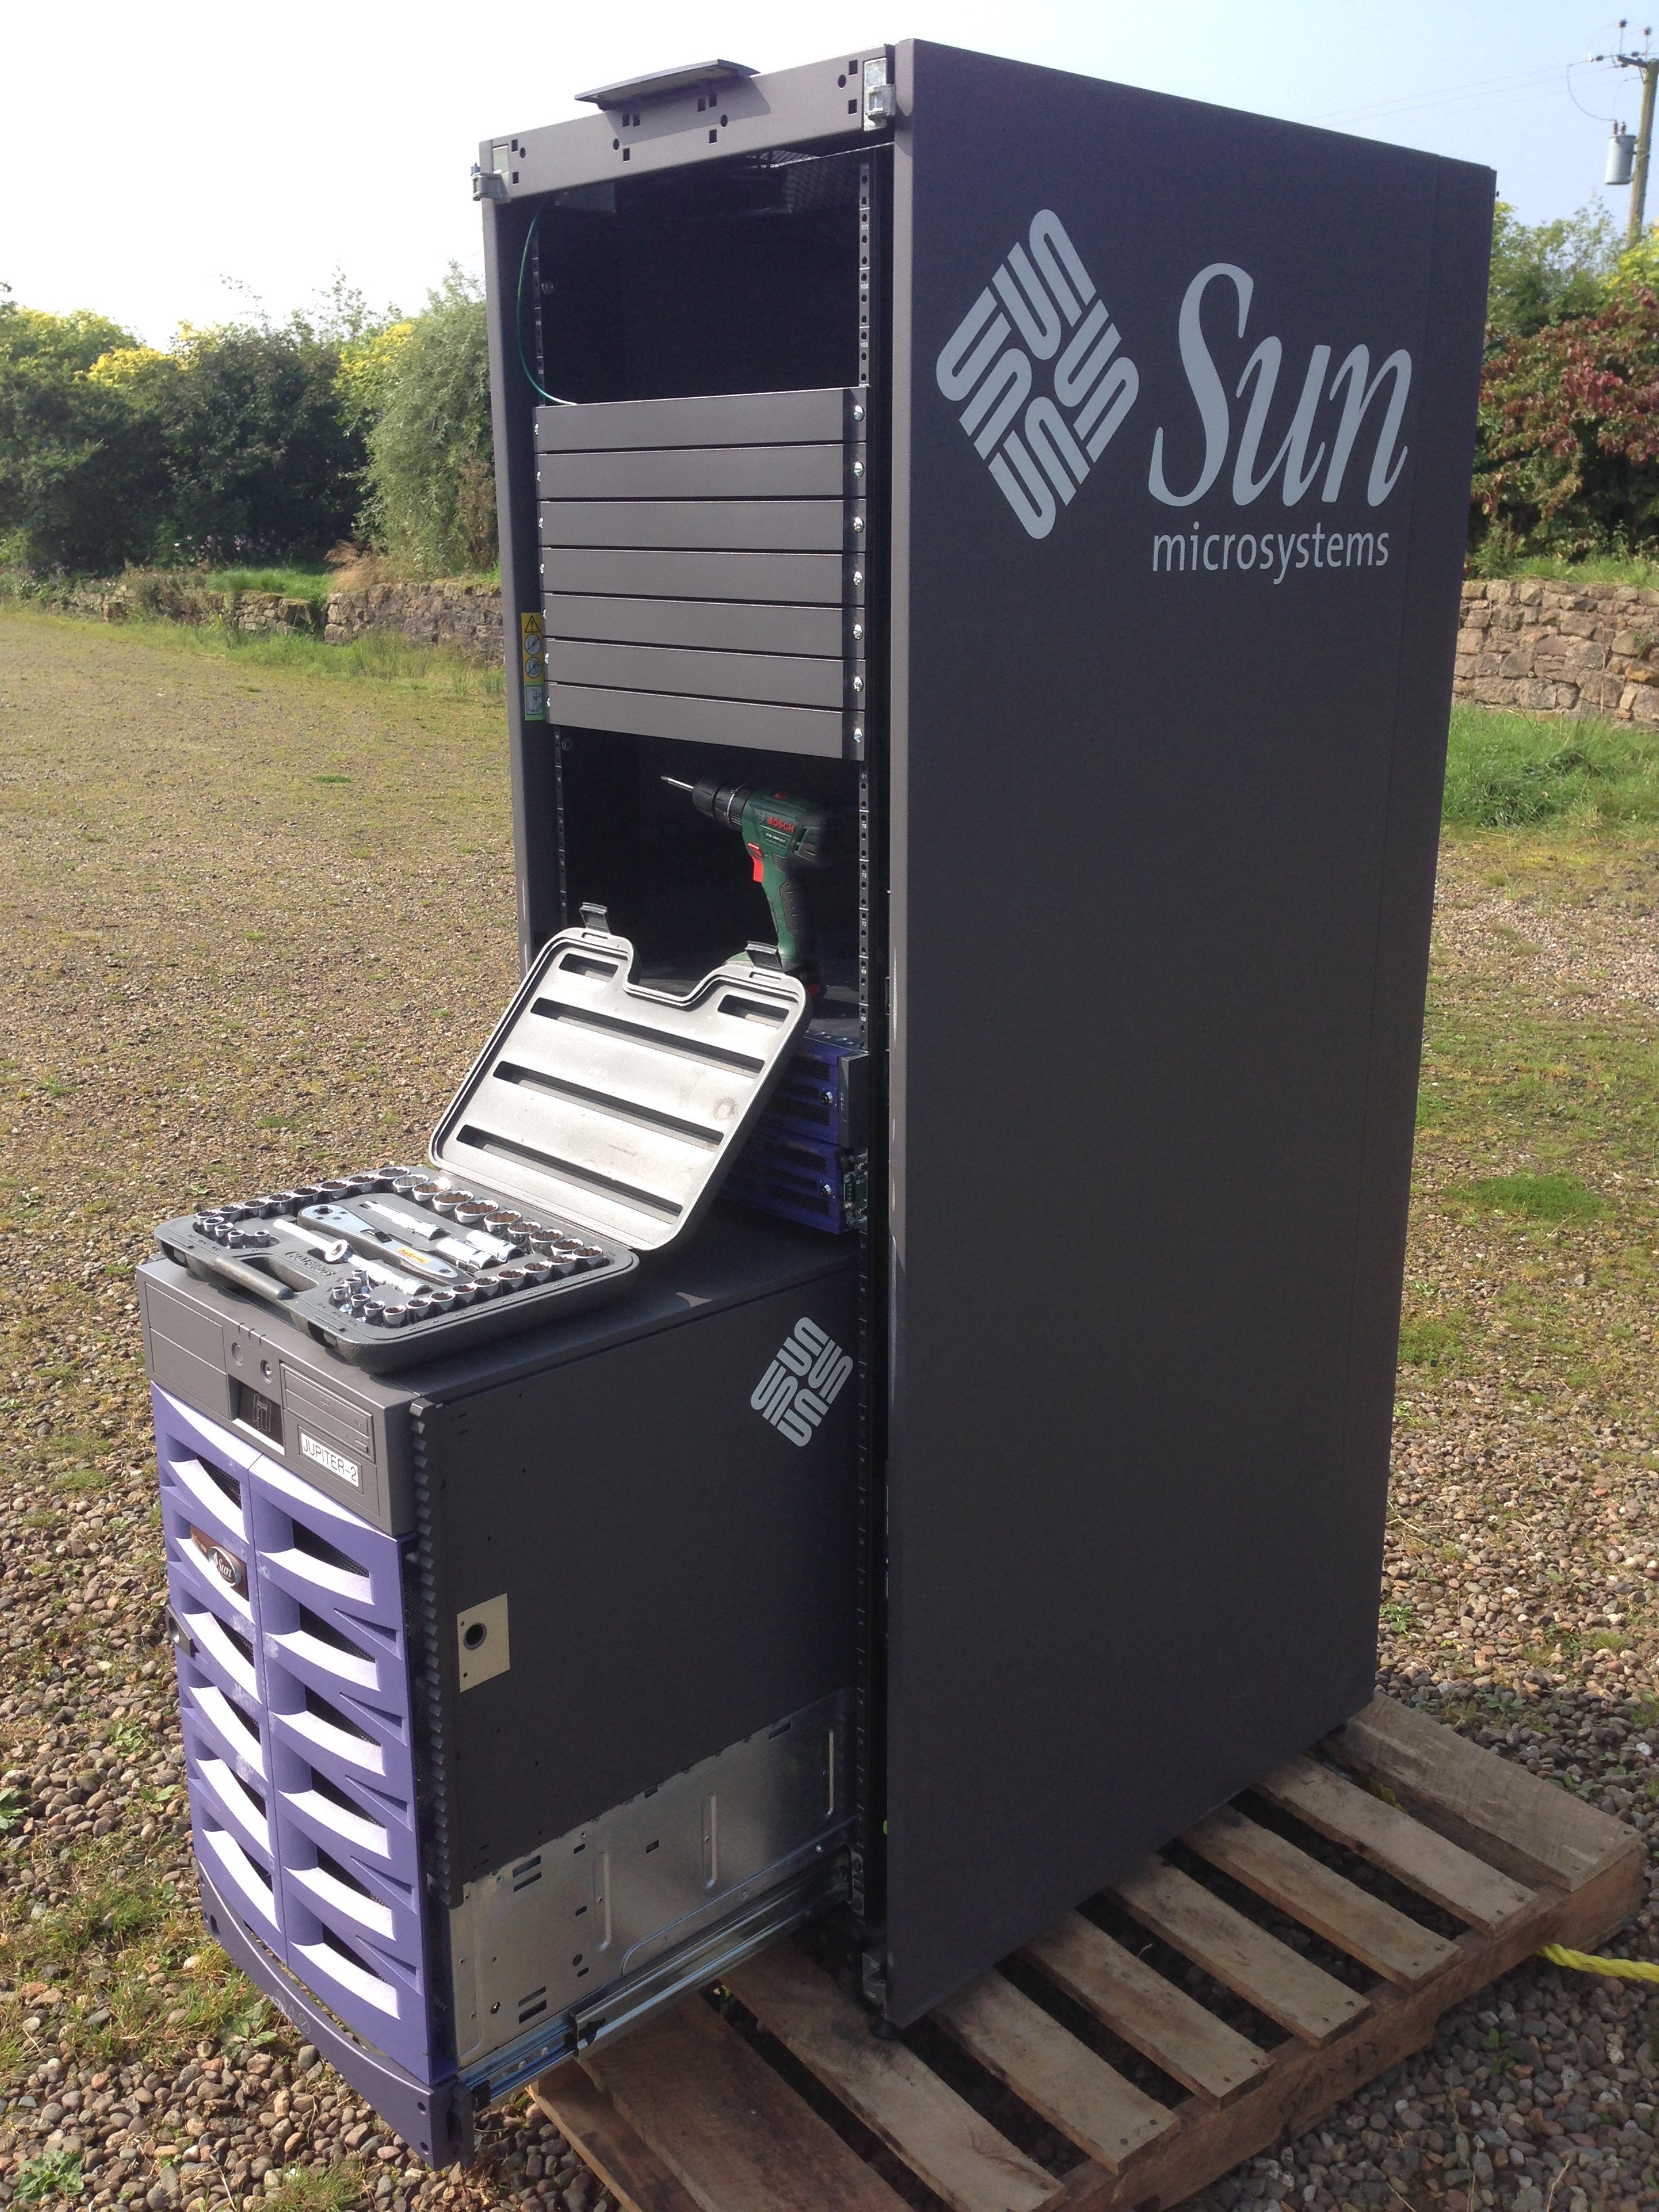
but it was soon restocked with some new additions when it was safely indoors – my old Cobalt 550 server and a SunBlade 100 I had sitting around.
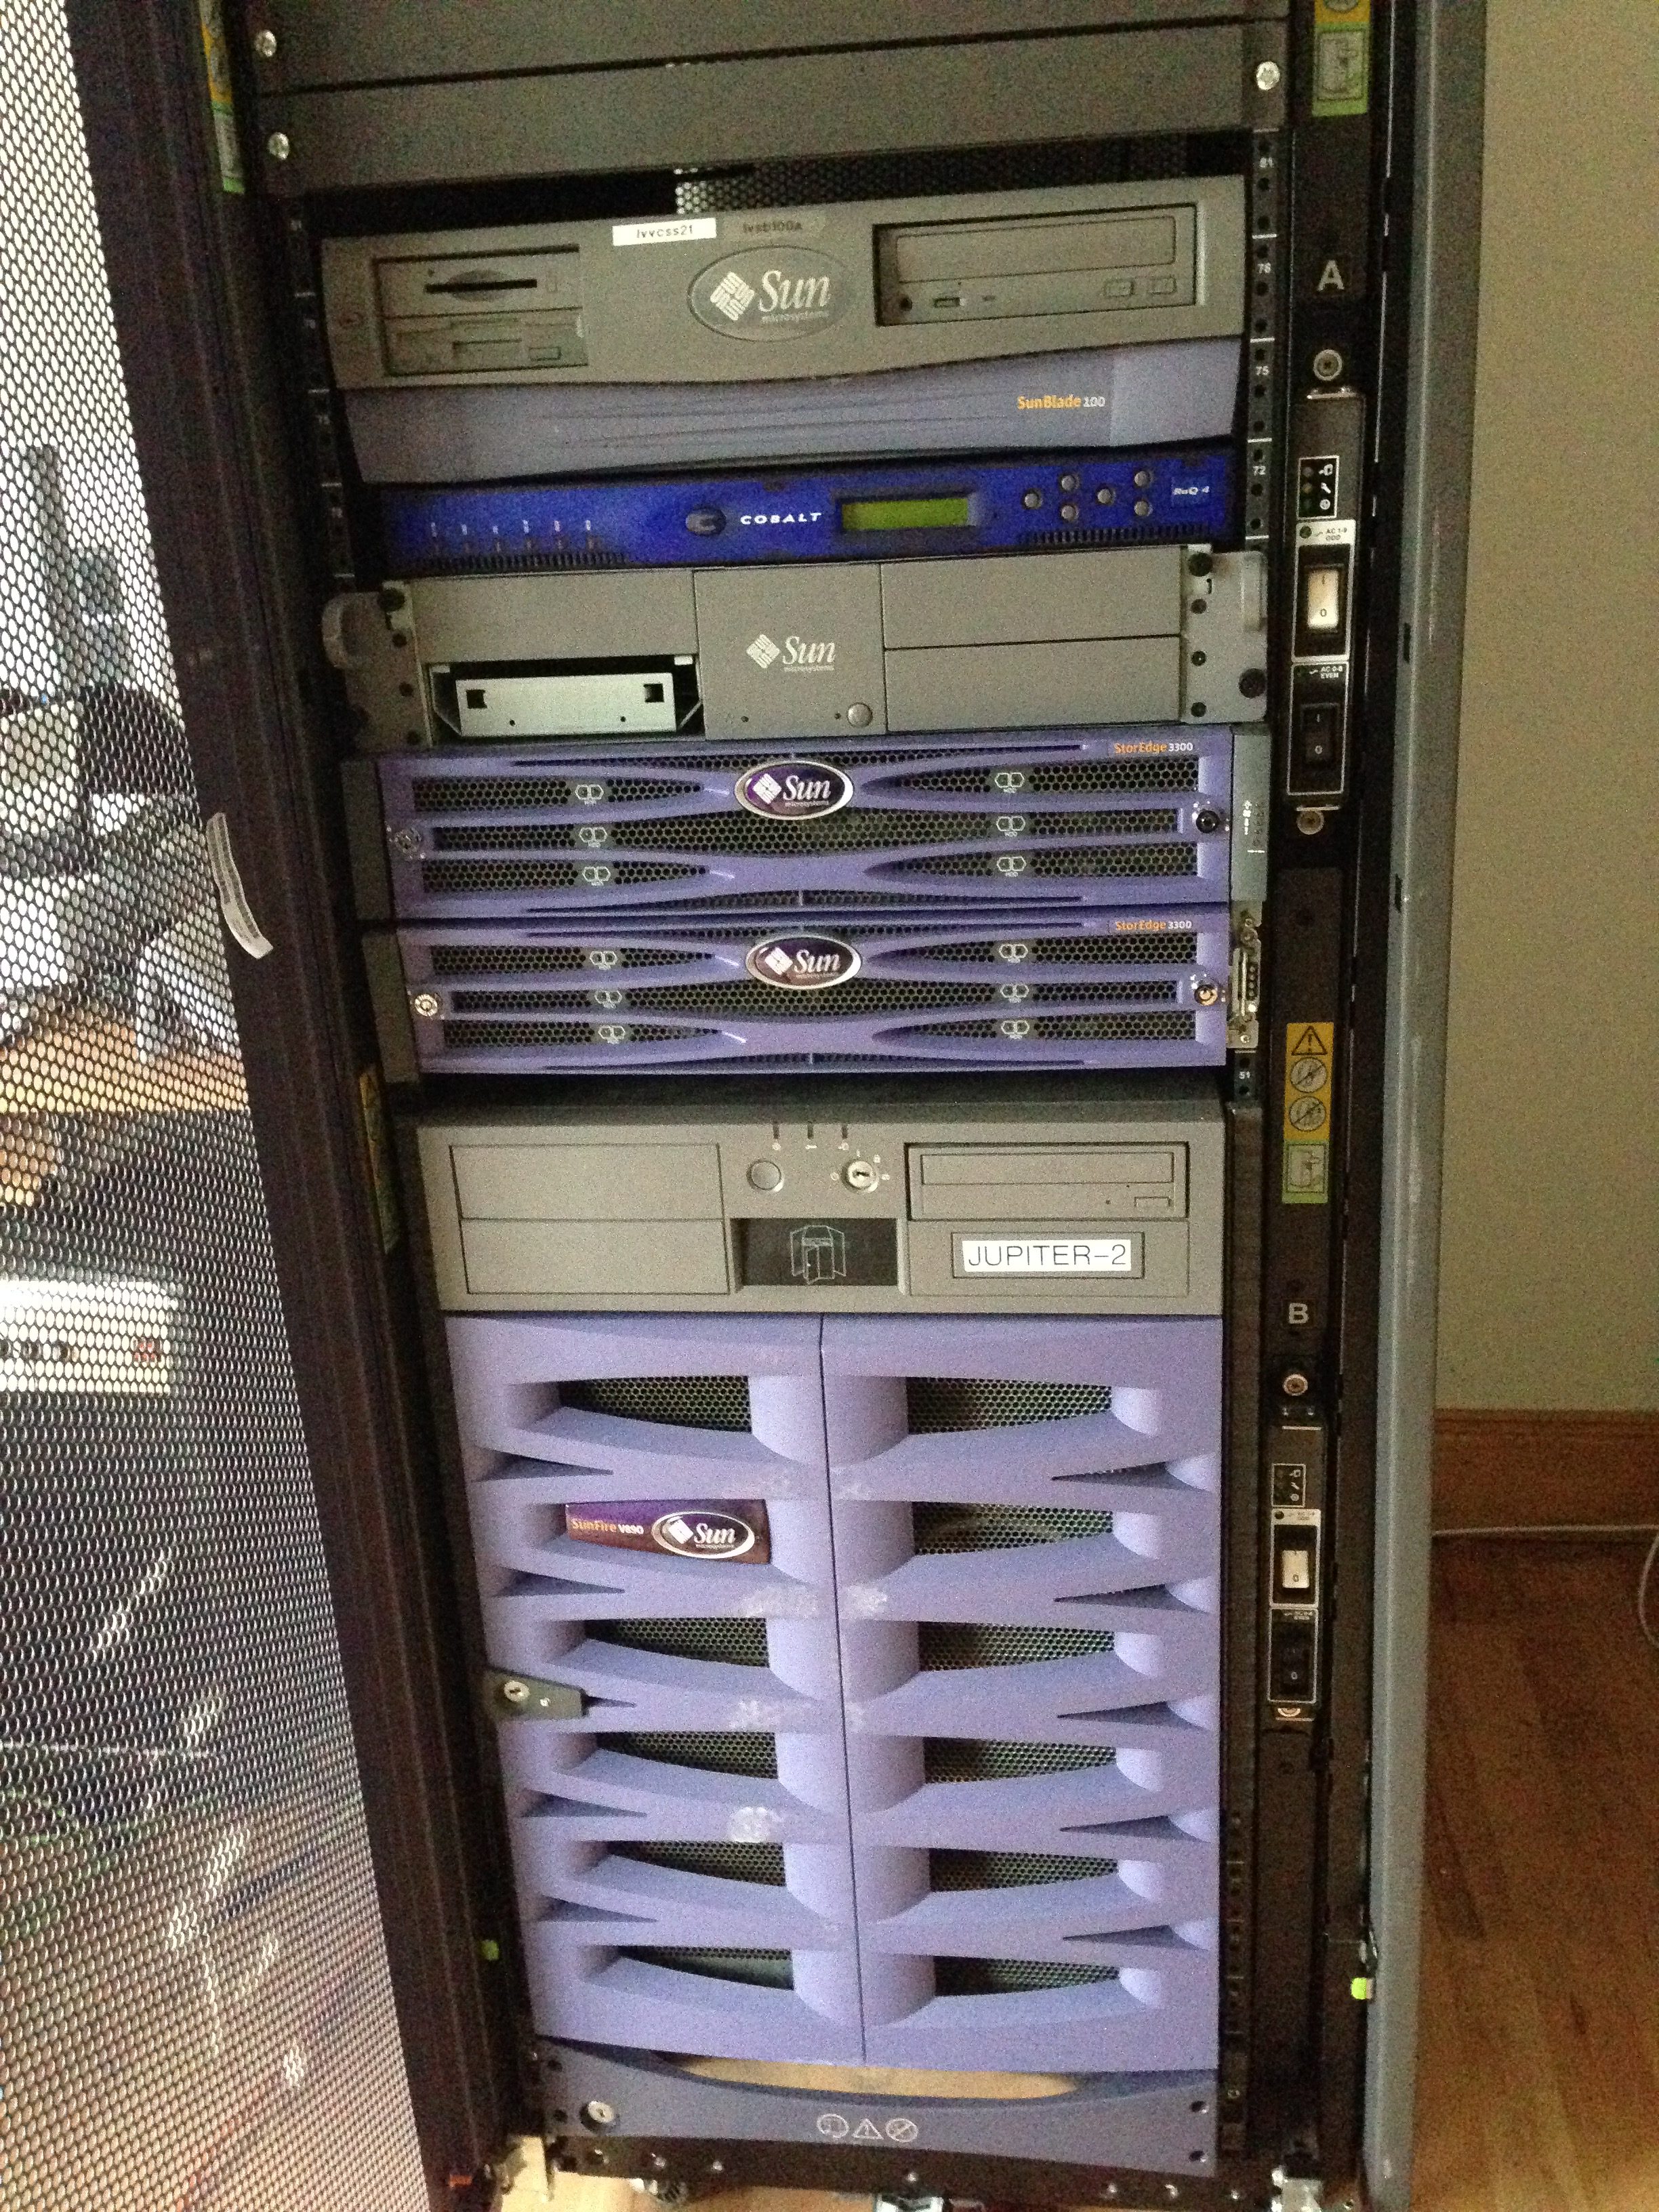
I’ve not had a chance to fire up the v890 yet, need to speak to eBay about some disks first, but I did power on the Sun Microsytems light on the top – my wife now refers to it as “that geeky vending machine thingy”…
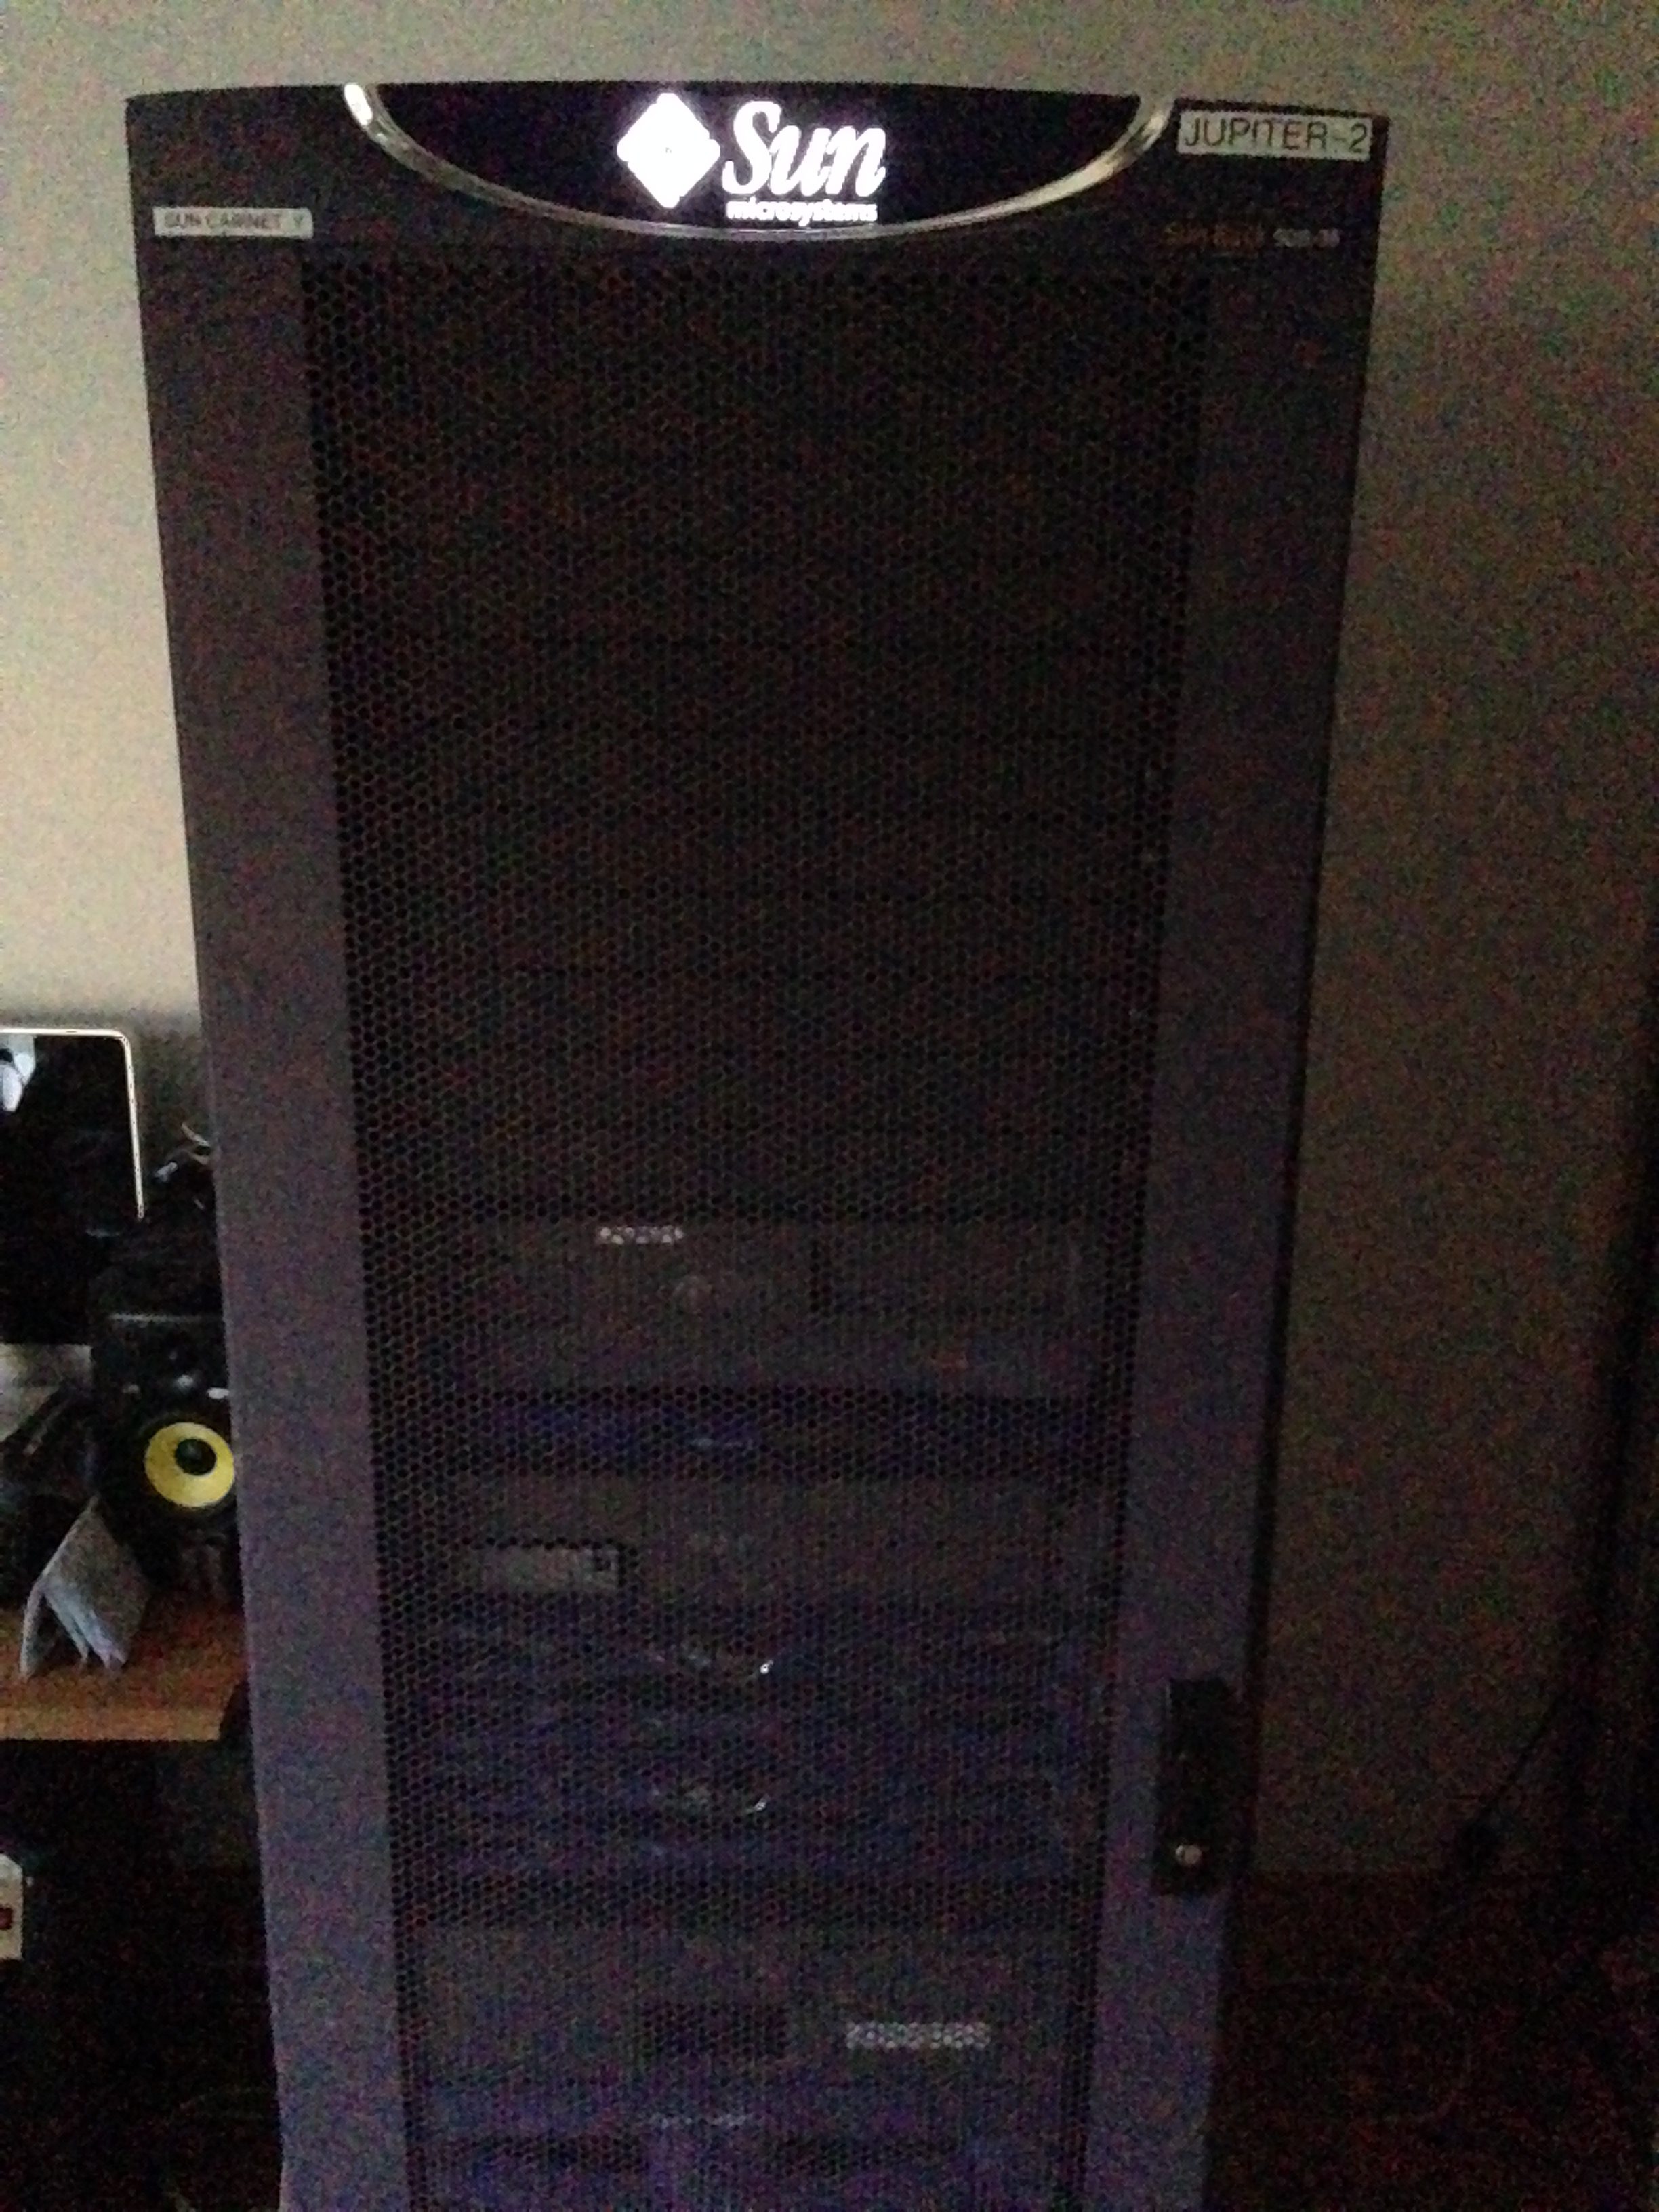 Will post progress!


