

About 10 years ago, I bought a SunRay 1g Client box with the plan of setting it up as a thin client to the (physical and very noisy) Sun Solaris Server I was running at the time. The old Sun server sadly didn’t last much longer, and I replaced it with a FreeBSD one before I managed to get the SunRay up and running… so it sat in a cupboard until recently.
The new plan is to use the SunRay 1g as a thin client to a Solaris VM running on my ESXi5 server. This seems like a good idea as it gives me a way to access and manage the ESX server without having to fire up another machine – plus, I think SunRay clients are awesome bits of kit – if I didn’t have an iMac I would use these, as they are silent, boot instantly, use hardly any power and make no noise… it seems like the ideal compliment to an ESX server.
Here’s a pic of my SunRay client…

So, here are some notes, links and pics on installing an Oracle Solaris 10 Virtual Machine on ESXi5, setting up the SunRay Server Software, and getting the SunRay client (finally) working…
From the Oracle site, Sun Ray Clients are:
“… simple, low-cost devices that are ideal for displaying server-hosted virtual desktops. With no moving parts and no local operating system to manage, Sun Ray Clients provide a cost-effective, highly functional thin client alternative to desktop and laptop computers and reduce many of the problems associated with traditional desktop deployments.”
– http://www.oracle.com/us/technologies/virtualization/061984.html
They need a Server running the SunRay Server Software to connect to – I think you can use Linux these days but I wanted to set up a Solaris host anyway, so I went with the traditional approach – albeit running on VM Ware.
None of this was very difficult, and the only slight issue I had was getting DHCP set up correctly; as I understand it, Sun Ray clients need to be sent additional information when they get an IP address, and that means it’s easier to set up the SunRay Server as your DHCP server – once I’d done that (and configured my Router to act as a DHCP Relay, handing DHCP requests over to the Solaris host), it all worked well.
Install Solaris 10 on VMWare ESXi5:
I downloaded the DVD image from Oracle, and then uploaded it to the data store on the ESX Server, created a new VM and set it to mount the image as a DVD drive at boot time. The spec of my Solaris 10 VM is 8GB RAM, 2x vCPU and 500G disk for now – I will change this later when I see how it performs.
Install VM Ware tools:
mkdir / vmwaretools/

cp /cdrom/vmwaretools/vmware-solaris-tools.tar.gz .

# tar zxvf vmware-solaris-tools.tar.gz – that didn’t work – no GNU tar :-(

gunzip vmware-solaris-tools.tar.gz

tar xvf vmware-solaris-tools.tar

cd vmware-tools-distrib/

./vmware-install.pl
All done, much better 🙂
Setup DHCP & NIS on Solaris 10
This command starts up the (GUI) DHCP Manager wizardy thing, which will prompt you for all required info to set up DHCP:
/usr/sadm/admin/bin/dhcpmgr &
As as I understand it, your SunRay clients will look for a DHCP server to (also) give them the details of the SunRay Server to connect to. I coudln’t see a way to use my existing DHCP server (my broadband router) and still be able to tell the clients how to connect to the Solaris Server – that would have been preferable for me.
cp /etc/nsswitch.dns /etc/nsswitch.conf
add the google DNS Server and the internal IP of my router to /etc/resolv.conf….
echo "nameserver 8.8.8.8" >> /etc/resolv.conf
echo "nameserver 192.168.0.1" >> /etc/resolv.conf
Install SunRay Server Software (SRSS)
This was all pretty simple, my notes are brief but there’s a decent guide here:
http://docs.oracle.com/cd/E22662_01/E22659/html/Installing-Howto-Install.html
I downloaded the installer and extracted it to a tar file on another host beforehand, which was handy as I hadn’t sorted out GNU tar yet…
mkdir /sunrayinstall

cd /sunrayinstall

scp don@myubuntuserver:/tmp/V32065-01.zip .

unzip V32065-01.zip

cd srs_5.3.0.0-SunOS.i386/

./utinstall

export SRSS_INST=/opt/SUNWut

# Enable LAN Access:

$SRSS_INST/sbin/utadm -L on

$SRSS_INST/sbin/utrestart
Things to look at later:
connector for vmware: http://docs.oracle.com/cd/E21907_01/PDF/EN/SRVMWC1dot2InstallGuide.pdf
Here are some of the other commands and checks I looked at while getting it running…
/opt/SUNWut/sbin/utdesktop

/opt/SUNWut/sbin/utgstatus

/opt/SUNWut/sbin/utquery -d 192.168.0.58

/opt/SUNWut/sbin/utsetup

/opt/SUNWut/sbin/utconfig

tail -1000f /var/opt/SUNWut/log/messages
Install Apache Tomcat for SunRay Server Software
I’m not sure if this is necessary?
cd /opt/apache-tomcat

cd bin

export JRE_HOME=/usr

./catalina.sh start
Setup NTP on Solaris 10
ls -al /etc/inet/ntp.*

touch /var/ntp/ntp.drift

cp /etc/inet/ntp.client /etc/inet/ntp.conf

svcadm enable svc:/network/ntp

date
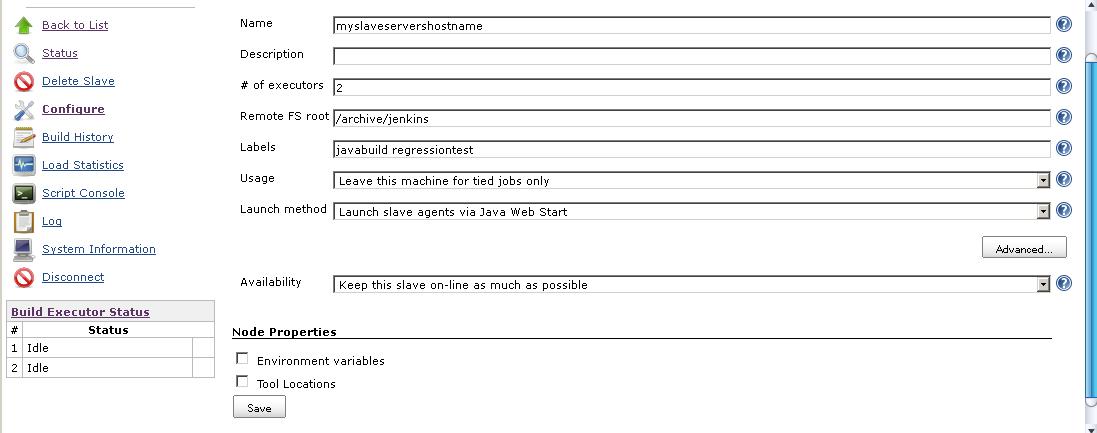
Here’s a picture of the new Admin Tool – I only have 2 SunRay clients to manage (and even fewer users!), but I may still have to search eBay for some Smart Cards…
Update: I now have an unopened pack of smart cards (50 I think?) – a gift from a Solaris admin chum!

http://docs.oracle.com/cd/E19214-01/820-0412/new_admin_tool.html
Once that was all done and my Router was configured to relay DHCP requests to the DHCP Server running on the Solaris 10 VM, I was able to switch on my SunRay 1g client and be presented with a logon screen – yay!
And finally, here’s a pic of the SunRay client sitting on top of the HP ProLiant ML110 G6 ESXi5 home lab server, which is running the Solaris 10 Virtual Machine it’s connecting to…


