This post is the first in a series of 3 introducing the combined power of Jenkins, Docker, and the Jenkins DSL.
They should hopefully provide enough information to get to grips with both Docker and Jenkins – what they both do and how to use them – by showing some practical examples of them working together.
The first step, if you haven’t already, is to download and install Docker on your platform – the Docker website covers this in good detail for most platforms…
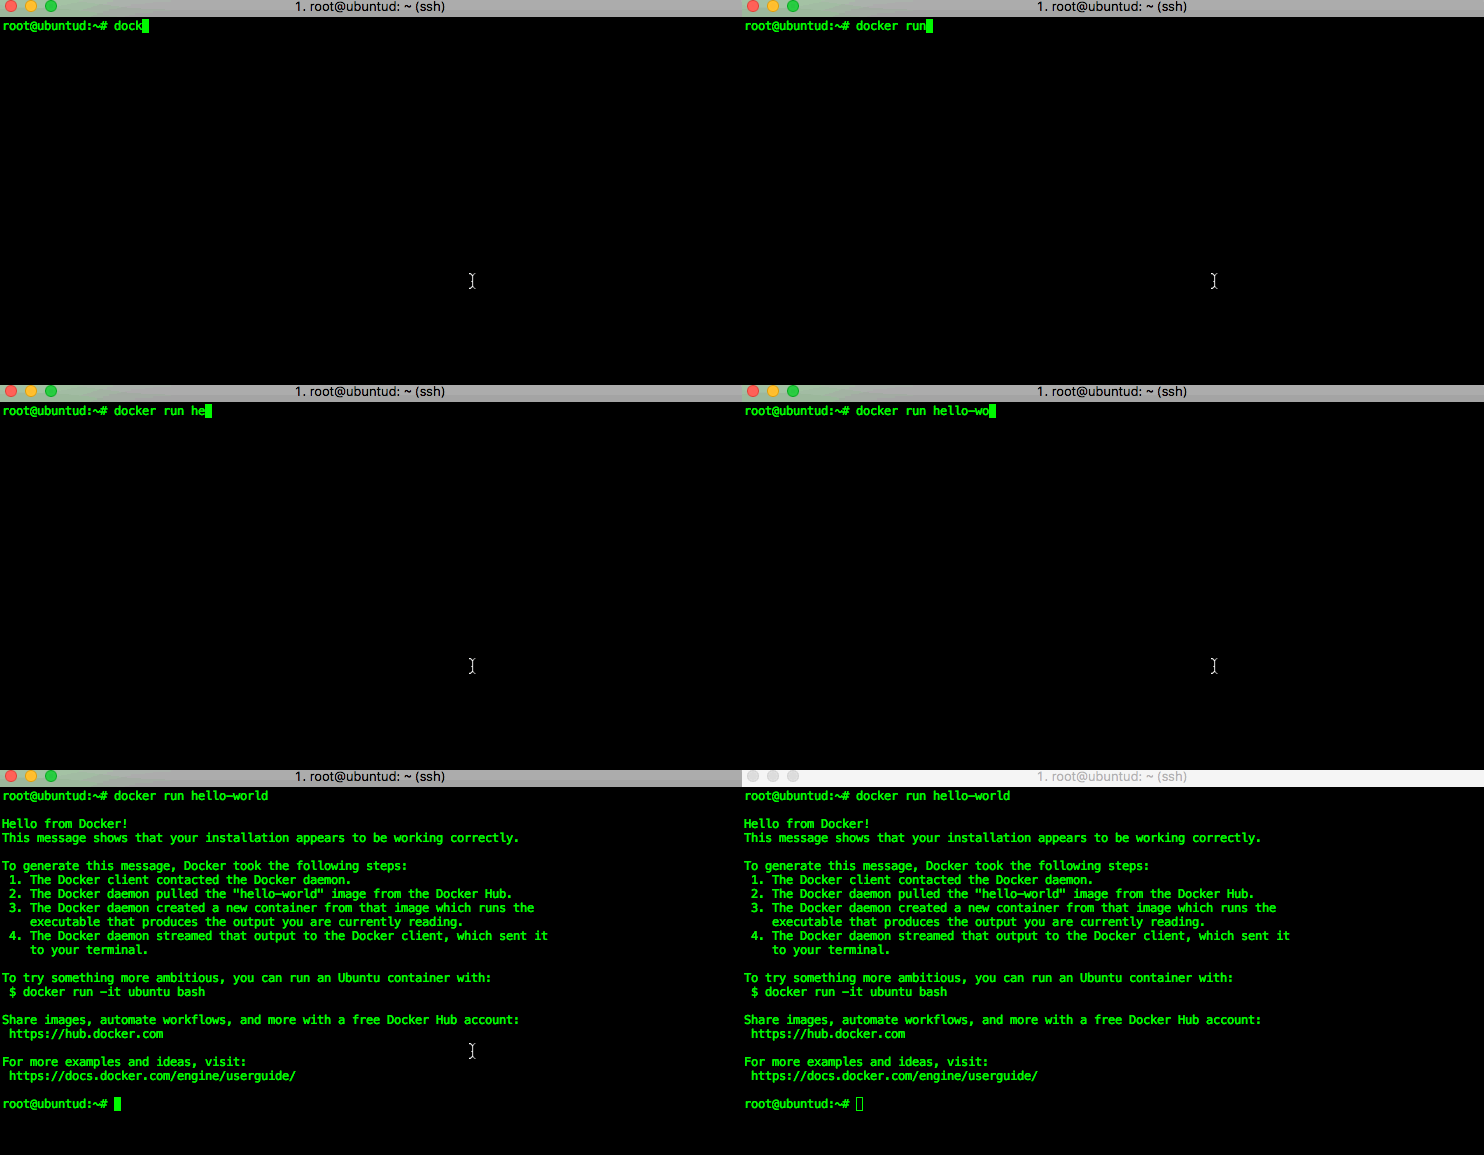
Once that’s done, you can try it out with the customary “Hello World” example…
I’m running Docker on an Ubuntu VM, but the commands and the results are the same regardless of platform – that’s one of the main Docker concepts.
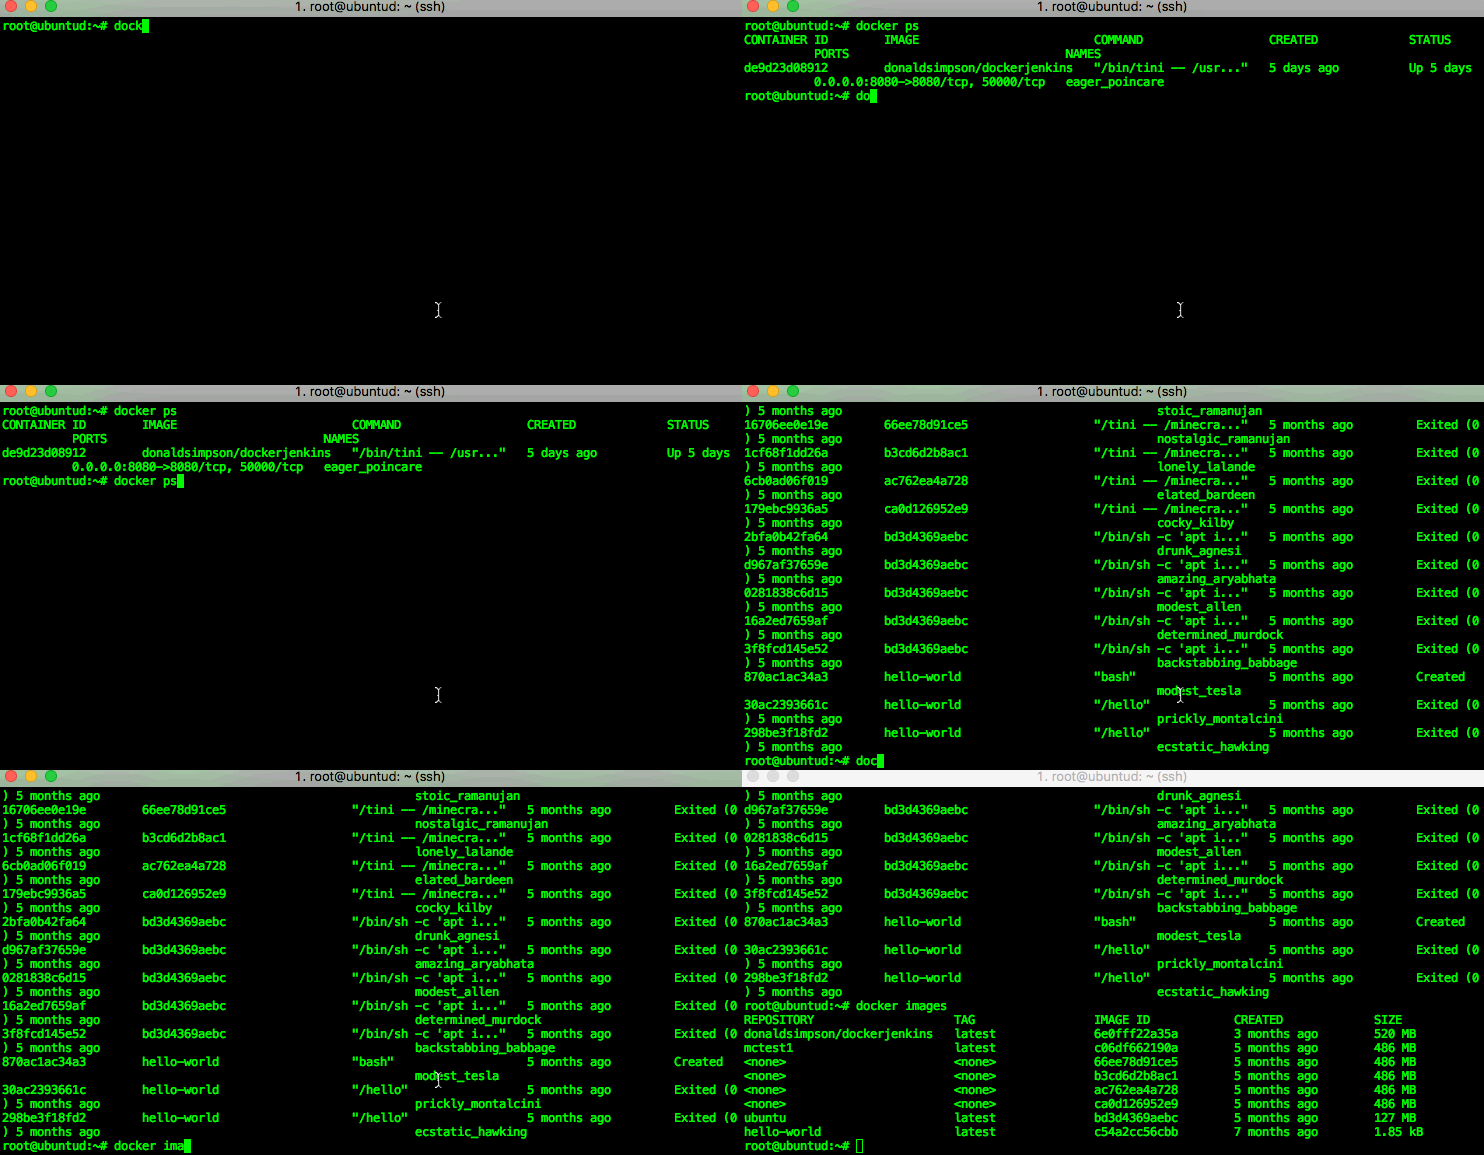
You can then check which processes (docker containers) are running using the “docker ps” command – in my example you can see that there’s one Jenkins image running. If you run “docker ps -a” you will see all containers (including stopped ones, of which I have a few on this host):
 and you can check your Docker version with:
root@ubuntud:~# docker --version
Docker version 1.13.0, build 49bf474
Now that the basic setup is done, we can move on to something a little more interesting – downloading and running a “Dockerised” Jenkins container.
I’m going to use my own Dockerised Jenkins Image, and there will be more detail on that in the next post – you’re welcome to try it out too, just run this command in your terminal:
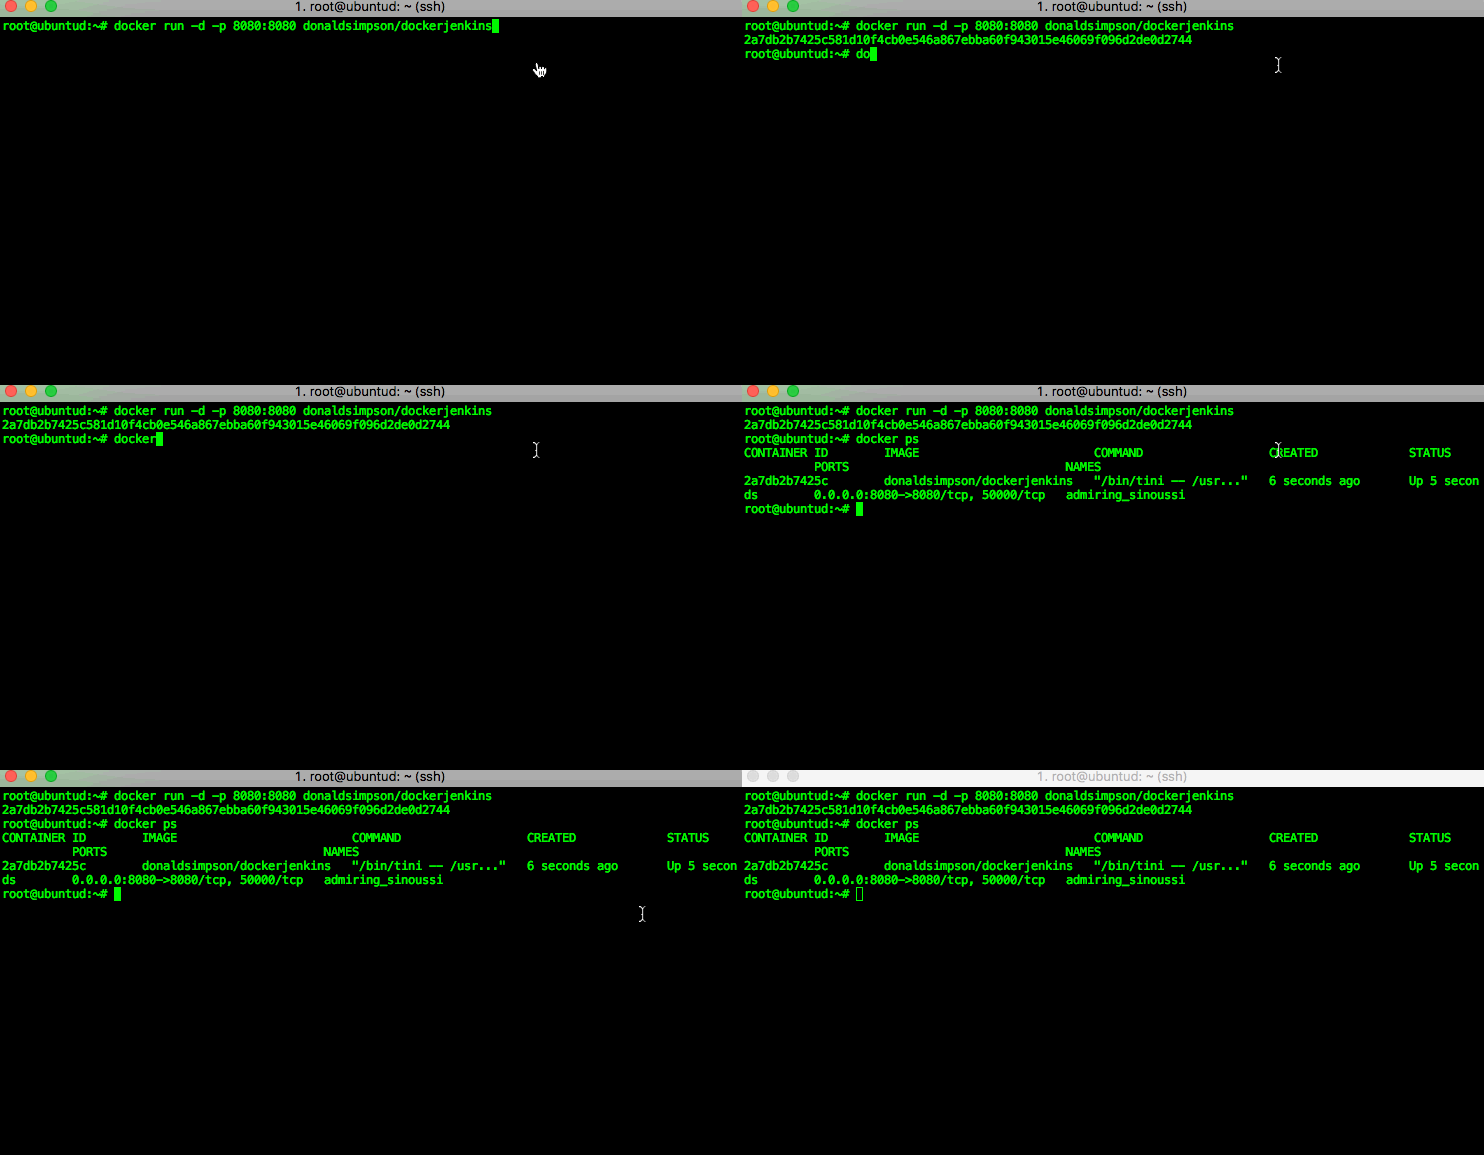
docker run -d -p 8080:8080 donaldsimpson/dockerjenkins
if you don’t happen to have my docker image cached locally (like I do) then docker will automatically download it for you from Docker Hub then run it:
 That command did a quite few important things, here’s a quick explanation of them all:
docker run -d
tells docker that we want to run the container in the background so that we can carry on and do other things while it runs. The alternative is -it, for an interactive/foreground session.
docker run -d -p 8080:8080
The -p 8080:8080 tells docker to map port 8080 on the local host to port 8080 in the running container. This means that when we visit localhost:8080 the request will be passed through to the container.
docker run -d -p 8080:8080 donaldsimpson/dockerjenkins
and finally, we have the namespace and name of the Docker image we want to run – my “donaldsimpson/dockerjenkins” one – more on this later!
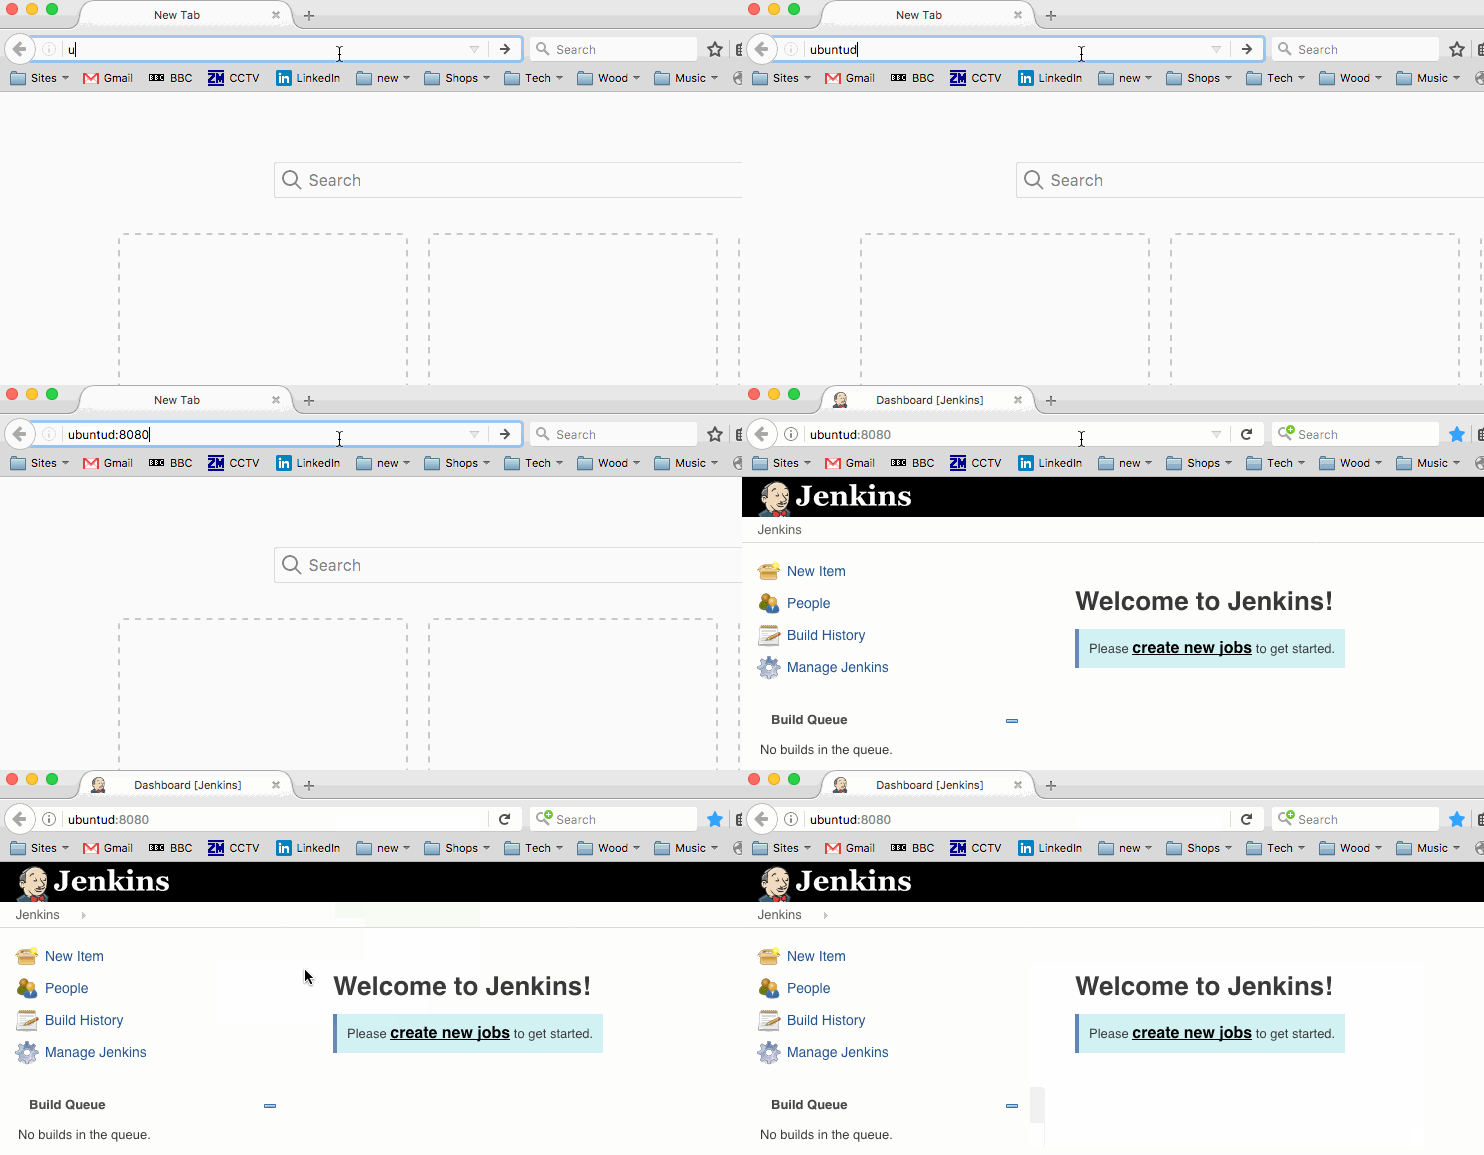
You can now visit port 8080 on your Docker host and see that Jenkins is up and running….
That’s Jenkins up and running and being happily served from the Docker container that was just pulled from Docker Hub – how easy was that?!
And the best thing is, it’s entirely and reliably repeatable, it’s guaranteed to work the same on all platforms that can run Docker, and you can quickly and easily update, delete, replace, change or share it with others! Ok, that’s more than one thing, but the point is that there’s a lot to like here 🙂
That’s it for this post – in the next one we will look in to the various elements that came together to make this work – the code and configuration files in my Git repo, the automated build process on Docker Hub that builds and updates the Docker Image, and how the two are related.
Discover more from Don's Blog
Subscribe to get the latest posts sent to your email.


