Intro
Being a fan of Solana and interested in exploring and using the technology, I wanted to find some practical use for it in my role as a DevOps Engineer.
This post attempts to do that, by integrating Solana in to a CI/CD workflow to provide an audit of build artefacts. Yes, there are many other ways & tools you could do this, but I found this particular combination interesting.
Overview
Solana is a high-performance blockchain platform known for its speed and scalability.
Integrating Solana with GitHub Workflows can bring a new level of security, transparency, and efficiency to your CI/CD pipelines.
This blog post demonstrates how to leverage Solana in a GitHub Workflow to enhance your development and deployment processes.
What is Solana?
Solana is a decentralised blockchain platform designed for high throughput and low latency. It supports smart contracts and decentralized applications (dApps) with a focus on scalability and performance. Solana’s unique consensus mechanism, Proof of History (PoH), allows it to process thousands of transactions per second.
Why Integrate Solana with GitHub Workflows?
Integrating Solana with GitHub Workflows can provide several benefits:
- Immutable Build Artifacts: Store cryptographic hashes of build artifacts on the Solana blockchain to ensure their integrity and immutability.
- Automated Smart Contract Deployment: Use Solana smart contracts to automate deployment processes.
- Transparent Audit Trails: Record CI/CD pipeline activities on the blockchain for transparency and auditability.
Setting Up Solana in a GitHub Workflow
Let’s walk through an example of how to integrate Solana with a GitHub Workflow to store build artifact hashes on the Solana blockchain.
Step 1: Install Solana CLI
Ensure you have the Solana CLI installed on your local machine or CI environment:
sh -c "$(curl -sSfL https://release.solana.com/v1.8.0/install)"Step 2: Set Up a Solana Wallet
Then, you need a Solana wallet to interact with the blockchain. You can use the Solana CLI to create a new wallet:
solana-keygen new --outfile ~/my-solana-wallet.jsonThis command generates a new wallet and saves the keypair to ~/my-solana-wallet.json.
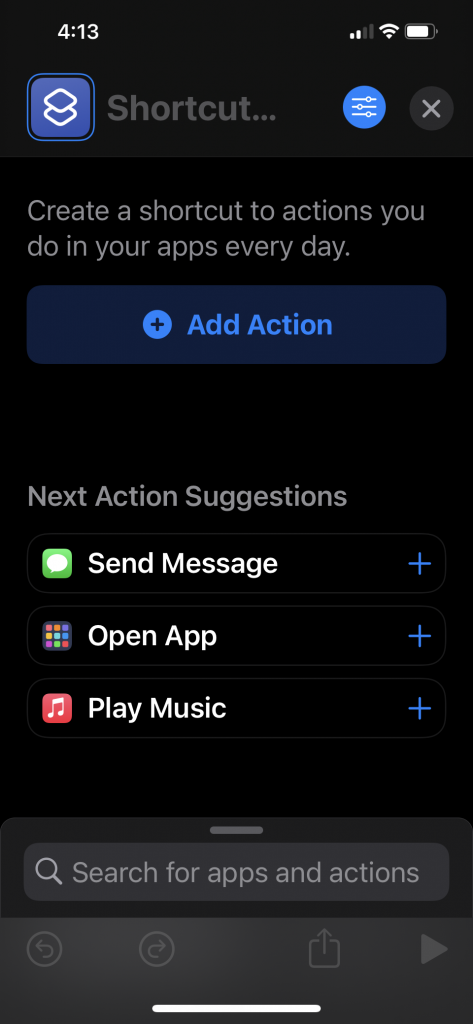
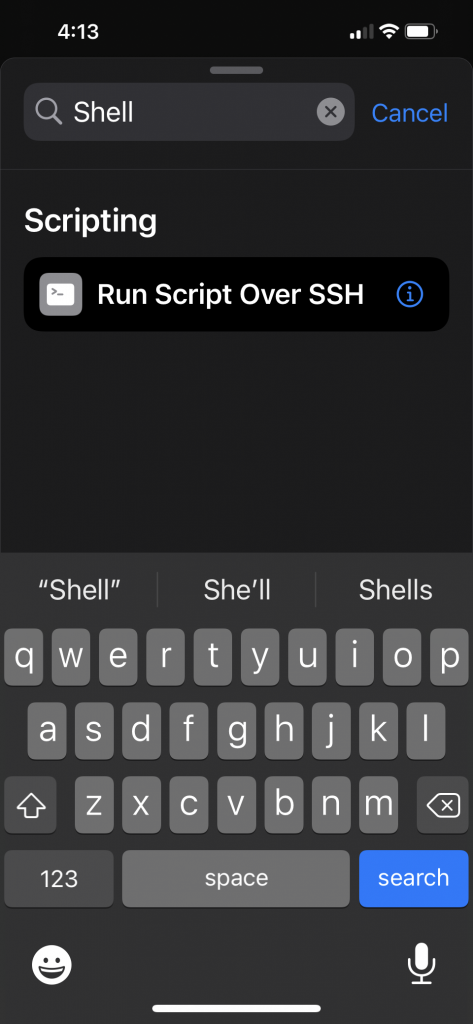
Step 3: Create a GitHub Workflow
Create a new GitHub Workflow file in your repository at .github/workflows/solana.yml:
name: Solana Integration

on:
  push:
    branches:
      - main

jobs:
  build:
    runs-on: ubuntu-latest

    steps:
      - name: Checkout code
        uses: actions/checkout@v2

      - name: Set up Solana CLI
        run: |
          sh -c "$(curl -sSfL https://release.solana.com/v1.8.0/install)"
          export PATH="/home/runner/.local/share/solana/install/active_release/bin:$PATH"
          solana --version

      - name: Build project
        run: |
          # Replace with your build commands
          echo "Building project..."
          echo "Build complete" > build-artifact.txt

      - name: Generate SHA-256 hash
        run: |
          sha256sum build-artifact.txt > build-artifact.txt.sha256
          cat build-artifact.txt.sha256

      - name: Store hash on Solana blockchain
        env:
          SOLANA_WALLET: ${{ secrets.SOLANA_WALLET }}
        run: |
          echo $SOLANA_WALLET > ~/my-solana-wallet.json
          solana config set --keypair ~/my-solana-wallet.json
          solana airdrop 1
          HASH=$(cat build-artifact.txt.sha256 | awk '{print $1}')
          solana transfer <RECIPIENT_ADDRESS> 0.001 --allow-unfunded-recipient --memo "$HASH"
Step 4: Configure GitHub Secrets
To securely store your Solana wallet keypair, add it as a secret in your GitHub repository:
- Go to your repository on GitHub.
- Click on
Settings. - Click on
Secretsin the left sidebar. - Click on
New repository secret. - Add a secret with the name
SOLANA_WALLETand the content of your~/my-solana-wallet.jsonfile.
Step 5: Run the Workflow
Push your changes to the main branch to trigger the workflow. The workflow will:
- Check out the code.
- Set up the Solana CLI.
- Build the project.
- Generate a SHA-256 hash of the build artifact.
- Store the hash on the Solana blockchain.
Example Output and Actions
After the workflow runs, you can verify the transaction on the Solana blockchain using a block explorer like Solscan. The memo field of the transaction will contain the SHA-256 hash of the build artifact, ensuring its integrity and immutability.
Example Output:
Run sha256sum build-artifact.txt > build-artifact.txt.sha256
b1946ac92492d2347c6235b4d2611184a1e3d9e6 build-artifact.txt
Run solana transfer <RECIPIENT_ADDRESS> 0.001 --allow-unfunded-recipient --memo "b1946ac92492d2347c6235b4d2611184a1e3d9e6"
Signature: 5G9f8k9... (shortened for brevity)
Possible Actions:
- Verify Artifact Integrity: Use the stored hash to verify the integrity of the build artifact before deployment.
- Audit Trail: Maintain a transparent and immutable audit trail of all build artifacts.
- Automate Deployments: Extend the workflow to trigger automated deployments based on the stored hashes.
Conclusion
Integrating Solana with GitHub Workflows provides a powerful way to enhance the security, transparency, and efficiency of your CI/CD pipelines.
By leveraging Solana’s blockchain technology, you can ensure the integrity and immutability of your build artifacts, automate deployment processes, and maintain transparent audit trails.
I have used solutions similar to this previously; by automatically adding a containers hash to an immutable database when it passes testing, while at the same time ensuring that the only images permissable for deployment in the next environment up (e.g. Production) exist on that list, you can (at least help to) ensure that only approved code is deployed.
If you’d like to learn more about Solana they have some great documentation and examples: https://solana.com/docs/intro/quick-start